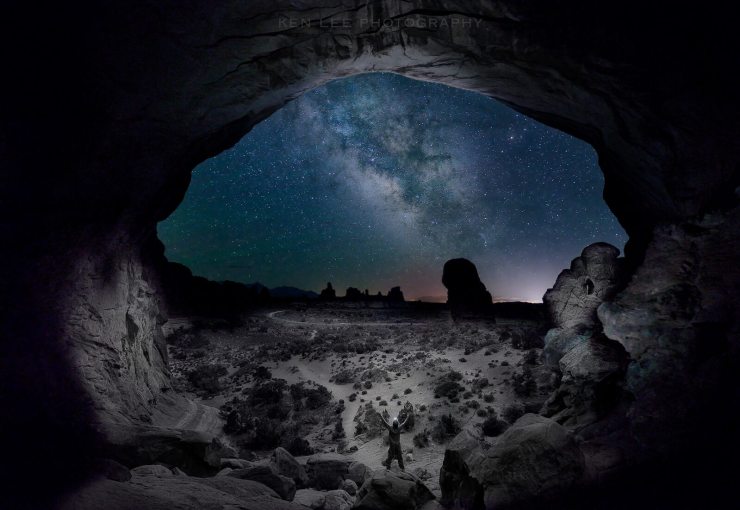
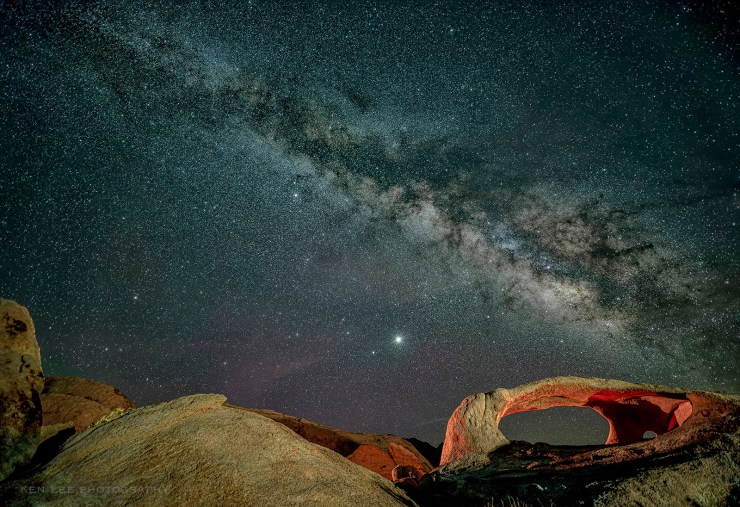
What are the best camera settings for Milky Way and astrophotography? I offer this and some tips to make it easy for you.
Is offering camera settings meaningless?

Some night photographers argue that offering camera settings for Milky Way photography is useless. In a way, they’re right. There are so many variables.
For instance, it depends on what kind of lens. The larger the aperture the lens has, the more light it lights in. The wider the focal length, the longer the amount of time you can set your camera’s exposure length. Then there are atmospheric variables, light pollution and more that affect the settings.
A discussion about settings could take up quite a lot of space in a book. However, I’ll try and give you starting points.
Assumptions before giving camera settings
To stop the variables from spinning out of control, we are going to assume that you have a relatively modern digital camera and an ultra wide-angle lens with a focal length of about 14mm or 15mm since that seems to be the most commonly used. We will also assume that you are not using a star tracker, and that your camera is simply mounted on a tripod.
Starting camera settings for Milky Way photographs
I like to begin with a 20-second exposure, an aperture of f/2.8 and ISO of 3200 or 4000.
Exposure
20-second exposures are typically long enough to gather light, but short enough that your stars register as relative pinpoints of light. If you can reduce this further, great. If not, this should be a good starting point for a lens with a focal length of 14mm or 15mm.
Aperture
If your lens has a larger aperture than f/2.8, such as f/2.0 or f/2.4, try to use it. However, some lenses have distortion in the corners if you photograph “wide-open” (at the largest aperture). Look for things such as “angel wings” or UFO-looking stars in the corners.
If there are none, great. If there are, reduce the aperture back to f/2.8 or until that stops.
ISO
Boosting the ISO to 3200 or 4000 should be bright enough to adequately capture the Milky Way without blowing out the highlights.

Adjusting from the beginning camera settings
Just like you would with a day photograph, all your camera adjustments are the same.
“My image is too dark!”
This is the most common thing people encounter. If your image is too dark, you can make it brighter by lengthening the exposure, opening the aperture (if that’s possible), and/or increasing the ISO.
Each has trade-offs, of course. Sometimes, lengthening the exposure might turn your stars as pinpoints into elongated trails. Or increasing the ISO might introduce more noise into your image, although you could address that in post-processing by using Topaz Labs DeNoise AI or other noise reduction software. I’ve had good luck using this software for Milky Way photos without decreasing the sharpness and detail of the Milky Way.
“My image is too bright!”
This is less common with Milky Way photos, but can occur more frequently when doing star trails or photographing near a full moon.
You can decrease the exposure time, make the aperture smaller and/or decrease the ISO.
Further information
I write a lot about night photography here. When you see a night photo, you can click on the image and see what the camera settings were. You can learn a lot from these by looking at the image, trying to figure out what the ambient light was, and figure out why that setting was chosen.
After seeing a number of photos, you can also begin to see patterns emerging and begin to figure out why certain settings are chosen over others.
Tell your story with the second annual Visual Storytelling Conference!
Experience four days of interactive, online training sessions featuring a range of educational content with experienced photographers and content creators. This free event kicks off with a series of technical boot camps to build essential skills, followed by live, online sessions on photography, video, business and social media. Join live from March 10-13, 2022!
