
Until recently I used a mouse, keyboard and trackpad to do all of my photo editing and color grading. In a recent training session, my client was using a pen tablet and I began to explore this as another option for me.
I contacted colleagues and they all said that at some point in their editing journey they found themselves migrating to a pen tablet for parts of their editing work. They were all using Photoshop, Lightroom or Capture One. They told me to buy a medium-sized tablet with a good quality pen — all of them specifically recommended Wacom.
They said that the transition from mouse to pen tablet will take some time to learn because the hand to screen coordination is so different from using a mouse. The last piece of advice? Give it time and don’t give up.
Wacom in Portland, Oregon
I’m fortunate enough to have Wacom Headquarters right here in Portland, so I was able to go to the local Wacom Experience Center and try each of their pen tablets firsthand.
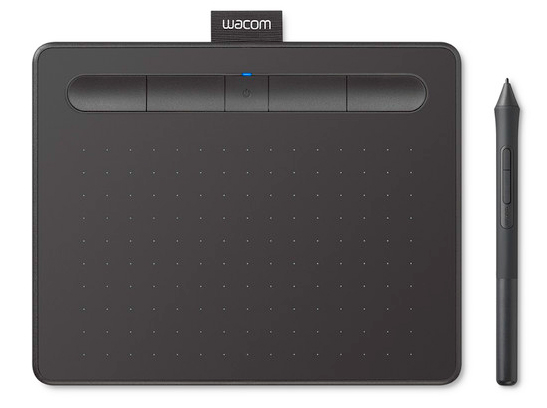
I started with the basic Intuos tablet in both small and medium sizes. My finding was that the tracking of the pen seemed a little awkward and didn’t always track in a way that was intuitive for me. I also didn’t care for the button placement at the top of the tablet. It felt awkward reaching them when I was using the pen.
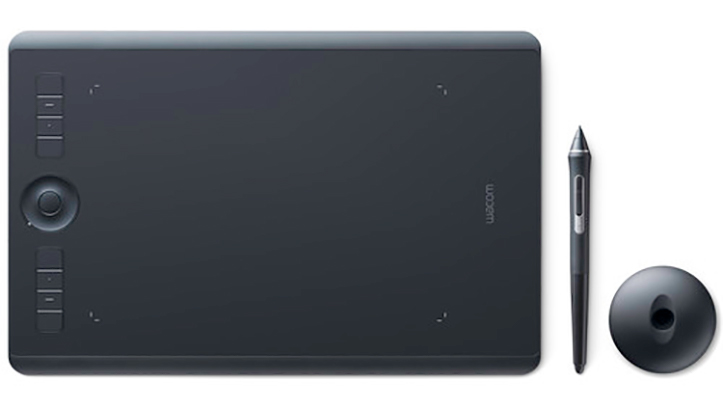
Next, I tried the Intuos Pro in small and medium sizes. With these, I found the pen tracking much more accurate and intuitive. The pen just felt better in my hand and I liked the button placement on the left or right side, rather than at the top.
So I decided on the Wacom Intuos Pro in the medium size, based on my own experience with it. It also helped that there was a sale going on and a bundle option that made it much more affordable. 🙂
Setting up the tablet
With help from Wacom’s online videos and some other YouTubers, I began setting up my pen and tablet. I found that a basic pen setup worked best for me initially and I set up the buttons for specific applications like Photoshop and Capture One. It has also been set up for Bluetooth wireless as well as wired mode via USB.

My progress so far
The process I’ve been going through has been interesting. Using a pen and tablet is really different from using a mouse and I keep remembering the advice of “give it time and don’t give up.”
The hand-to-screen coordination is very different and it’s taking both practice and patience to master it. But I’m finding it worthwhile in that it’s changing the way I work with my images. I’m finding I have more control and am subtler in my edits.
Initially, I focused on just using the pen and tablet on a white background in Photoshop and learning how to navigate around the screen and using the pen and pen pressure with the brush and controlling how the brush behaves and just drawing lines. As I’ve gotten better, I’ve expanded to using it for dodging and burning my photos in Photoshop and Capture One, and I’m really liking it.
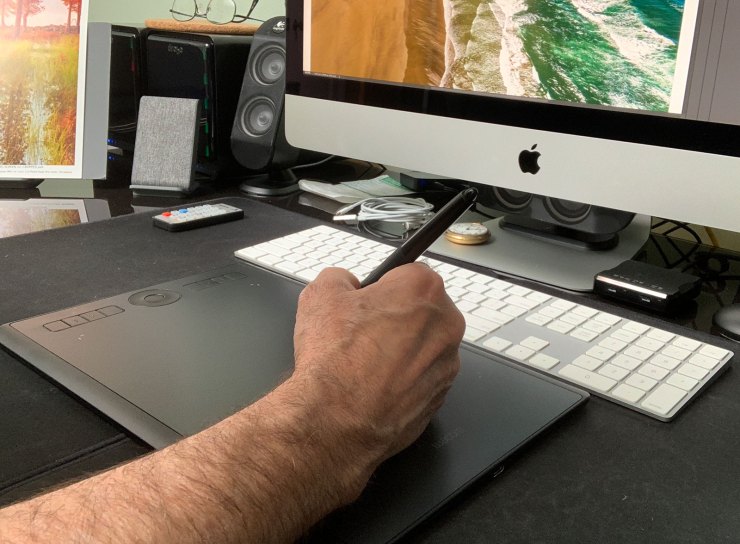
I’ve used the tablet in both wired and Bluetooth wireless mode and find that it works great in either one. In the image below, I’m using it in Bluetooth wireless mode.
My final thoughts
I find that I’m enjoying the transition to a pen tablet and that I’m very happy with how the Wacom performs on my iMac in both Photoshop and Capture One. My next step will be to expand my use of the pen with pen pressure for things like dodging and burning, as well as to see how it works in mask creation and other areas.
Tell your story with the second annual Visual Storytelling Conference!
Experience four days of interactive, online training sessions featuring a range of educational content with experienced photographers and content creators. This free event kicks off with a series of technical boot camps to build essential skills, followed by live, online sessions on photography, video, business and social media. Join live from March 10-13, 2022!