
Entering the world of photography with a DSLR or mirrorless camera can be both exciting and overwhelming. Modern day cameras are loaded with a plethora of functions and capabilities that can take time to learn and understand.
One of such functions is Shutter Priority mode. Shutter Priority mode allows you to choose the shutter speed for a given scene, leaving the camera to automatically determine the aperture and ISO to create a balanced exposure. You can think of it like a semi-automatic mode on your camera. You control one part of the exposure, but your camera does the rest of the work for you.
Below, we’ll take a deeper look at Shutter Priority mode, including how and why to use it, as well as some limitations to be aware of.
Note: For an entry-level look on the exposure triangle, click here. For more on understanding shutter speed, click here.
Where to find Shutter Priority mode
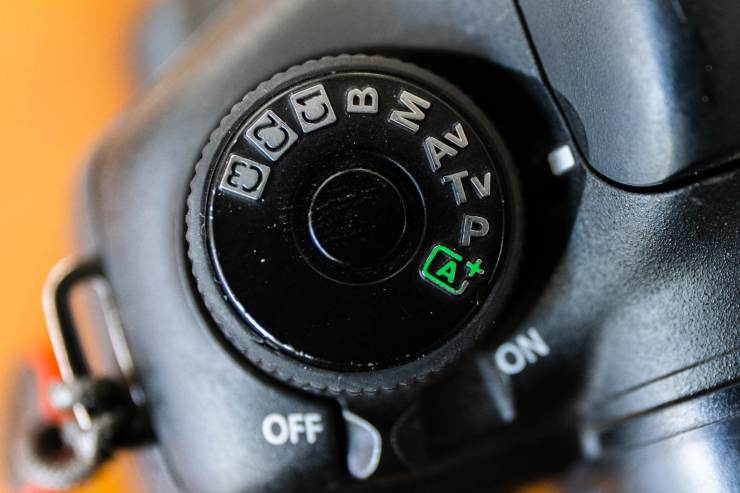
Most cameras come with at least four or five modes for users to choose from, including Program, Auto, Shutter Priority, Aperture Priority and Manual. They are usually located on a circular dial on top of the camera. Shutter Priority mode is represented by an “S” on most cameras, or “TV” (time value) on Canon and Pentax.
How it works
When you’re using Shutter Priority mode, you pick the shutter speed that you want the camera to use. From there, the camera will meter the scene and pick the best aperture and ISO settings to create a balanced exposure.
If you input a really fast shutter speed, the camera may have to open up the aperture (smaller f-stop number). It can also bump up the ISO. Conversely, if you are using a slow shutter speed, the camera may choose a narrower aperture (larger f-stop number). Or, it can decrease the ISO.
In a sense, you and your camera are working together to create a balanced exposure.
When to use Shutter Priority mode
If you’re a novice mostly using Auto mode, Shutter Priority can be a great way to start taking control of your camera. However, there are times when Shutter Priority can be an asset to any photographer, regardless of skill level. Let’s take a look at a few examples below:
Freezing action
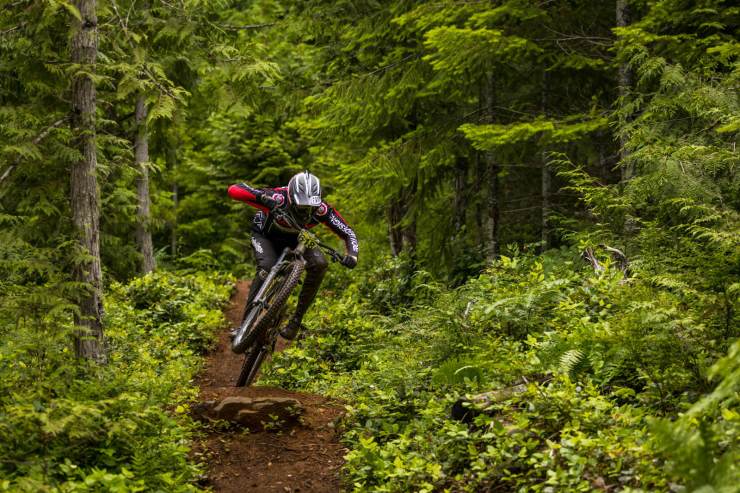
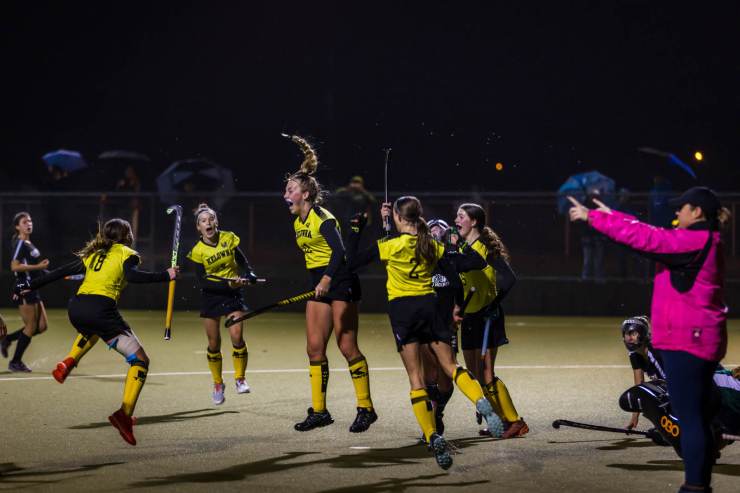
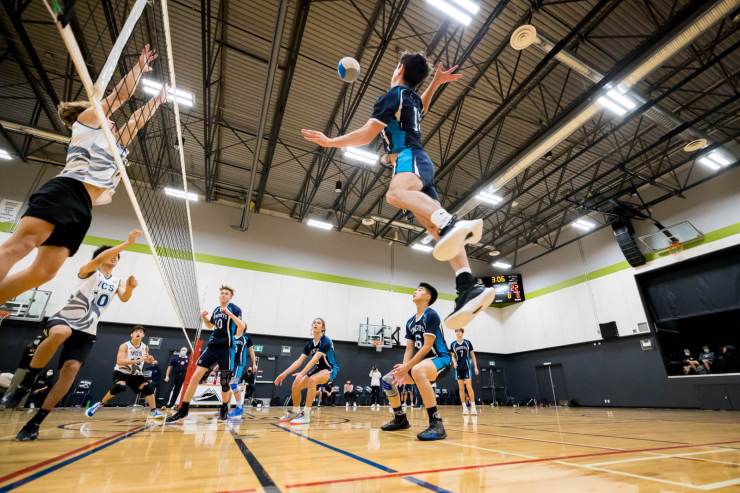
Freezing action is probably the most common use of Shutter Priority mode. If you’re photographing moving subjects or action, you can use Shutter Priority to set a fast enough shutter speed to freeze your subject and get sharp images.
Subjects like sports, wildlife and modes of transportation are all good examples. You may want to capture your kids running, a snowboarder on a mountain, or a car on a racetrack. By selecting a shutter speed fast enough to freeze the action and allowing the camera to balance the exposure, you can focus on composition and continuous shooting.
Shutter Priority mode can especially be handy when the light is constantly changing, like in a dappled forest or a cloudy day where the sun is coming in and out. It can also work well when your backgrounds are varied (like a soccer field where some areas have a bright background, and others have a dark background). By using Shutter Priority you know that you will be freezing the action no matter what changes in your scene.
When you’re moving
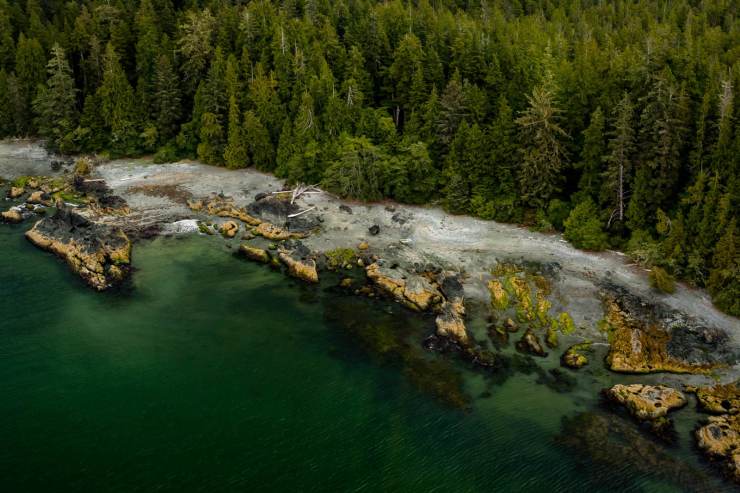
If you are photographing from a car, plane, train, boat or any other moving object, you may want to use Shutter Priority mode. Even if you’re shooting a static scene, like a landscape, you will need to have a fast enough shutter speed to compensate for your own movement.
Using Shutter Priority, you can set a shutter speed that will ensure you have a sharp scene, even while you’re moving and the scene in front of you is changing.
Handholding with a longer focal length

If you’re photographing handheld with a telephoto lens, you want to ensure that you have a fast enough shutter speed to negate any camera shake or movement. This especially applies in low light situations. There’s nothing worse than taking images with a telephoto lens and then realizing that they’re not sharp because of your own movement.
Creating motion blur
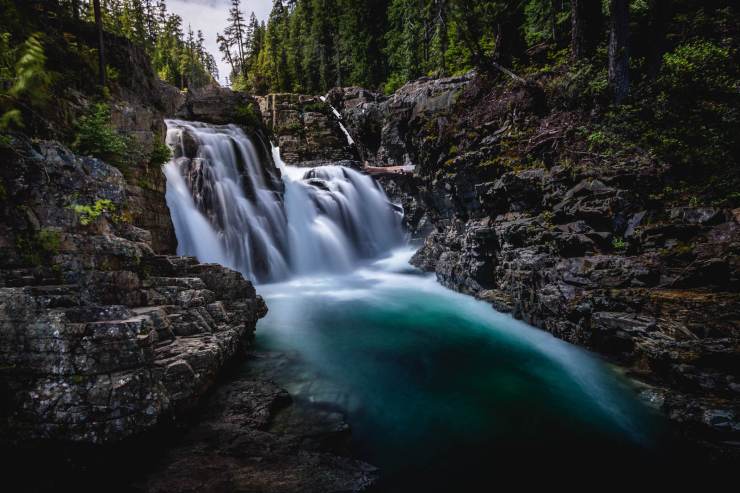
You can also use Shutter Priority mode when you want to capture a scene with a slower shutter speed. Perhaps you’re photographing a waterfall or streaking car headlights at dusk. Maybe you’re getting creative with some panned shots, or want to capture the movement of tall grass in the wind.
If you’re not fully comfortable in Manual mode, Shutter Priority mode can be a great way to start getting creative with slower shutter speeds. It will allow you to experiment with different slow shutter speeds while the camera does the rest of the work for you. Just remember, a tripod is often necessary with this type of photography!
Limitations of Shutter Priority mode
As mentioned previously, when using Shutter Priority mode you choose the shutter speed while the camera chooses the aperture and ISO. However, there are times when your camera may run into limitations when attempting to properly expose the scene for you. Or, the camera may balance the exposure correctly but you aren’t happy with the results.
Let’s touch on a few considerations to keep in mind when using Shutter Priority mode:
Aperture
The aperture setting your camera chooses for you will affect your exposure, but it will also affect the depth of field in your image (for a review on aperture, click here). For example, you might be photographing with a slower shutter speed but want a shallow depth of field. You may not get the result you want if the camera chooses a higher f-stop to balance the exposure.
Additionally, the camera can only work within its own limits. If you’re photographing in low light, the camera may “run out” of aperture to work with. That setting will depend on the lens you’re using, but common lowest apertures are f/1.4, f/2.8 and f/4. You will often see the aperture number start blinking if the camera can no longer balance the exposure to the shutter speed you have chosen. In this case you will have to lower your shutter speed or increase your ISO.
ISO
ISO is the third component in the exposure triangle that will be determined by your camera when using Shutter Priority (for a review on ISO, click here.) If you are photographing in low light or at a high shutter speed, the camera may dramatically increase your ISO in order to balance the exposure.
It’s important to be aware of this! You could end up with super noisy (grainy) photos if your ISO is maxed out. A great way to negate this is to set your ISO range in your settings. This ensures that your camera doesn’t push the ISO past a level that you’re confident in using.
As with aperture, your camera may hit its limitations when trying to balance the exposure with the shutter speed you’ve set. If you’re at your lowest aperture and highest ISO settings then you may have to decrease your shutter speed.
Metering and exposure compensation
When using a semi-automatic mode like Shutter Priority, the camera is creating the final exposure. What the camera meters as “correct” may not be the exposure you want as a final image.
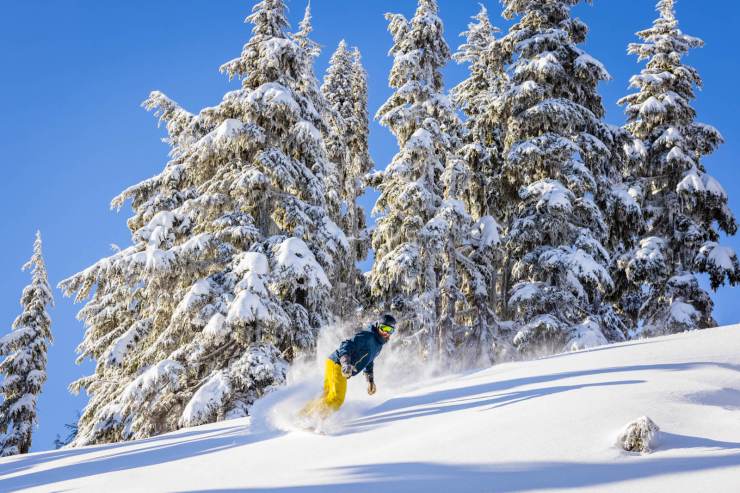
A good example is photographing skiing on a snowy, winter day. You can set your shutter speed to freeze the action. However, the camera is most likely going to underexpose the bright, white snow. In instances like these, you can use your exposure compensation setting to fine tune the exposure while still using Shutter Priority mode.
Overall, Shutter Priority mode is a handy tool to utilize under the right circumstances. If you’re a novice photographer looking to take more control of your camera, a semi-automatic mode like Shutter Priority is a great way to start. It can also be handy if you’re photographing action and want to consistently freeze your subject. This especially holds true when light conditions are changing, or when your subject and background are not consistent.
Shutter Priority can also be used when you’re handholding a telephoto lens, or when you yourself are moving and photographing. Just remember to be aware of the potential limitations your camera may face, and have fun experimenting!
Tell your story with the second annual Visual Storytelling Conference!
Experience four days of interactive, online training sessions featuring a range of educational content with experienced photographers and content creators. This free event kicks off with a series of technical boot camps to build essential skills, followed by live, online sessions on photography, video, business and social media. Join live from March 10-13, 2022!