As a working photographer, I’m always looking for the most efficient way to create high-quality images. There are hundreds of things to keep track of during a photoshoot, but nailing the exposure is definitely one of the most important. Choosing the right exposure mode can make or break your photo experience.
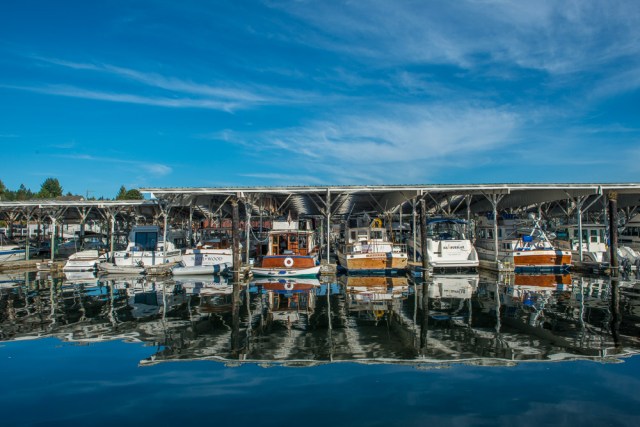
Modern cameras generally give the photographer four exposure modes to choose from: programmed auto, manual, shutter priority, and aperture priority. For my work, I’ve found that aperture priority works best for most shooting scenarios. In fact, I use this exposure mode for about 90% of my outdoor, travel, and street photography. Aperture priority mode is such a reliable and fast way to shoot that I can’t help but recommend it to most photographers.
What is Aperture Priority?
Aperture priority is an auto exposure mode where the photographer manually chooses the aperture value and the camera automatically sets the shutter speed. The camera uses its exposure metering system to adjust the shutter speed to produce the final exposure. Aperture priority works with any of your camera’s light metering modes, including matrix, evaluative, multi-pattern, average, center-weighted, partial, highlight priority and spot.
Nikon, Sony, Fuji, and Panasonic designate aperture priority with the letter A while Canon designates aperture priority with the letters Av.
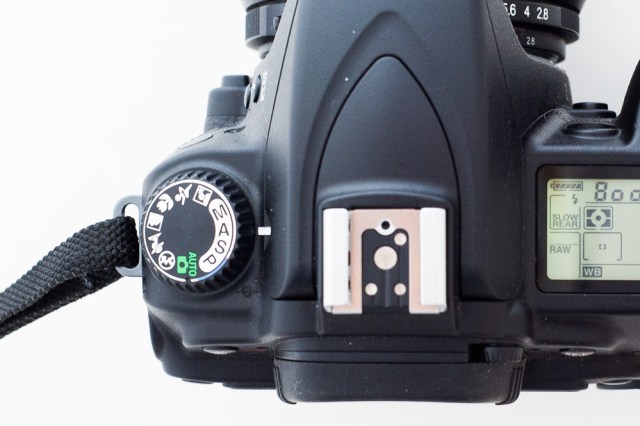
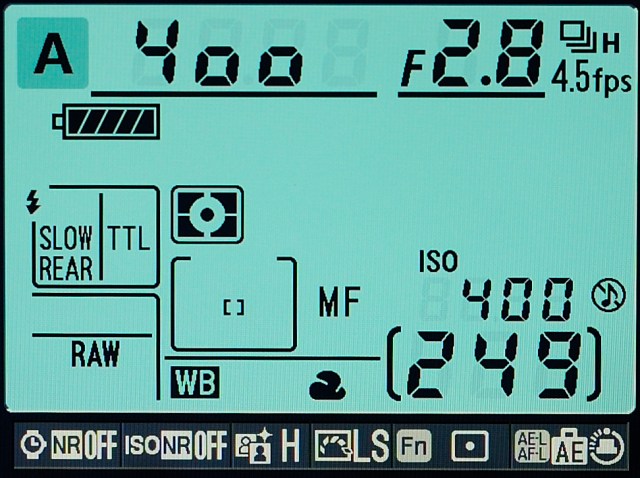
How to use Aperture Priority
In general, the reason why aperture priority is so useful is that it is fast. This exposure mode allows a shooter to change aperture on the fly while the camera follows along by rapidly making shutter speed decisions.
Most photographers use depth of field to help tell their visual story. A shallow depth of field allows you to keep the viewer’s attention on the subject while a great depth of field allows the viewer to explore the entire picture by looking at all the details of the scene.
Let me go through a variety of shooting scenarios and describe how I use Aperture Priority in the real world.
For landscapes
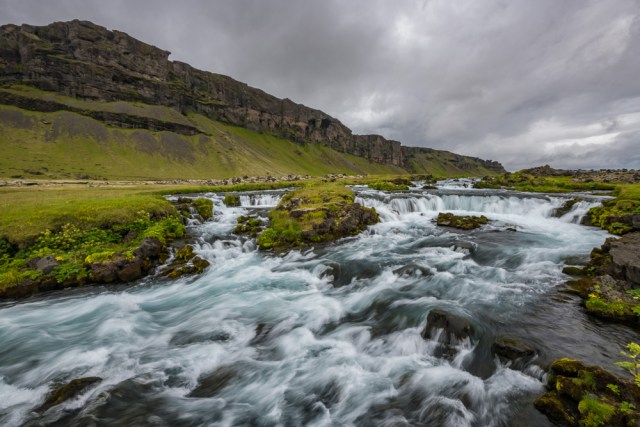
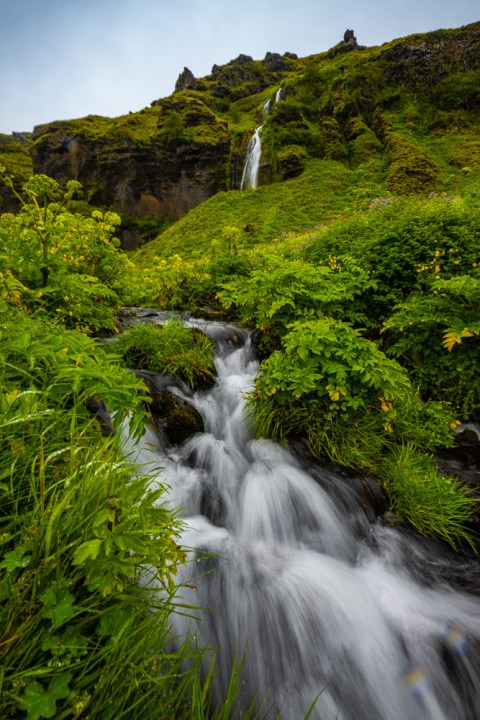
The overriding concern with landscape photography is to maximize depth of field. Therefore, I generally set my aperture for f/16 and then focus at the hyperfocal distance for that scene. If I need longer exposures to blur water or clouds, then I use a neutral density filter to block anywhere from 2 stops to 8 stops of light. Aperture priority works just fine with neutral density filters and long exposures up to about 30 seconds on most cameras. If you need longer than 30-second exposures, then you’ll have to switch your camera to manual exposure and bulb mode.
Aperture Priority for ambient light and continuous light portraits
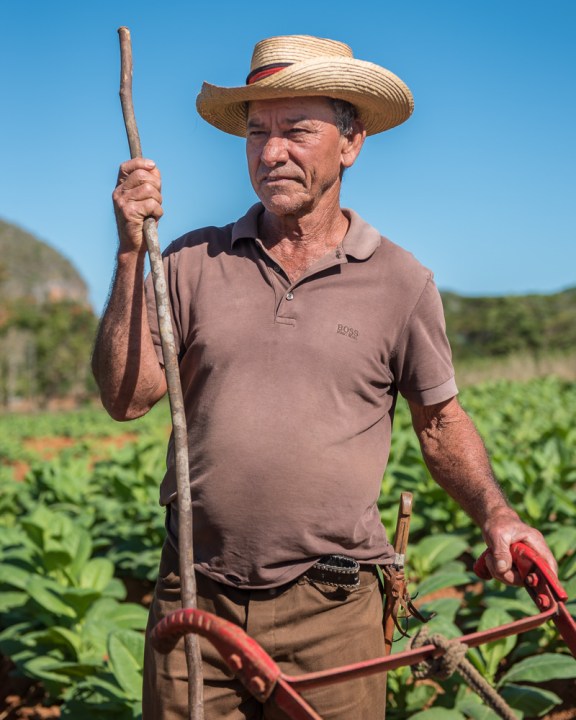
For continuous light (i.e. daylight, incandescent bulbs, fluorescent lights), aperture priority is a great option for your portraits. In most portrait scenarios my goal is to blur out the background, so I choose a larger aperture like f/2.8 or f/4. I also use a longer lens like an 85mm or 105mm to help further isolate the subject from the background.
I normally don’t use aperture priority for my in-studio portraits because I’m typically using strobes and flashes. The very nature of aperture priority is to adjust the shutter speed for ambient light. In the studio, the camera’s meter would assume you want a long exposure which will add significant ambient light to your flash exposure. This won’t help you achieve the look you are after!
For sports, action and wildlife
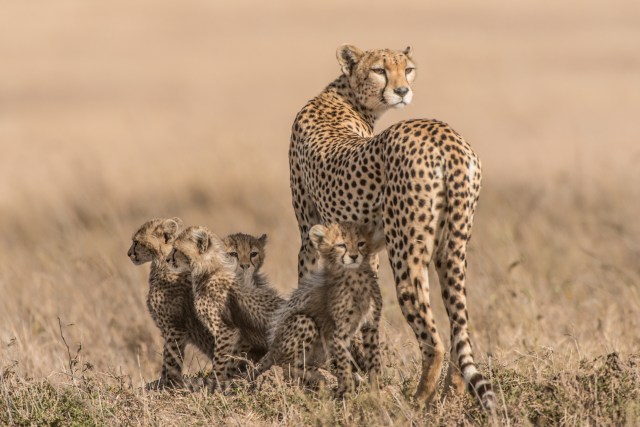
Most people would say that you should use shutter priority for sports, action, and wildlife, and I tend to agree with them. I do however sometimes use aperture priority in conjunction with Auto ISO for these situations. My preference for these types of images is to have a narrow depth of field, so I set my aperture for f/2.8 or f/4. At the same time, I set my Auto ISO to make sure my shutter speed never drops below 1/1000 sec to help prevent motion blur.
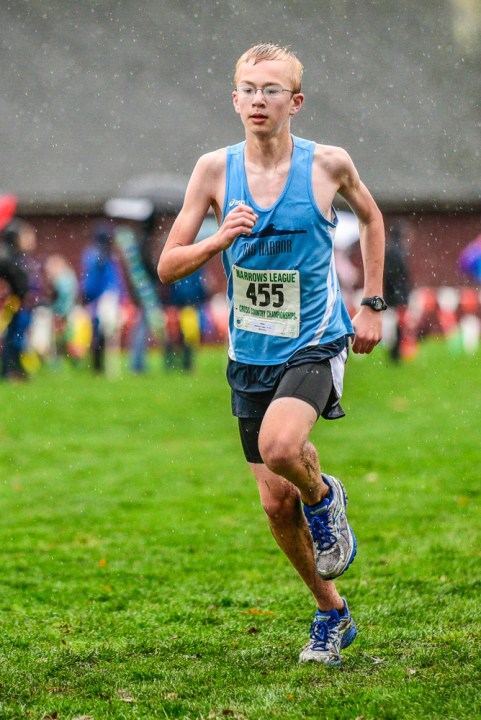
I will change my aperture to f/8 or f/11 if I need more depth of field in situations where I’m tracking two athletes or multiple wild animals. Again, aperture priority allows me to make the depth of field decisions very quickly.
Aperture Priority for travel and street
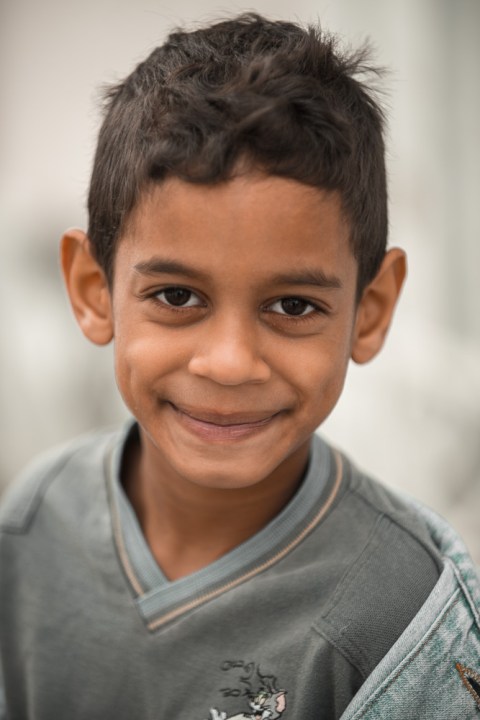
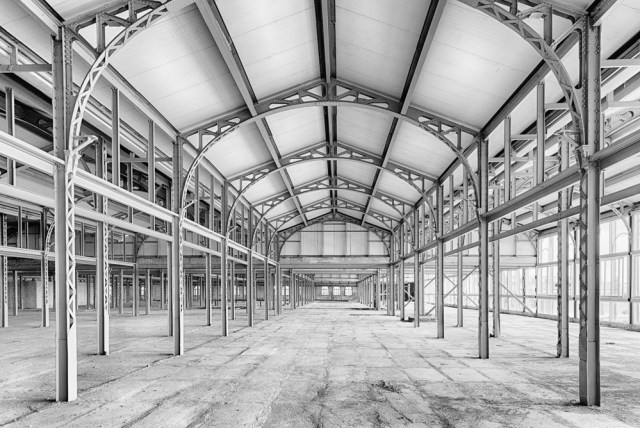
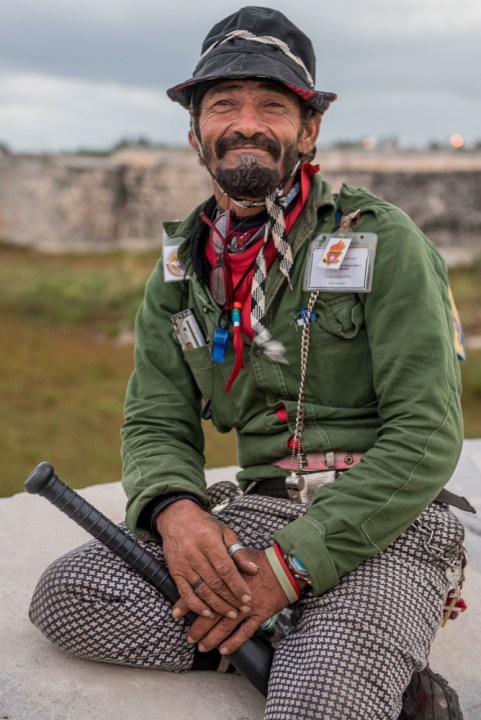
When I’m traveling, I make heavy use of depth of field to help tell the story of the scene I’m capturing. If I’m photographing a cityscape then I’ll set my aperture to f/11 or f/16 to render everything in focus. If I’m taking a street portrait then I’ll set my aperture to f/2.8 or f/4 to help separate them from the background with a limited depth of field.
Aperture Priority for macro and close-up
For macro work, I’m often balancing depth of field with shutter speed. Ideally, I need just enough depth of field for the flower to be in focus while the background remains blurry. Also, I’m often concerned about the wind blowing the flower resulting in a soft image. When using aperture priority for macros, I generally start at f/5.6 or f/8 and then press my depth of field preview button to get a sense of what’s in focus and what’s out of focus.
(Editor’s note: Depth of Field preview is a button that stops the lens down to the working aperture. The scene in the viewfinder darkens, sometimes significantly. This view allows the photographer to see what will actually be in focus.)
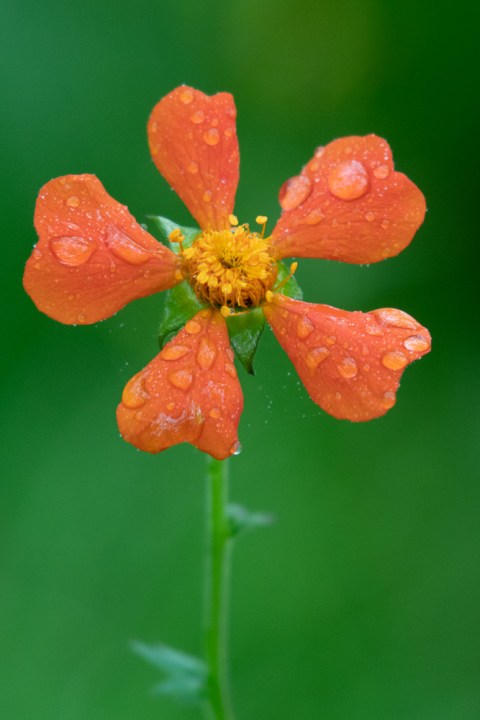
Once I’ve settled on my aperture, then I check out my shutter speed to ensure it will be fast enough to prevent any motion blur from the moving flower. If I need a faster shutter speed, then I increase ISO until I’m happy with my final exposure.
What’s next?
There’s lots more to aperture priority than I’ve discussed here but I hope this at least helps you understand how useful it is for most shooting situations. If you haven’t spent time shooting in this exposure mode, then I encourage you to spend a few days testing it out. I think you’ll find it to be an efficient and logical way to create images.
Let me know about your experience with aperture priority in the comments below.
Tell your story with the second annual Visual Storytelling Conference!
Experience four days of interactive, online training sessions featuring a range of educational content with experienced photographers and content creators. This free event kicks off with a series of technical boot camps to build essential skills, followed by live, online sessions on photography, video, business and social media. Join live from March 10-13, 2022!
