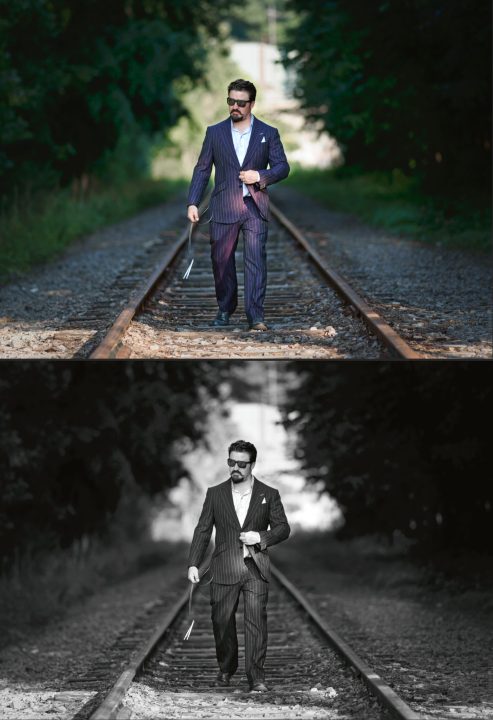
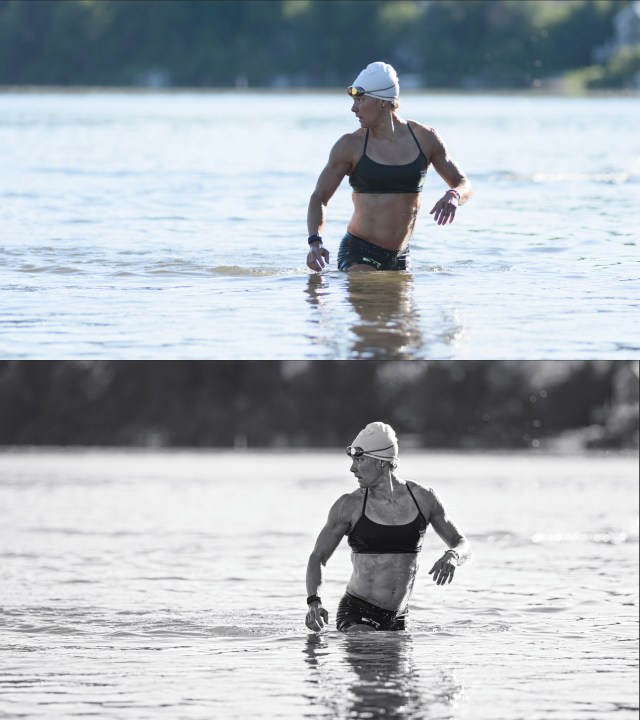
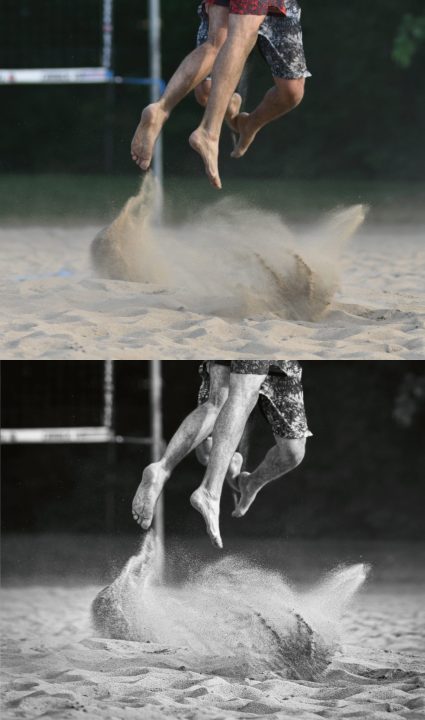
Do your images sometimes lack punch or a “WOW” effect? Are you looking for easy ways to fix it? This article is for you! Here’s how to simply create powerful black & white images.

How to choose the right image
Here are a couple of things to look for when choosing a candidate for a great black and white picture.
Look at the background
To get an eye-catching image, the subject should detach itself from the background by being lighter or darker.

Look for high contrast
I realized I tend to edit more black and white pictures in the summer when I am shooting outdoors — the sun creates images with high contrast. It is often undesirable for colored pictures because of the blown-out highlights and crushed shadows (no detail in either highlights or shadows.) These types of photos can turn out to look great in black and white.
Squint!
My good friend Geneviève gave me this advice when I first started photography. She told me to squint while looking at my pictures. If I could see shapes detaching themselves from each other, it would likely do a good black and white. If everything became blurred and unrecognizable, then it was probably not!

2. Editing your B & W
Once you’ve decided which image you want to convert, here’s the fun part!
Play with highlights and shadows
Whether you are using Lightroom, Photoshop, Luminar, Aurora or any good editing software, you should have either access to “Curves,” an “Exposure” and a “Highlights/Shadows” tool. I love to play with those once my conversion is done, as it adds more contrast to my image. I want my lightest highlights to come close to “white” and my darkest shadows to come close to “black.”
Add texture and definition
Terms like “Clarity,” “Structure,” “High-Pass,” “Sharpen” and “Details” are what you are looking for. You want your picture to have that 3D feeling, even if it is B & W.

Play with color sliders (aka “the 50 Shades of Gray tip”)
Although reading the “50 Shades” books is optional, making sure to have more than Fifty Shades of Grey in your image is not! Colored pictures are made with millions of subtle colors. Don’t make the mistake to think that because it is B & W it is made up of just those two. The more range of grays your image has, the richer and deeper it will look. Most raw editing software includes controls for changing the colors’ hue, saturation and luminance. These sliders are available in black and white raw effects as well. One of my favorites is to brighten lighter skin by increasing the values of red and orange. See what I mean for yourself!
Add creative effects
I suggest high contrast B & W. You can also decide to go for a softer, matte effect. You simply have to lower highlights (making them more “really light gray” than pure white with no detail at all) and raise the shadows (making them more “dark gray” than black). You can also explore with split toning, sepia tones and even adding some grain and/or noise for the older-fashioned film look.
B&W rocks
As you can see, B & W is a cool and fun way to edit your favorite pictures. To bring the best out of mine, I’ve used Skylum’s Luminar 2018. The “Accent AI filter,” “Structure” and “B & W Conversion” have been my favorite filters to play with for the purpose of this article. If you are looking for other suggestions and for new images to create to play with B & W conversion, have a look at “How To Make Self-Portraits: The Cheap And Easy Way.” Fun guaranteed!
Pour la version française de cet article, cliquer ici.
(Editor’s note: Making photographs on an active railway is not only a flagrant violation of safety, it is also seriously illegal. Michèle Grenier, the author of this article, made the accompanying photographs on abandoned tracks. Read this post for more info.)
Tell your story with the second annual Visual Storytelling Conference!
Experience four days of interactive, online training sessions featuring a range of educational content with experienced photographers and content creators. This free event kicks off with a series of technical boot camps to build essential skills, followed by live, online sessions on photography, video, business and social media. Join live from March 10-13, 2022!
