
This is another post about going with the flow. You may remember, I planned to go out and capture Milky Way sky over the red rocks of Sedona. My cloud app said skies would clear. They did. Over my head. Unfortunately, to the south and west clouds covered my target. So, pivot I did and tried a different plan.
Panoramic captures and processing
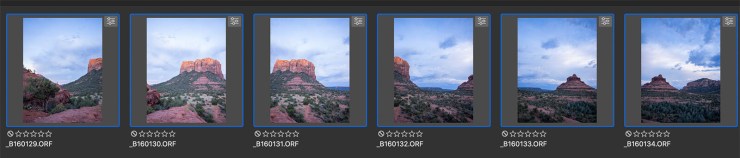
I moved to shoot the horizon as a panorama. In my head I changed to an art piece. The beginning starts with the capture. A panoramic head is helpful in getting the images and having them blend together easier in the software.
Photomerge
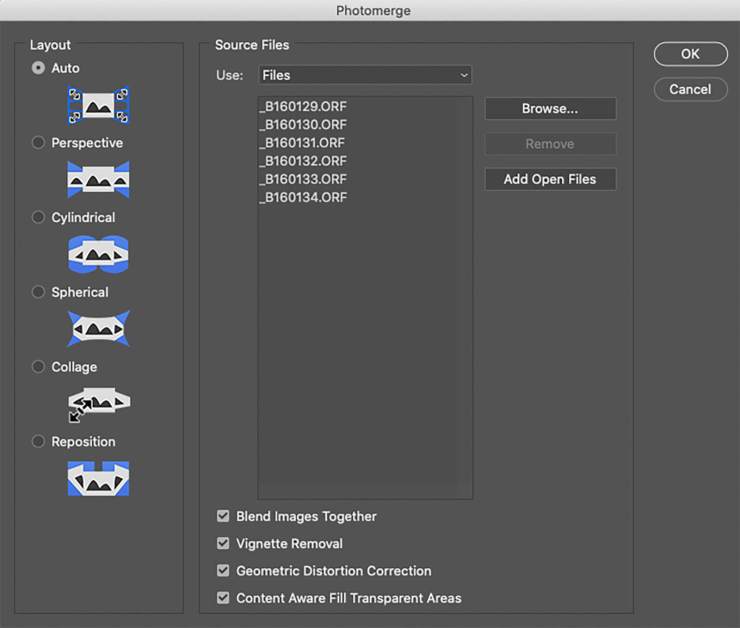
Photoshop allows you to invoke several mapping methods which can lead to better, or worse, stitching results. I almost always start with the Auto selection. Many times it will return a fine result. If the resulting stitching is less than satisfactory it’s time to try some different settings.
Settings

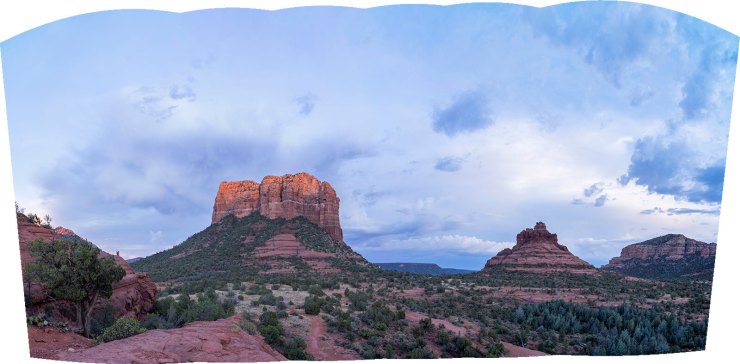
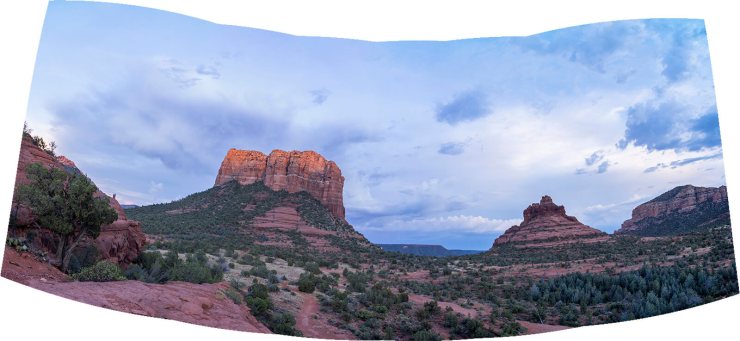
Under the Auto setting you’ll find additional tic boxes. I usually start with checking them all. That led to the first result above. I was surprised at the outcome as the images were photographed with a panoramic head. Using a panoramic head usually makes it easy for the software to return a good result.
Redoing the Photomerge, this time with the Geometric Distortion box unchecked, I got the panoramic used to complete my image.
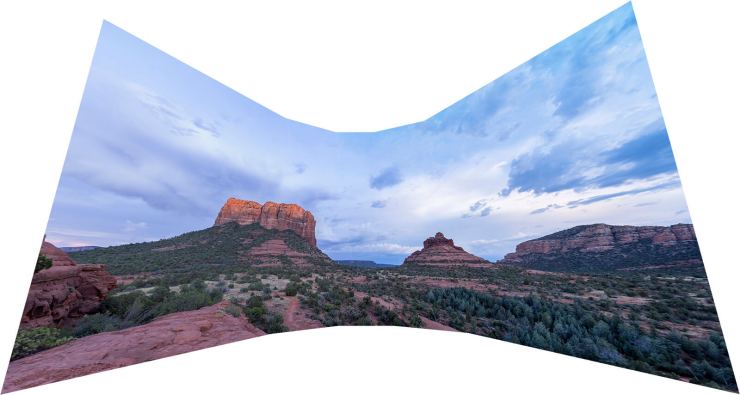
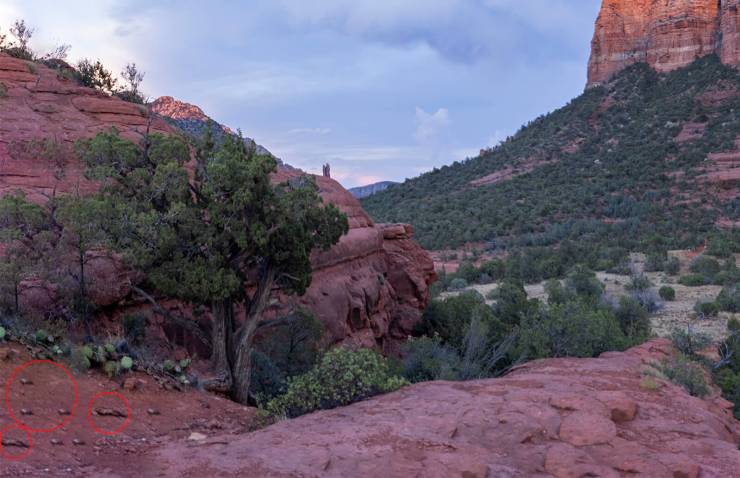
But that led me to experiment with other mapping methods. You can see those experimental results below. I highly recommend getting in to your software experimenting and playing. I know I’ve learned a lot just by asking, “What if I did this? Or, that with various settings?”
An art article follows

Stay tuned for two additional articles with this series, all about photographing with a plan, but ending with a different result. I pushed the images one step further utilizing Photoshop’s Blend Modes and textures to create an artistic look.
Yours in Creative Photography, Bob
Tell your story with the second annual Visual Storytelling Conference!
Experience four days of interactive, online training sessions featuring a range of educational content with experienced photographers and content creators. This free event kicks off with a series of technical boot camps to build essential skills, followed by live, online sessions on photography, video, business and social media. Join live from March 10-13, 2022!