Does your macro photography make you feel a bit uninspired? Not quite getting the shots you were looking for? Are you making these mistakes with your macro photography? Perhaps we can help with that.
Auto White Balance
.mgl-tiles { display: none; } #mgl-gallery-634eba4297bbe { margin: -5px; width: calc(100% + 10px); } #mgl-gallery-634eba4297bbe .mgl-box { padding: 5px; } @media screen and (max-width: 768px) { #mgl-gallery-634eba4297bbe { margin: -5px; width: calc(100% + 10px); } #mgl-gallery-634eba4297bbe .mgl-box { padding: 5px; } } @media screen and (max-width: 460px) { #mgl-gallery-634eba4297bbe { margin: -5px; width: calc(100% + 10px); } #mgl-gallery-634eba4297bbe .mgl-box { padding: 5px; } }
Shot on Auto WB
Shot on Daylight 5500K
Love it or hate it, Auto White Balance can be your friend or it can be your enemy. I am often forgetting my WB entirely and leaving it on Auto. Sometimes I am really good and remember to set on Daylight (5500° Kelvin).
With the images below, the Auto WB gave a rather yellow light (on the left). But it was a winter’s morning and the light was softer and bluer. Of course, this can be entirely a personal choice. But setting or adjusting your white balance correctly can give you more accurate colors.
Shooting in direct sunlight
.mgl-tiles { display: none; } #mgl-gallery-634eba4298641 { margin: -5px; width: calc(100% + 10px); } #mgl-gallery-634eba4298641 .mgl-box { padding: 5px; } @media screen and (max-width: 768px) { #mgl-gallery-634eba4298641 { margin: -5px; width: calc(100% + 10px); } #mgl-gallery-634eba4298641 .mgl-box { padding: 5px; } } @media screen and (max-width: 460px) { #mgl-gallery-634eba4298641 { margin: -5px; width: calc(100% + 10px); } #mgl-gallery-634eba4298641 .mgl-box { padding: 5px; } }
Shooting in direct sunlight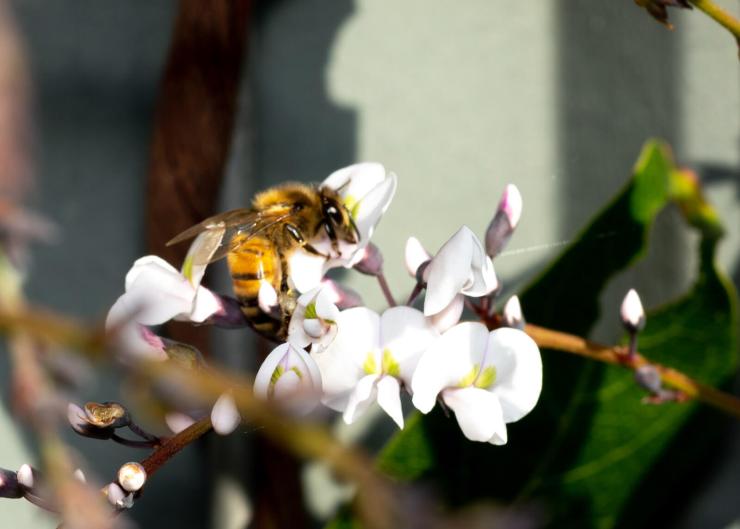
Shooting in shade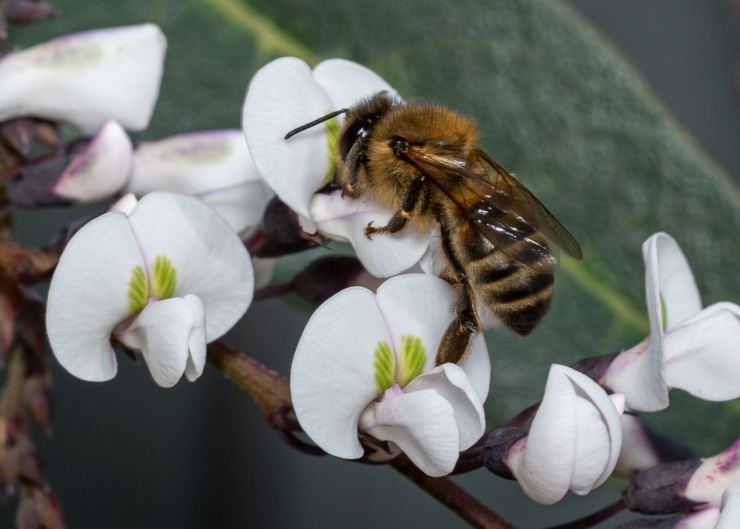
While you might think shooting in direct sunlight gives you more light (and it does), it also gives you harsher light with more hot spots and deep shadows. Instead, try working in shaded areas, or in softly lit areas. When the lighting is softer, it’s more even. Early morning and late afternoon can offer softer light, with the added bonus of early morning dew.
Using depth of field
.mgl-tiles { display: none; } #mgl-gallery-634eba4298eea { margin: -5px; width: calc(100% + 10px); } #mgl-gallery-634eba4298eea .mgl-box { padding: 5px; } @media screen and (max-width: 768px) { #mgl-gallery-634eba4298eea { margin: -5px; width: calc(100% + 10px); } #mgl-gallery-634eba4298eea .mgl-box { padding: 5px; } } @media screen and (max-width: 460px) { #mgl-gallery-634eba4298eea { margin: -5px; width: calc(100% + 10px); } #mgl-gallery-634eba4298eea .mgl-box { padding: 5px; } }
Shot at aperture f/2.8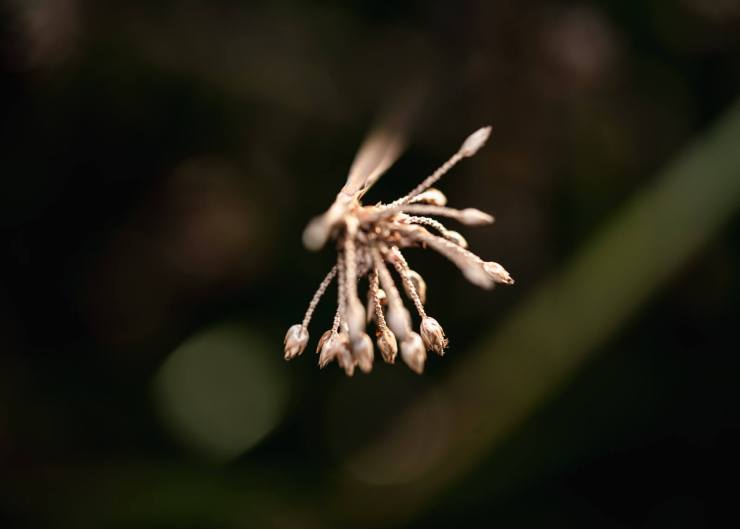
Shot at aperture f/9
Some people often think that because a macro lens shoots at f/2.8, then that’s what you should use to get that great bokeh and blur. And yes it does allow in more light too, as well as creating that lovely blur and soft bokeh. It’s not always the best aperture to use. Often, something like f/9 or f/11 will allow you to have everything in your shot in focus. It also often makes focusing easier — especially if you’re not comfortable shooting high aperture on macro.
Not using a flash
.mgl-tiles { display: none; } #mgl-gallery-634eba4299773 { margin: -5px; width: calc(100% + 10px); } #mgl-gallery-634eba4299773 .mgl-box { padding: 5px; } @media screen and (max-width: 768px) { #mgl-gallery-634eba4299773 { margin: -5px; width: calc(100% + 10px); } #mgl-gallery-634eba4299773 .mgl-box { padding: 5px; } } @media screen and (max-width: 460px) { #mgl-gallery-634eba4299773 { margin: -5px; width: calc(100% + 10px); } #mgl-gallery-634eba4299773 .mgl-box { padding: 5px; } }
Mix of sun and flash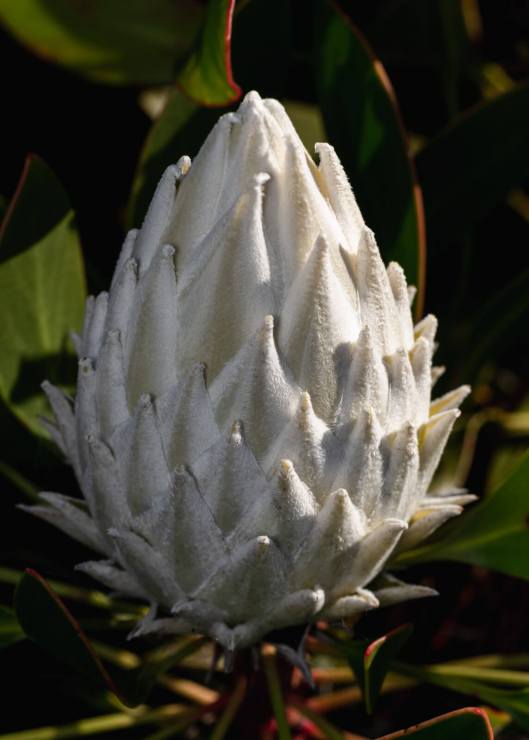
soft flash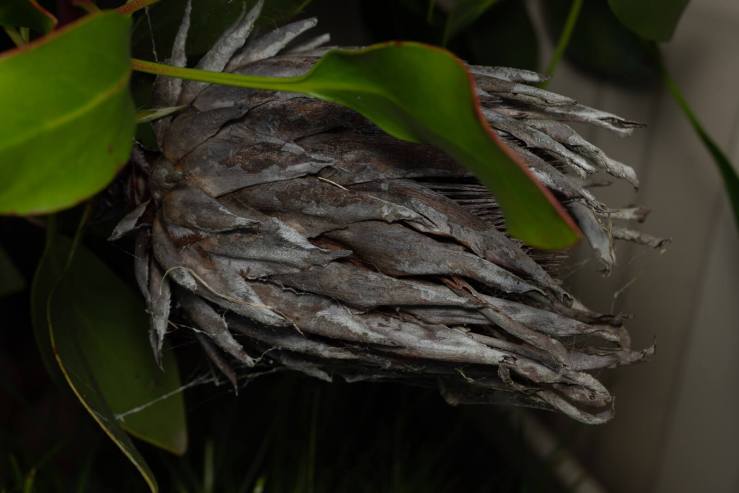
soft flash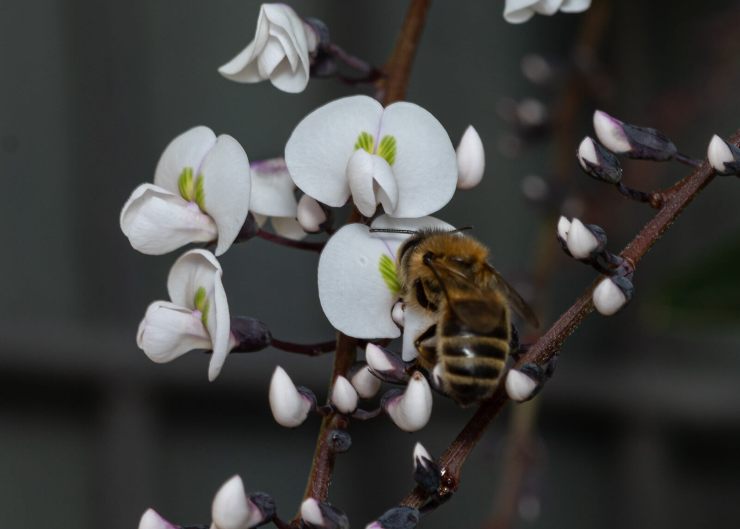
While working with a small aperture like f/9 or f/11 darkens your image down, and you’re (hopefully) working with indirect light, you will need to do one of two things. First, adjust your ISO to add light. Adjusting your ISO is not a bad thing, but it can also add noise to your image.
Or secondly, use a small flash. Direct sunlight is not great, but a flash can do wonders. Ring lights work too, but often they can be a little harsh. I have recently switched over to a small pocket flash and it’s fabulous. Of course, you can use a mix of sunlight and fill flash or just use the soft flash in shade.
Not using a diffuser
.mgl-tiles { display: none; } #mgl-gallery-634eba429a302 { margin: -5px; width: calc(100% + 10px); } #mgl-gallery-634eba429a302 .mgl-box { padding: 5px; } @media screen and (max-width: 768px) { #mgl-gallery-634eba429a302 { margin: -5px; width: calc(100% + 10px); } #mgl-gallery-634eba429a302 .mgl-box { padding: 5px; } } @media screen and (max-width: 460px) { #mgl-gallery-634eba429a302 { margin: -5px; width: calc(100% + 10px); } #mgl-gallery-634eba429a302 .mgl-box { padding: 5px; } }
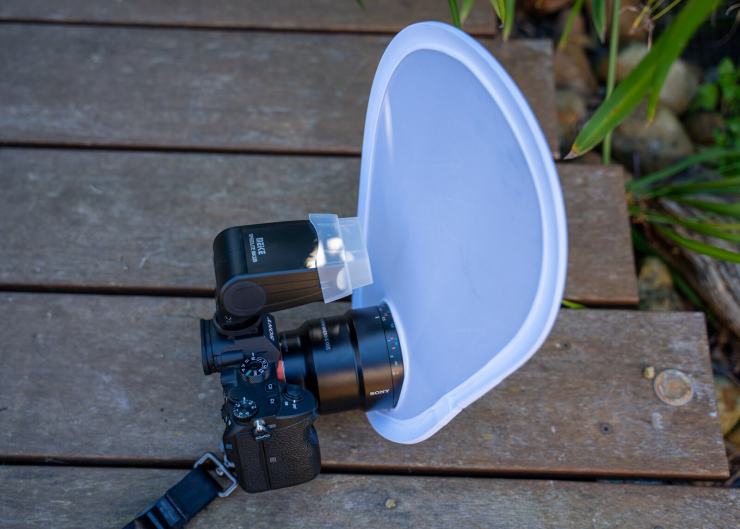
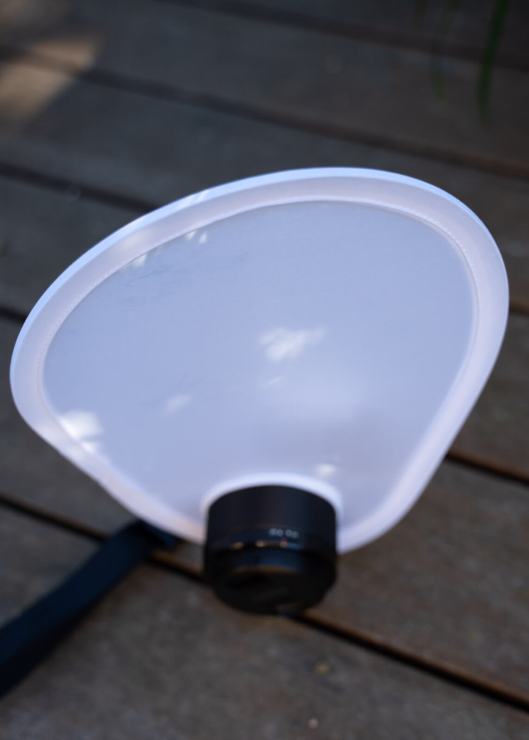
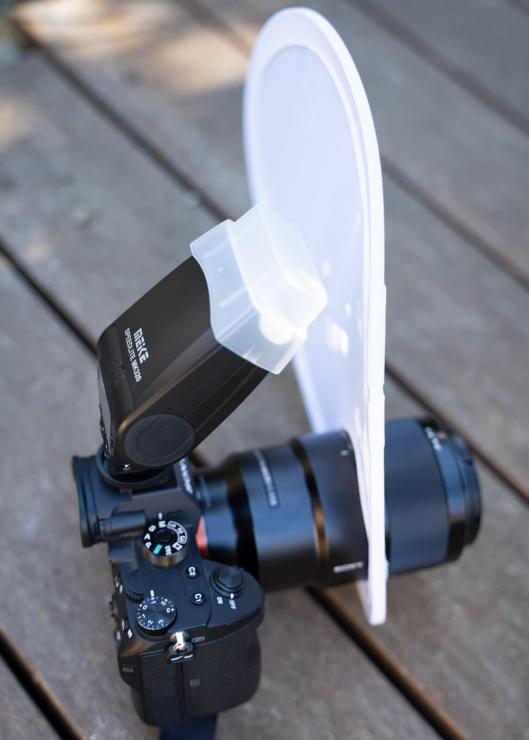
Now while I say use a flash, we still do not want direct light, so a diffuser is a great idea. Even without the flash, if you are working with sunlight, a handy little diffuser is brilliant. I have a pretty cool diffuser that fits on my lens and frees my hands up. It can also fold up and go in my pocket. You can take it off your lens and hold it to diffuse sunlight too.
Being lazy with angles
.mgl-tiles { display: none; } #mgl-gallery-634eba429ae37 { margin: -5px; width: calc(100% + 10px); } #mgl-gallery-634eba429ae37 .mgl-box { padding: 5px; } @media screen and (max-width: 768px) { #mgl-gallery-634eba429ae37 { margin: -5px; width: calc(100% + 10px); } #mgl-gallery-634eba429ae37 .mgl-box { padding: 5px; } } @media screen and (max-width: 460px) { #mgl-gallery-634eba429ae37 { margin: -5px; width: calc(100% + 10px); } #mgl-gallery-634eba429ae37 .mgl-box { padding: 5px; } }
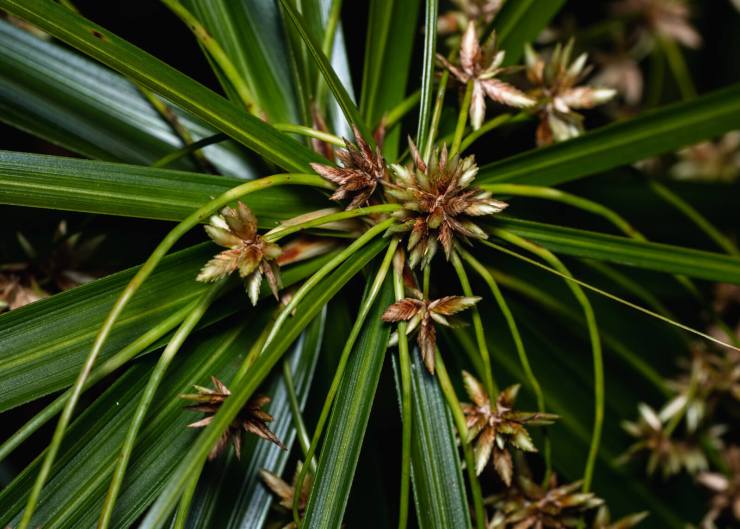
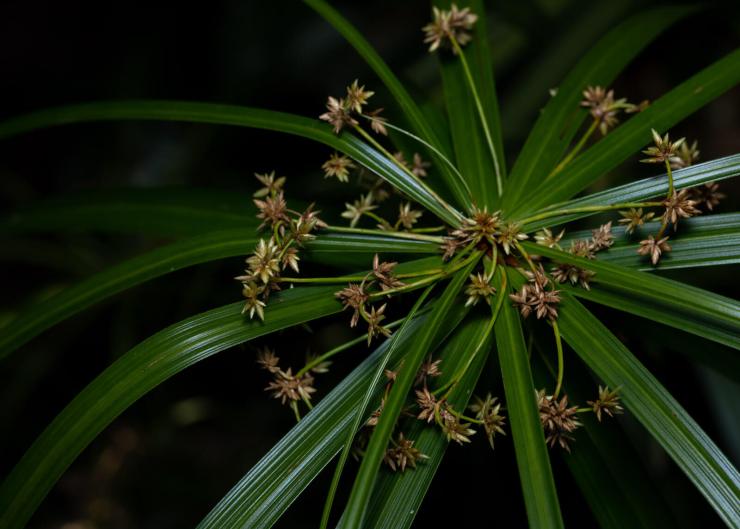
Don’t be lazy with your angles either. Don’t shoot straight on, move around your subject. Shoot top-down or shoot up and side-angles can work really well too.
Not being mindful of your background
.mgl-tiles { display: none; } #mgl-gallery-634eba429b62c { margin: -5px; width: calc(100% + 10px); } #mgl-gallery-634eba429b62c .mgl-box { padding: 5px; } @media screen and (max-width: 768px) { #mgl-gallery-634eba429b62c { margin: -5px; width: calc(100% + 10px); } #mgl-gallery-634eba429b62c .mgl-box { padding: 5px; } } @media screen and (max-width: 460px) { #mgl-gallery-634eba429b62c { margin: -5px; width: calc(100% + 10px); } #mgl-gallery-634eba429b62c .mgl-box { padding: 5px; } }
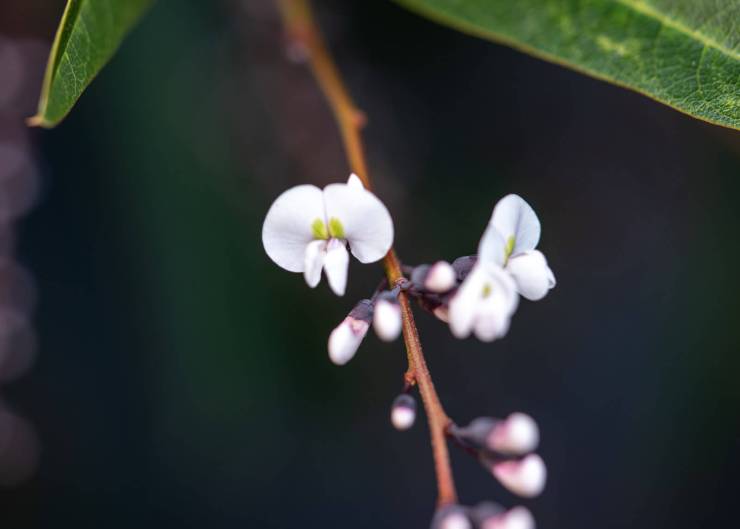
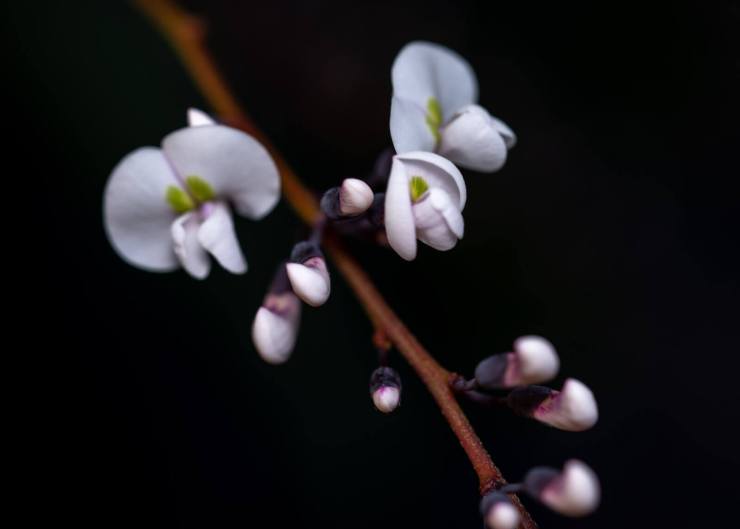
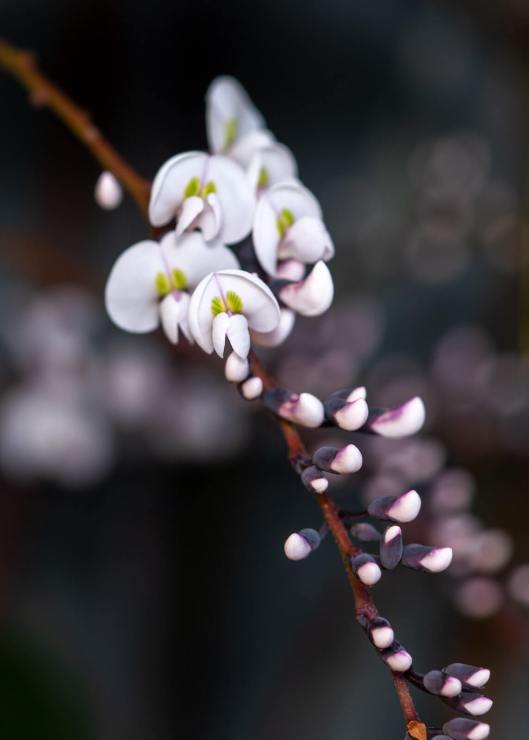
Don’t forget to keep an eye on what’s in your background. Make sure it is soft and muted, or dark, just not anything bright or distracting. If you like you can carry a small black reflector or piece of card with you to place behind your subject to block out distracting elements.
Not post-processing your images
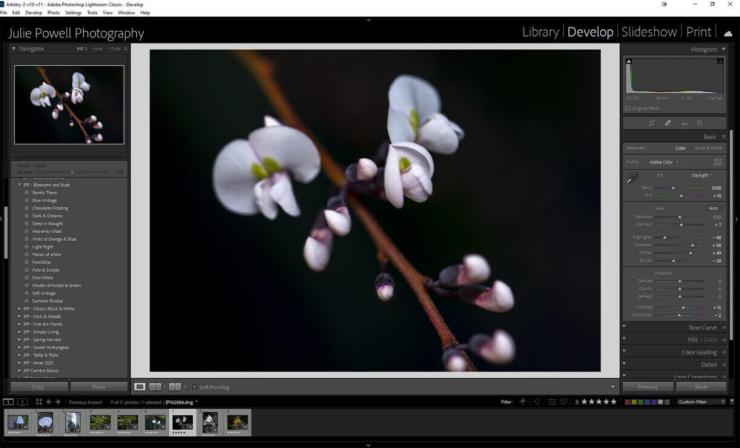
By shooting in RAW instead of JPEG, you will have so much more detail to work with in post. Regardless of what program you use, or how much processing you do, there is simply more data collected in a RAW file than a JPEG out of the camera.
How much post-processing you do is entirely up to you. I generally set the white balance, bring up the shadows and drop the highlights. Sometimes add a little white and even increase the vibrance (shooting in shade cane mute colors), but don’t go overboard.
Camera gear
I guess that brings me to gear. You can shoot with whatever gear you have — I used my Sony a7R III and Sony 90mm Macro lens. My mini-flash is the Meike MK320S and my nifty little diffuser was from Amazon. All images were photographed in my backyard. Just proves you don’t need to travel far for nice photos.
I hope these tips will help you get the macro photography you want by avoiding making these mistakes with your macro photography. If you would like to learn more about macro photography, check out my self-paced online class “A world in miniature.”
Tell your story with the second annual Visual Storytelling Conference!
Experience four days of interactive, online training sessions featuring a range of educational content with experienced photographers and content creators. This free event kicks off with a series of technical boot camps to build essential skills, followed by live, online sessions on photography, video, business and social media. Join live from March 10-13, 2022!
