Wedding photographers don’t have the luxury of a second chance to capture a bride and groom’s first dance. Here’s how — with a little coaching, lighting and teamwork — you can capture a beautiful moment that will be cherished for years.
Coach the bride and groom before the dance
A quick five-minute first dance rehearsal with the bride and groom before the wedding will ensure a great shot. Keep the tips to no more than five — any more will confuse them.
- Keep the bride’s hand off the groom’s neck so she doesn’t block his face.
- Put the bride’s hands on the groom’s shoulders or through his arm coming around to hold the back of his shoulder.
- Have the bride place one hand up near the groom’s neck, and her other hand on his arm.
- Avoid identical poses that mirror each other.
- Have them look at each other and stay connected; avoiding looking around.
.mgl-tiles { display: none; } #mgl-gallery-634eba7f0ef58 { margin: -5px; width: calc(100% + 10px); } #mgl-gallery-634eba7f0ef58 .mgl-box { padding: 5px; } @media screen and (max-width: 768px) { #mgl-gallery-634eba7f0ef58 { margin: -5px; width: calc(100% + 10px); } #mgl-gallery-634eba7f0ef58 .mgl-box { padding: 5px; } } @media screen and (max-width: 460px) { #mgl-gallery-634eba7f0ef58 { margin: -5px; width: calc(100% + 10px); } #mgl-gallery-634eba7f0ef58 .mgl-box { padding: 5px; } }
Keep the bride’s hand off the groom’s neck.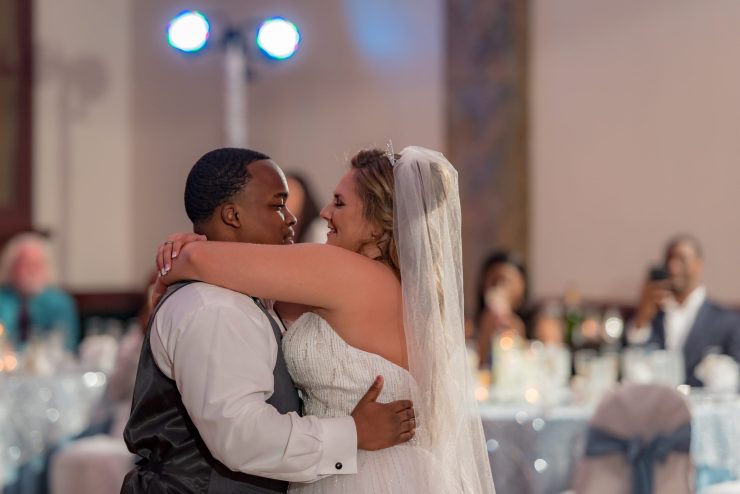
Have the bride place one hand up near the groom’s neck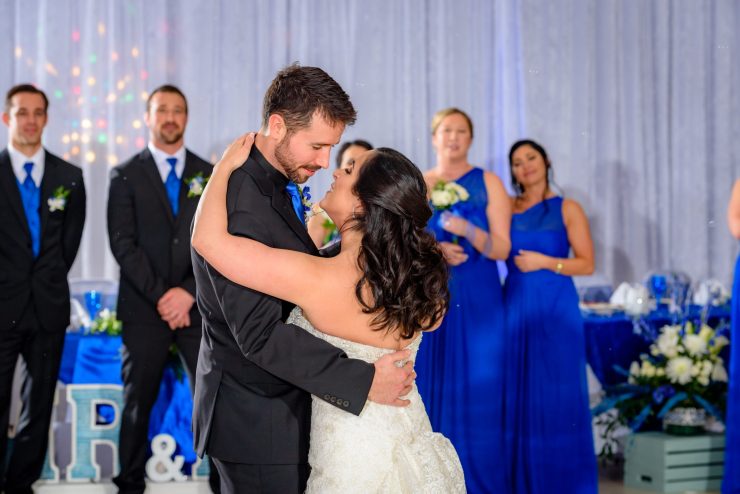
Have them look at each other and stay connected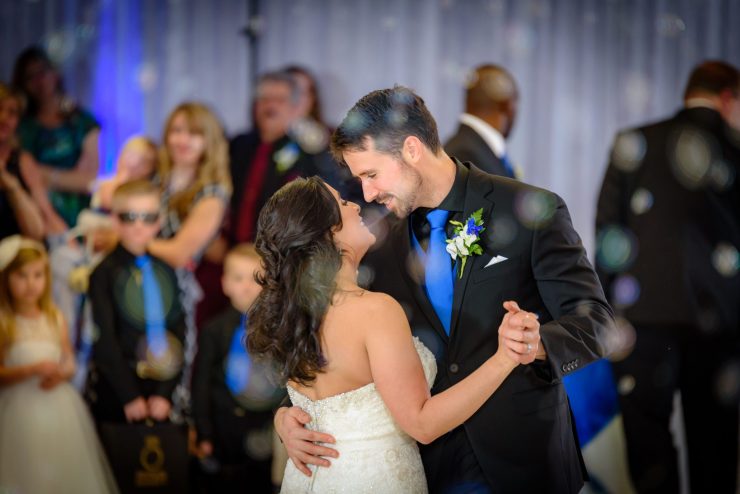
Simple cross-lighting
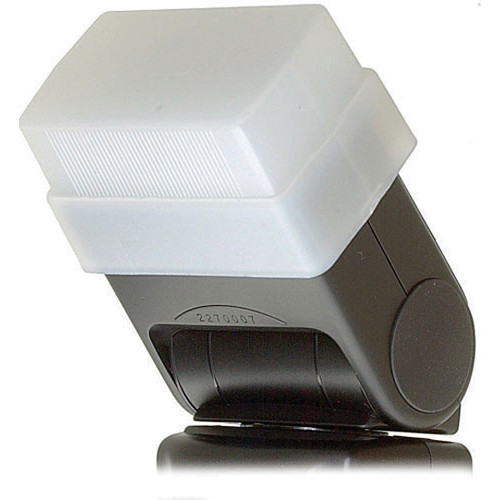
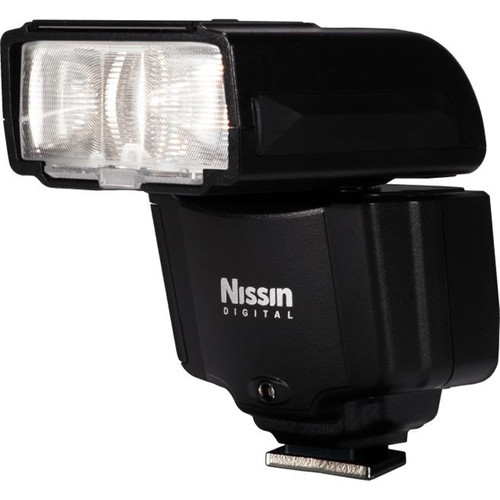
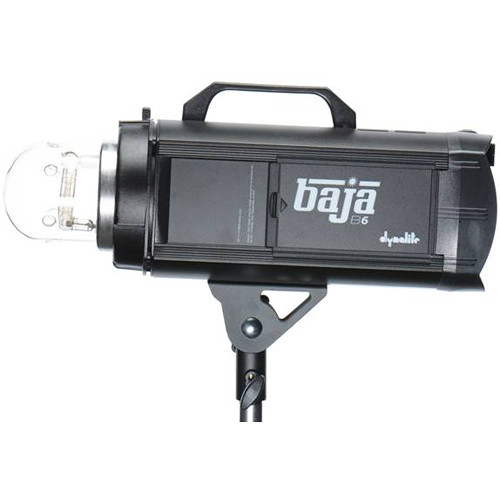
Place two lights directly across from each other with the bride and groom between them. If you’re using speedlights, use the clear plastic STO-FEN dome that is usually included with the light. Set the speedlight’s power to 1/8 to conserve its’ battery. If you are using a more powerful battery-operated monolight, use a 7″ reflector with a sock to soften the light.
With either setup, keep the lights high and aiming down. Set the camera to your desired aperture — usually f/2.8. Since the speedlight or strobes will freeze the action, you can use a slower shutter speed of 1/60s. This will help keep the ISO lower and help capture the ambient light.
The final ingredient to complete the exposure is ISO. Take a few quick test shots of a guest. If the image is too dark, increase the ISO. If the image is too bright, lower the ISO. Depending on your camera, a good starting point is usually between 800 and 1000 ISO.
.mgl-tiles { display: none; } #mgl-gallery-634eba7f0fcc6 { margin: -5px; width: calc(100% + 10px); } #mgl-gallery-634eba7f0fcc6 .mgl-box { padding: 5px; } @media screen and (max-width: 768px) { #mgl-gallery-634eba7f0fcc6 { margin: -5px; width: calc(100% + 10px); } #mgl-gallery-634eba7f0fcc6 .mgl-box { padding: 5px; } } @media screen and (max-width: 460px) { #mgl-gallery-634eba7f0fcc6 { margin: -5px; width: calc(100% + 10px); } #mgl-gallery-634eba7f0fcc6 .mgl-box { padding: 5px; } }

Capturing the moment
Capturing this special moment is the fun part! If you’re working with an assistant, have them on the opposite side across from you. Be mindful of not being in each other’s shots and shoot from different angles. Unless you want lens flare, be careful when shooting into the light.
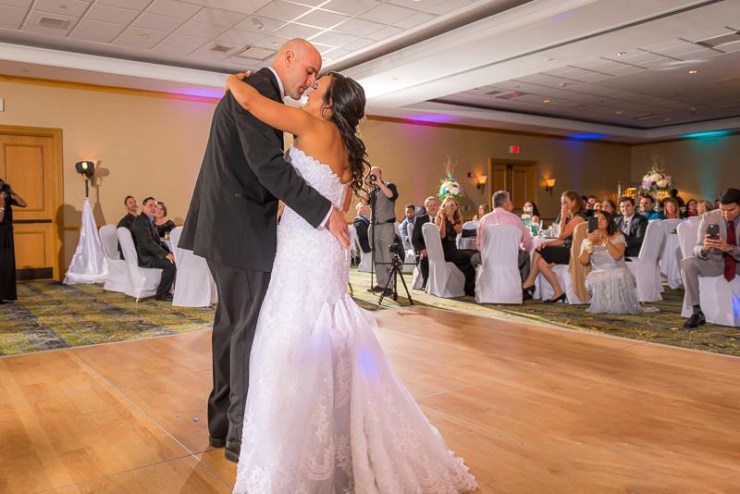
Follow these simple tips and commit them to memory. Soon they will become second nature and you will find yourself thinking less technical and more creative.
Editor’s note: This is a guest article from Florida-based wedding photographer Richie Acevedo. Richie was one of the first photographers mentored by Vanelli many years ago. Impressed with how far he has come, Vanelli suggested Richie start sharing his knowledge through writing and video tutorials.
Tell your story with the second annual Visual Storytelling Conference!
Experience four days of interactive, online training sessions featuring a range of educational content with experienced photographers and content creators. This free event kicks off with a series of technical boot camps to build essential skills, followed by live, online sessions on photography, video, business and social media. Join live from March 10-13, 2022!
