I admit I am no twitcher, but I don’t mind capturing the odd bird or two. I must say I prefer the ones that sit still, as I rarely seem to have much luck with birds in flight.
Still, my hit-and-miss rate is not great. So I asked a friend of mine and bird enthusiast Andrew Haysom for some super tips for getting the most out of my gear. I also reached out to Tamron ambassador David Akoubian (Bear Woods Photography) about his tips on capturing birds in flight.
I have been using my Sony a7R III and my Tamron 70-300mm lens.
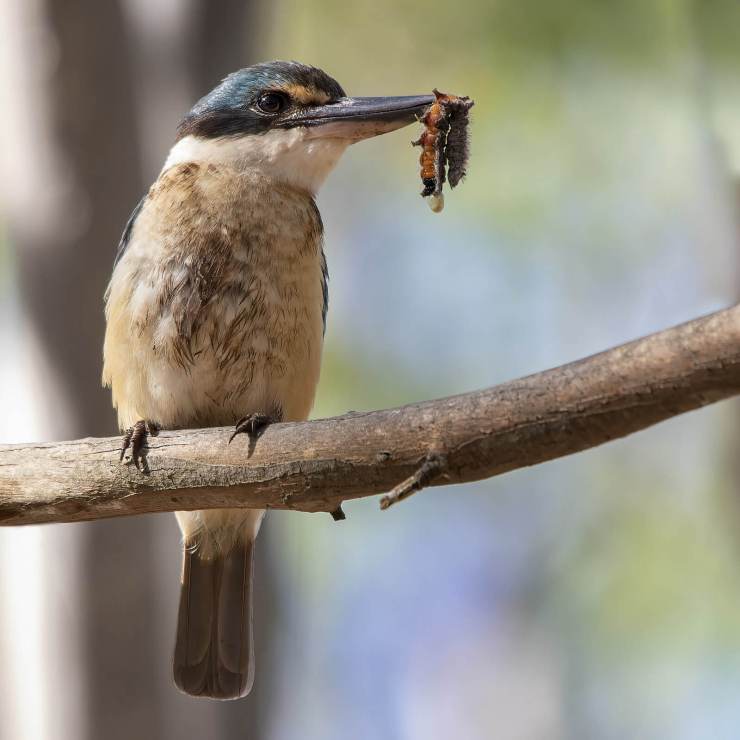
Lenses
I asked if my Tamron 70-300mm lens was enough, many birders seem to prefer a 600mm. Andrew told me “you’ll soon learn that any telephoto lens you own is NEVER long enough.” In saying that, what I had would be fine. He often uses a Tamron 150-600mm f/5-6.3 G2 lens with his Canon 7D II body.
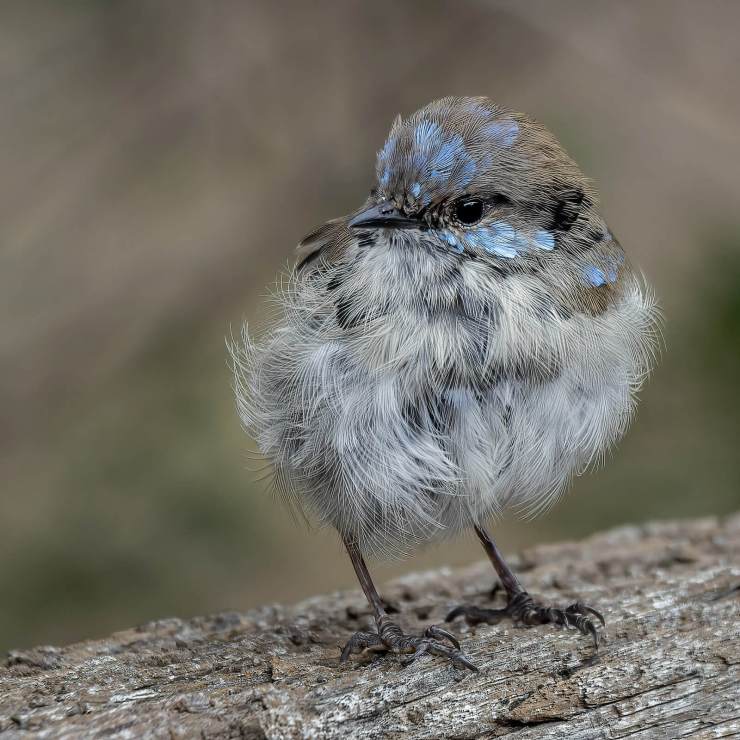
Also note that the bigger the lens, the bigger and heavier it will become, especially if you are carrying it all day. So perhaps consider some stabilization too.
- Try a monopod with a ball head
- Tripods can be used for stationary situations, but a monopod is more mobile and useful
- Gimbal heads can also be effective with really long lenses
- A bean bag can also be quite useful for stabilization
- Remember, a narrow-angle of view can take some time to get used to
- Having gear that is weather sealed is an advantage
Camera body
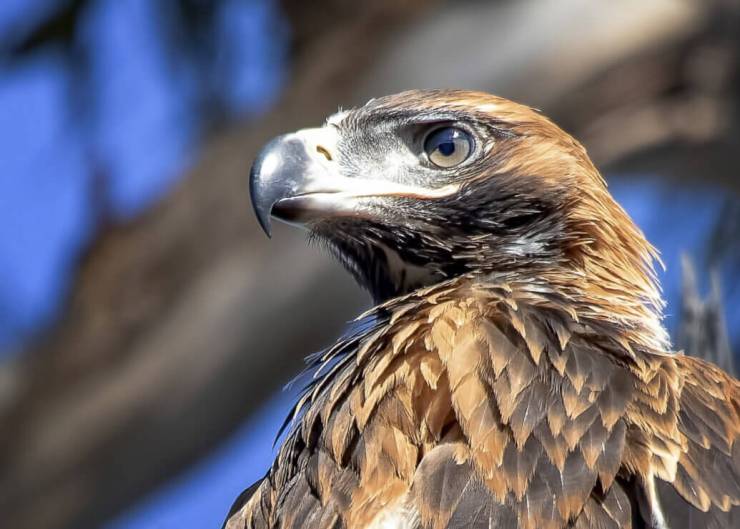
When it comes to capturing birds, sometimes a crop sensor camera has an advantage over a full-frame. A crop-sensor camera will “bring the subject closer,” essentially giving you more zoom. Most APS-C cameras have a crop factor of approximately 1.6, so a 600mm lens has a full-frame equivalent focal range of 960mm. That’s quite an advantage. There are a few other things to consider in your choice of camera as well:
- Good high ISO performance (helping to produce low noise)
- Weather sealing (but it’s a good idea to carry a few plastic shopping bags, too)
- Reasonable frame or burst rate for continuous shooting
- Fast memory cards for continuous shooting (and to stop all the buffering)
- Quiet mode — although apparently, a “click” can be handy for getting the birds’ attention too
Baseline camera settings for sitting birds
.mgl-tiles { display: none; } #mgl-gallery-634ebb7cc0bc4 { margin: -5px; width: calc(100% + 10px); } #mgl-gallery-634ebb7cc0bc4 .mgl-box { padding: 5px; } @media screen and (max-width: 768px) { #mgl-gallery-634ebb7cc0bc4 { margin: -5px; width: calc(100% + 10px); } #mgl-gallery-634ebb7cc0bc4 .mgl-box { padding: 5px; } } @media screen and (max-width: 460px) { #mgl-gallery-634ebb7cc0bc4 { margin: -5px; width: calc(100% + 10px); } #mgl-gallery-634ebb7cc0bc4 .mgl-box { padding: 5px; } }
Andrew Haysom – Eastern Yellow Robin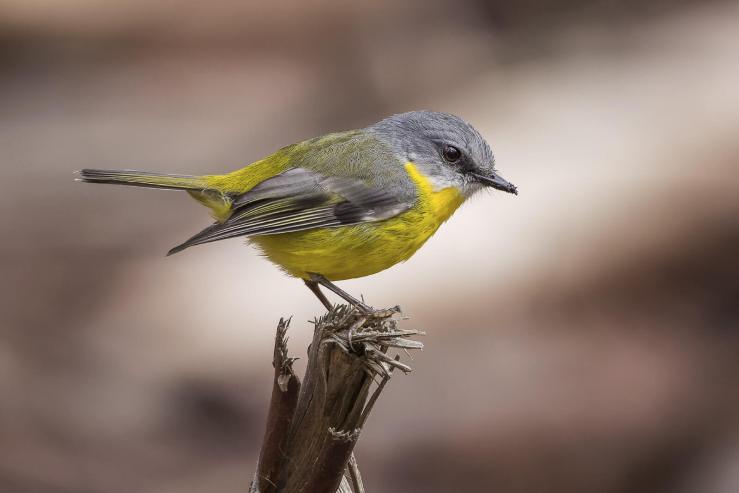
Andrew Haysom – Rose Robin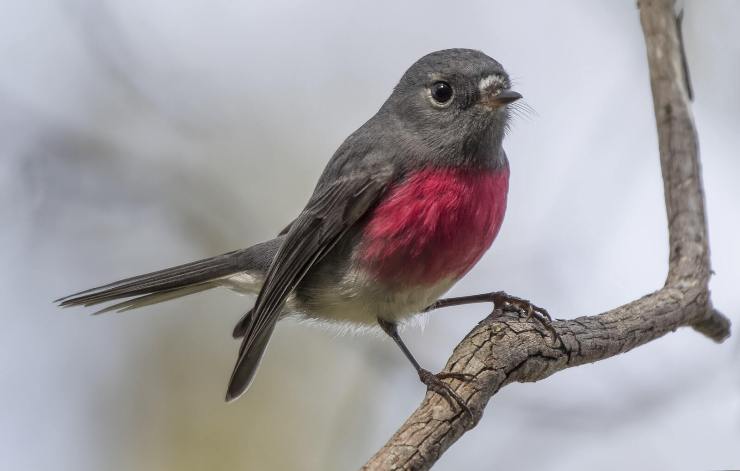
Andrew Haysom – Red Capped Robin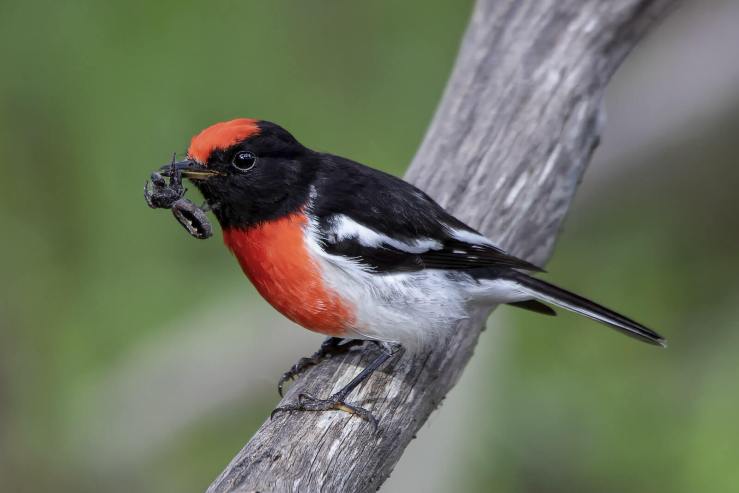
Having a “baseline” set of camera settings, and having them set to that before you head out, is a great idea. Now I know lots of people prefer different setups. I like Aperture Priority mode with Auto ISO and a minimum shutter speed (usually around 1/1000s). But here is what Andrew suggested and uses himself:
- Manual mode
- Auto ISO (no limits set)
- Metering mode to either Evaluate or spot metering in certain conditions
- Set shooting mode to high-speed burst
- Set your lens to autofocus and the autofocus to Continuous (AI Servo)
- Single focus point selected or easy adjustments for group focus for birds in flight
- Wide-open aperture (for instance f/4.5–f/6.3 on my 300mm)
- Shutter speed of 1/1000s. You can go up or down depending on the light (1/1600s) or whether it is birds in flight (1/2000s)
- Shoot in RAW mode, as this will give you much more latitude in exposure values during post-production
- Animal eye tracking, which can sometimes help. The dedicated bird eye-tracking on various other camera can also be even more useful.
Using back button focus
Andrew claims that switching to BBF is the best decision he ever made, and I must agree. In fact, I think it is a game-changer. BBF allows you to reassign the focus function from the shutter button to the back of the camera. That way you can focus with your thumb, instead of the original half press of the shutter button. But why is it a game-changer?
- Focus, recompose and shoot is much easier
- Easier timing and multiple shots
- Less chance of focus error if your subject moves
- Easier use of manual focus
Andrew’s tip for finding birds
“I will walk around to try and find ‘the flock’ and when I find some birds, I’ll then try and set up in a spot and wait. Often — Robins especially — when they’re hunting will keep returning to the same perch, or rotate between a number. So if there’s a nice branch in the sun, I’ll often get in a good spot (maybe hiding behind another tree or bush) with the sun on the bird, and wait.”
— Andrew Haysom
David’s tips for capturing birds in flight
.mgl-tiles { display: none; } #mgl-gallery-634ebb7cc1a41 { margin: -5px; width: calc(100% + 10px); } #mgl-gallery-634ebb7cc1a41 .mgl-box { padding: 5px; } @media screen and (max-width: 768px) { #mgl-gallery-634ebb7cc1a41 { margin: -5px; width: calc(100% + 10px); } #mgl-gallery-634ebb7cc1a41 .mgl-box { padding: 5px; } } @media screen and (max-width: 460px) { #mgl-gallery-634ebb7cc1a41 { margin: -5px; width: calc(100% + 10px); } #mgl-gallery-634ebb7cc1a41 .mgl-box { padding: 5px; } }
David Akoubian – Bald Eagle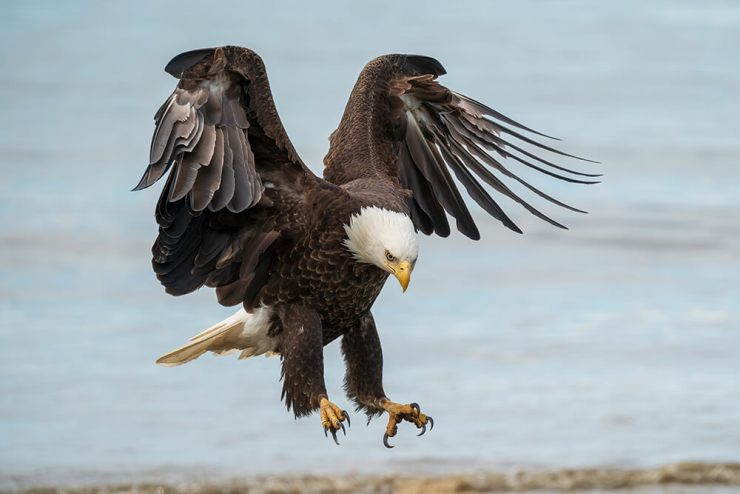
David Akoubian – Bald Eagle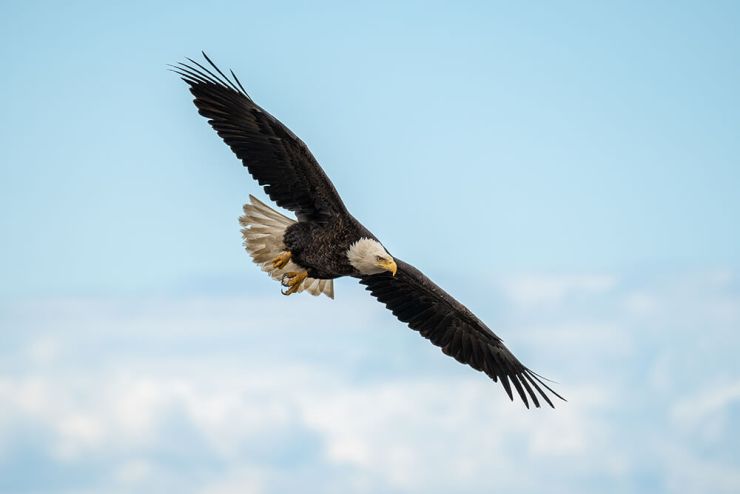
David Akoubian – Bald Eagle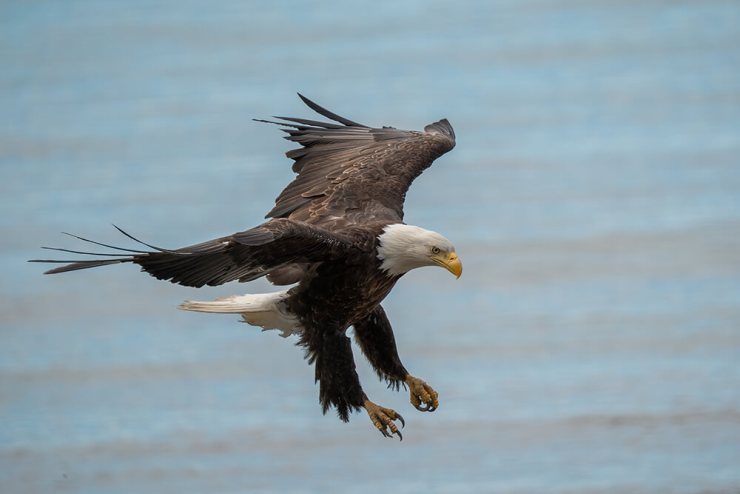
David Akoubian – Bald Eagle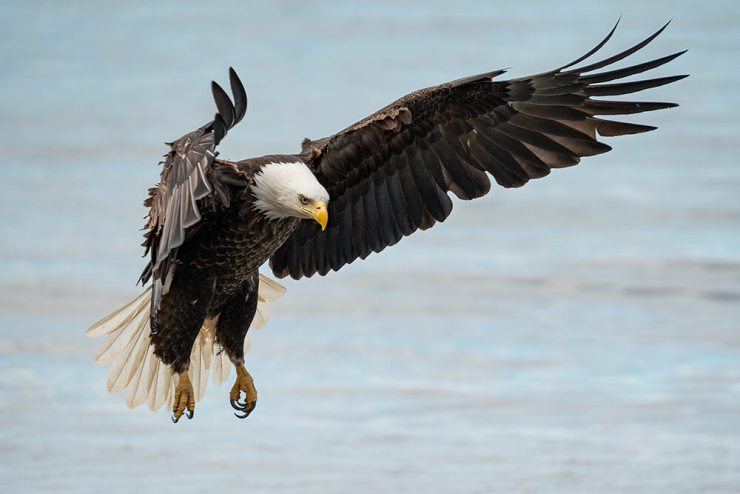
Like Andrew, David prefers to shoot in Manual mode, with a shutter speed of at least 1/1000s, f/8 and Auto ISO. Auto ISO will adjust for changing light, and if the subject is backlit, he will use the Exposure Compensation of about +1 stop to fill in the shadows. Most newer digital cameras handle noise very easily.
He also prefers to shoot in Continuous Focus mode to track the bird as it moves. Selecting a medium to a large area of the Focus Area to help the camera acquire the subject easier. And if your camera has an Eye Select function, it will work great on most birds in most light, therefore improving your keeper ratio.
Finally, he recommended swiveling at the hips as the bird flies by, which can help to give a smoother tracking while shooting.
I am personally still struggling with birds in flight, but with these tips, I have been getting some much better stationary shots. Obviously I’m not on par with Andrew’s or David’s amazing images (yet), but I’m definitely improving!
.mgl-tiles { display: none; } #mgl-gallery-634ebb7cc26dd { margin: -5px; width: calc(100% + 10px); } #mgl-gallery-634ebb7cc26dd .mgl-box { padding: 5px; } @media screen and (max-width: 768px) { #mgl-gallery-634ebb7cc26dd { margin: -5px; width: calc(100% + 10px); } #mgl-gallery-634ebb7cc26dd .mgl-box { padding: 5px; } } @media screen and (max-width: 460px) { #mgl-gallery-634ebb7cc26dd { margin: -5px; width: calc(100% + 10px); } #mgl-gallery-634ebb7cc26dd .mgl-box { padding: 5px; } }
Julie Powell – Cormorant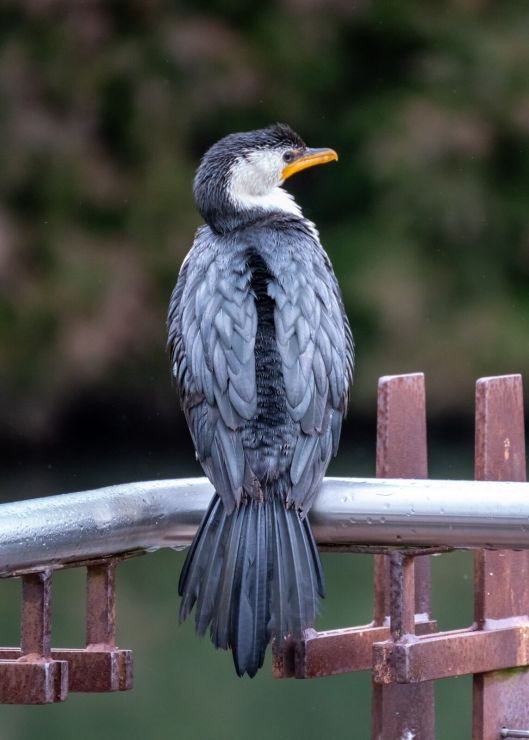
Julie Powell – Cormorant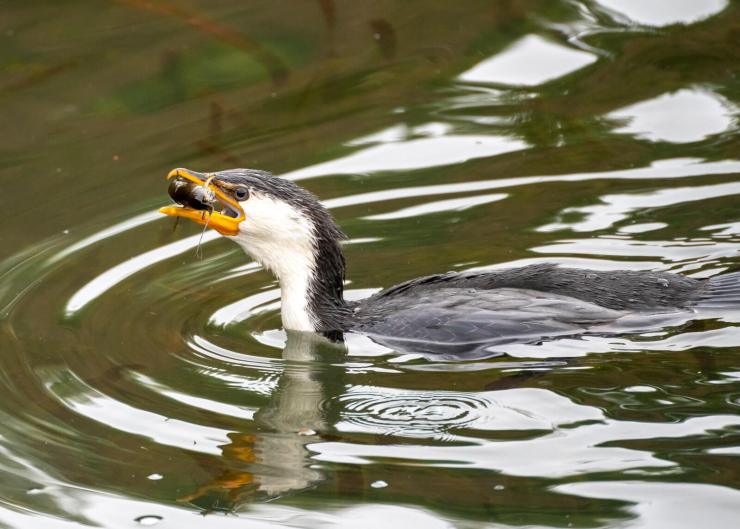
Julie Powell – Wattle Bird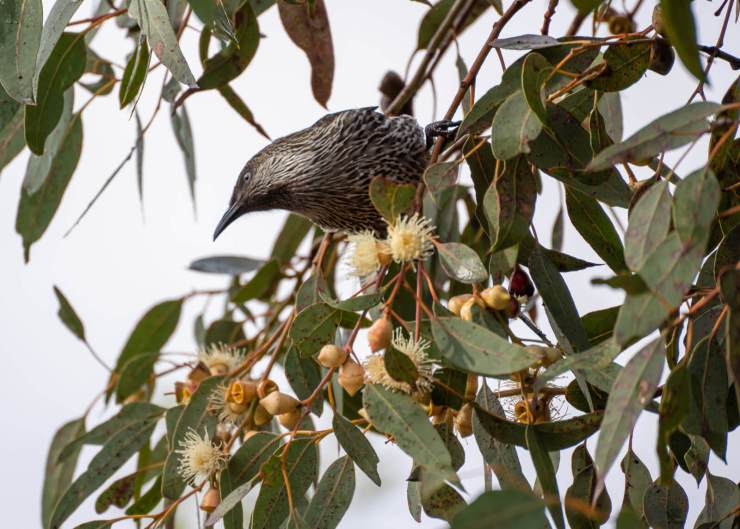
Julie Powell – Honey Eater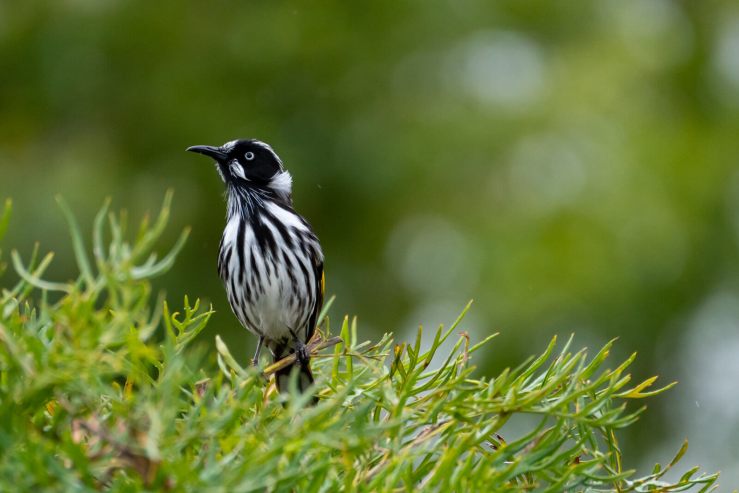
Julie Powell – Ibis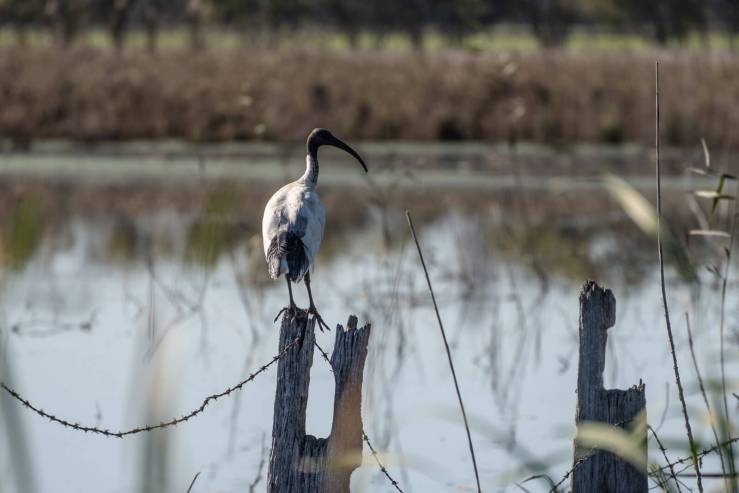
Julie Powell – Female fairy wren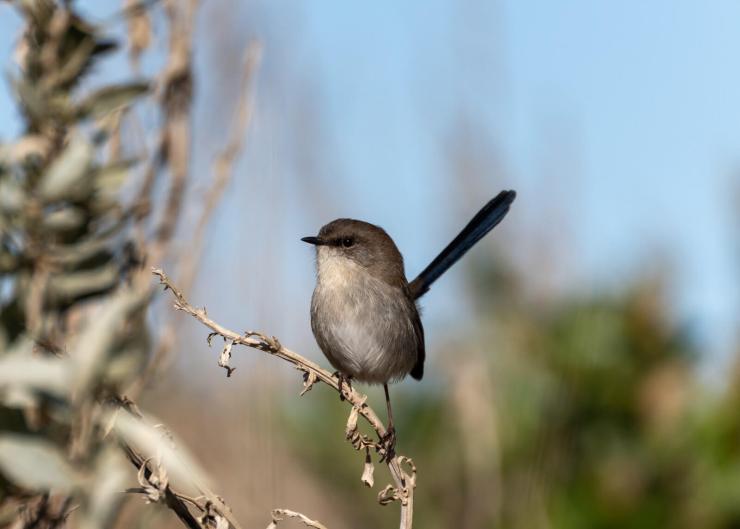
Julie Powell – Kookaburra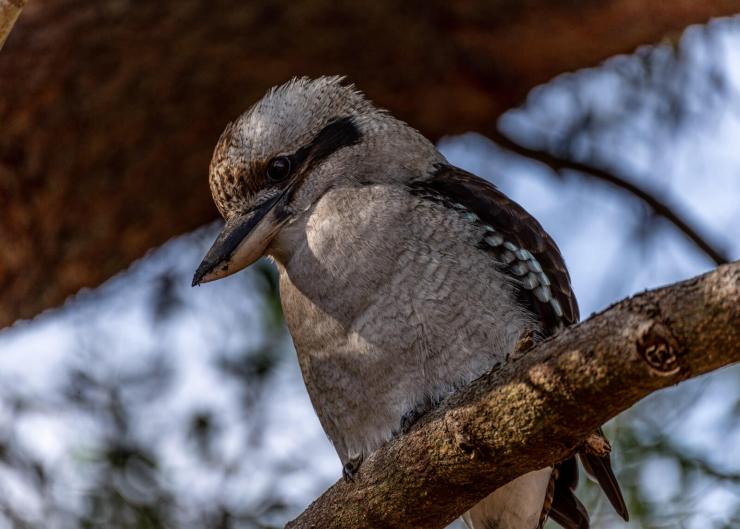
Julie Powell – Kookaburra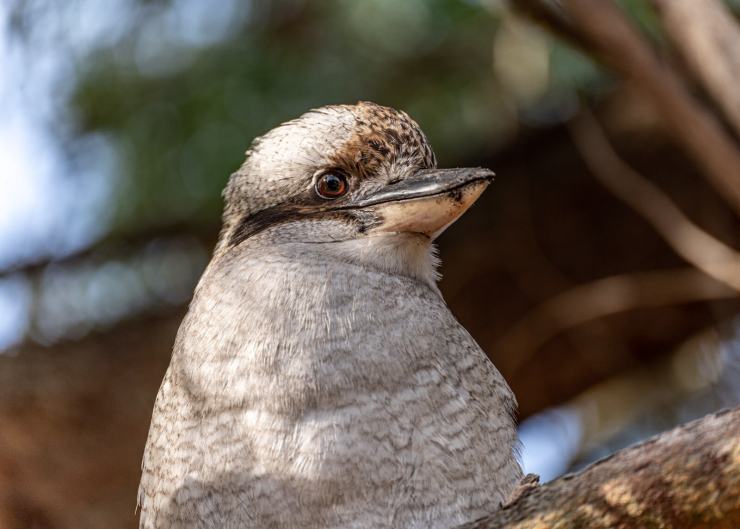
I would like to thank Andrew and David for supplying images and the fantastic tips for this article. I hope that they help you out as much as they did me. You can see more of Andrew’s work on his website and on Instagram, he also captures some amazing street art. David can be found on Instagram and his website, Bear Woods Photography.
Tell your story with the second annual Visual Storytelling Conference!
Experience four days of interactive, online training sessions featuring a range of educational content with experienced photographers and content creators. This free event kicks off with a series of technical boot camps to build essential skills, followed by live, online sessions on photography, video, business and social media. Join live from March 10-13, 2022!
