Just about every camera these days can be customized. No, I am not talking about putting your monogram on it or making it look like your favorite KISS musician! I am talking about customizing your camera to work its best with your individual shooting style.
You see, camera manufacturers have given you the ability to make changes to your camera, so it fits your particular workflow. You can change settings, buttons and modes to make the camera uniquely your own. However, not everyone is taking advantage of these features.
If you’re not, you really should be. Here’s why.
Why customize
Let’s say for example you enjoy taking photos of birds. You already know this can be challenging.
You might rely on two different exposure methods for photographing birds. One for birds on the ground or in a nest and one for birds in flight. You have everything set for exposure method 1, a bird on the ground. Suddenly, you spot a rare bird in flight and realize you need method 2. These changes on most modern cameras can be done at the push of a single button or turn of a single dial. Enabling you to change your camera settings on the fly, without ever taking your camera away from your eye.
If you had customized your camera, you were ready, pushed a single button, your settings changed and you captured that once in a lifetime image. If not, it could be left to chance.
My Menu
All the major camera manufacturers have custom function buttons on their cameras and they are placed there for you to program to your own specific needs. They also offer a feature called the My Menu. The My Menu allows you to add your most often used menu items to your own personalized menu so that you can find them quickly when you need them.
Using this menu means only the options you need are in the My Menu since you have full control over what options are added to it. This sure beats that panicked feeling when searching menus searching for a specific option when all eyes are on you.
So why aren’t all photographers taking advantage of these features? Customizing your camera settings requires you to set up these options in the camera’s menus. This can seem intimidating with all the menus, sub-menus and options.
Many people only look at these menus when they first get their camera. They set a few basic things like the time and date, format their memory card, and then start shooting. Often before they are even familiar with all the options the camera has to offer.
So, I encourage you if you have been using your camera for a while now to start modifying it to your style. Doing so will make the camera perform it’s best for you. If you photograph your kids’ sports games most often, set up the custom buttons to focus methods that you need for sports. If you shoot macro, set the custom buttons to focus peaking or zoom to check focus. Make the camera work best for you.
Nikon
.mgl-masonry { display: none; } #mgl-gallery-634ec5e24ba52 { column-count: 3; margin: -5px; } #mgl-gallery-634ec5e24ba52 .mgl-item { padding: 5px; } #mgl-gallery-634ec5e24ba52 figcaption { padding: 5px; } @media screen and (max-width: 800px) { #mgl-gallery-634ec5e24ba52 { column-count: 2; } } @media screen and (max-width: 600px) { #mgl-gallery-634ec5e24ba52 { column-count: 1; } }
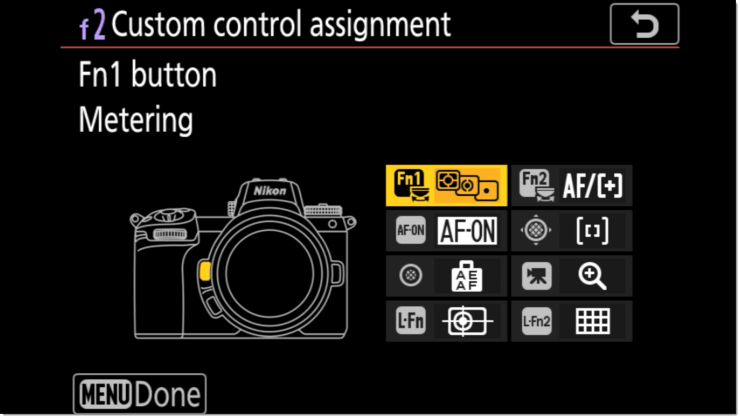
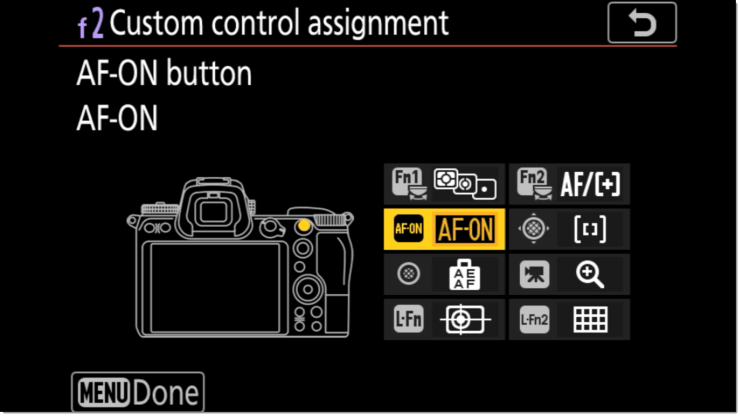
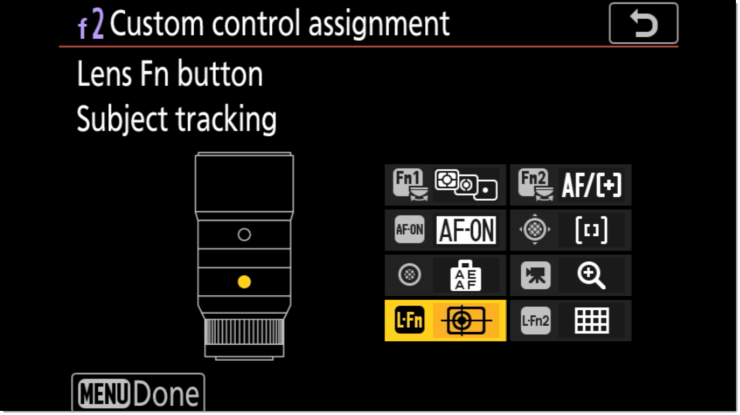
If you are a Nikon camera user, you can find the options for customizing eight buttons on your Nikon Z camera. Go to the Custom Settings Menu > Custom Control Settings. You can also create custom shooting profiles and your own My Menu for shortcuts.
Canon
.mgl-tiles { display: none; } #mgl-gallery-634ec5e24ca22 { margin: -5px; width: calc(100% + 10px); } #mgl-gallery-634ec5e24ca22 .mgl-box { padding: 5px; } @media screen and (max-width: 768px) { #mgl-gallery-634ec5e24ca22 { margin: -5px; width: calc(100% + 10px); } #mgl-gallery-634ec5e24ca22 .mgl-box { padding: 5px; } } @media screen and (max-width: 460px) { #mgl-gallery-634ec5e24ca22 { margin: -5px; width: calc(100% + 10px); } #mgl-gallery-634ec5e24ca22 .mgl-box { padding: 5px; } }
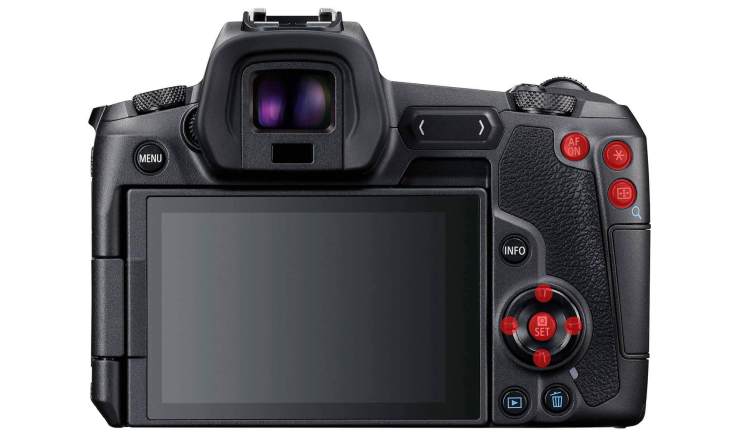
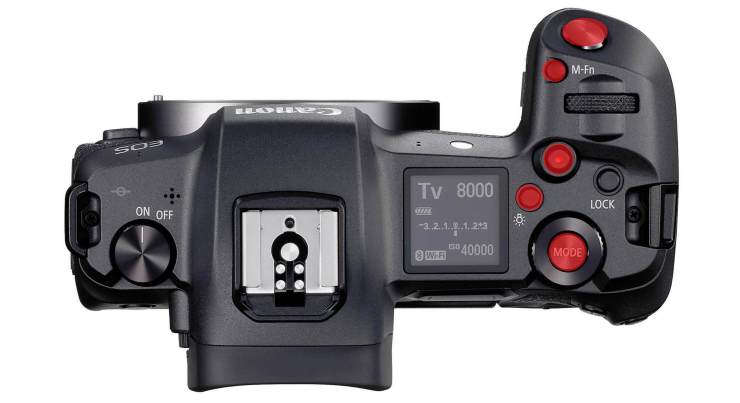
Canon RF users can go to the Custom Functions menu > Customize buttons to set up and personalize your camera. You can also set up a My Menu with your own shortcuts which is highly recommended.
Sony
.mgl-tiles { display: none; } #mgl-gallery-634ec5e24d1e7 { margin: -5px; width: calc(100% + 10px); } #mgl-gallery-634ec5e24d1e7 .mgl-box { padding: 5px; } @media screen and (max-width: 768px) { #mgl-gallery-634ec5e24d1e7 { margin: -5px; width: calc(100% + 10px); } #mgl-gallery-634ec5e24d1e7 .mgl-box { padding: 5px; } } @media screen and (max-width: 460px) { #mgl-gallery-634ec5e24d1e7 { margin: -5px; width: calc(100% + 10px); } #mgl-gallery-634ec5e24d1e7 .mgl-box { padding: 5px; } }
The legacy Sony menu system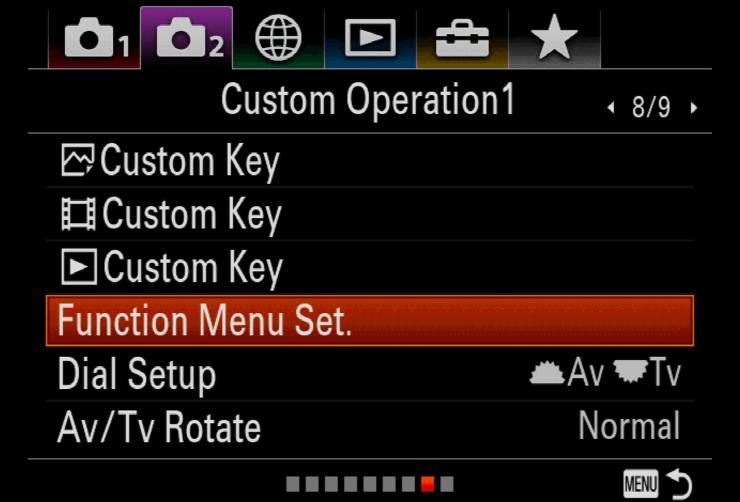
The newer Sony menu system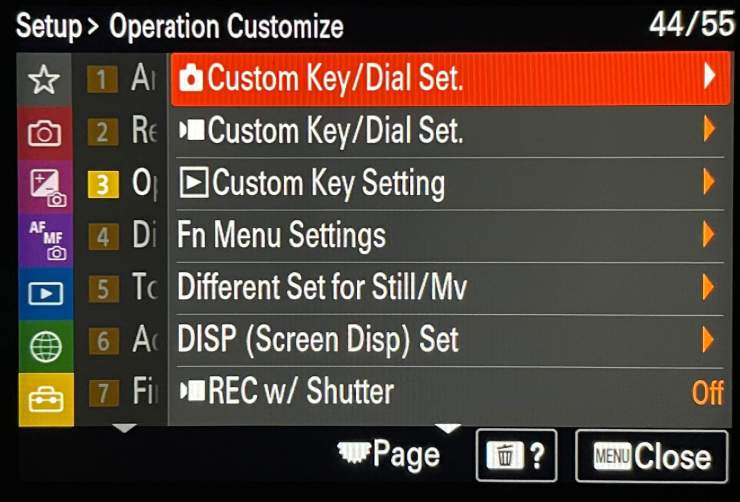
For Sony Alpha users, operating the custom settings depends on which camera you have.
If you have a legacy camera, go to Camera Settings 2 > Custom Operation 1. You can set custom keys from here and I recommend you set up your My Menu with your often used shortcuts as well.
If you have a newer Sony camera, like the a1, a7S III or a7 IV, go to the Setup menu (with the yellow briefcase) and then to Operation Customize.
Personalizing your camera
Remember, your camera will work best for you when you customize it to suit your own personal needs. Your camera was designed with the intent that you would customize it to work the best possible way for your own individual needs.
In the end, you will get better photographs, miss less shots and get more satisfaction out of using your camera.
Tell your story with the second annual Visual Storytelling Conference!
Experience four days of interactive, online training sessions featuring a range of educational content with experienced photographers and content creators. This free event kicks off with a series of technical boot camps to build essential skills, followed by live, online sessions on photography, video, business and social media. Join live from March 10-13, 2022!
