Think of the monopod as one leg of a tripod, and your legs as the other two. Your hands and arms provide additional support, keeping the monopod steady. Using the one sounds easy, right? But it does take some practice. Here are a few tips to help you get good results:
Positioning The Monopod
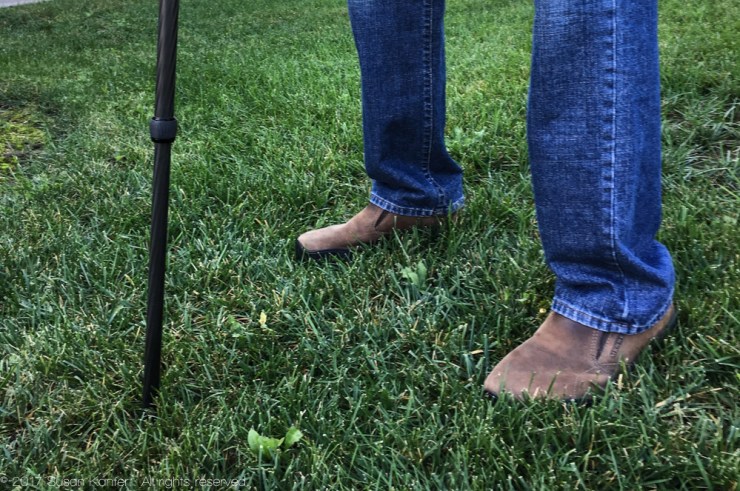
1. Stand with legs about shoulder-width apart, placing the monopod centered in front of your legs. Lean the top of the monopod towards you. This position works well on grass or other soft surfaces, however, the monopod might slip on smooth surfaces.

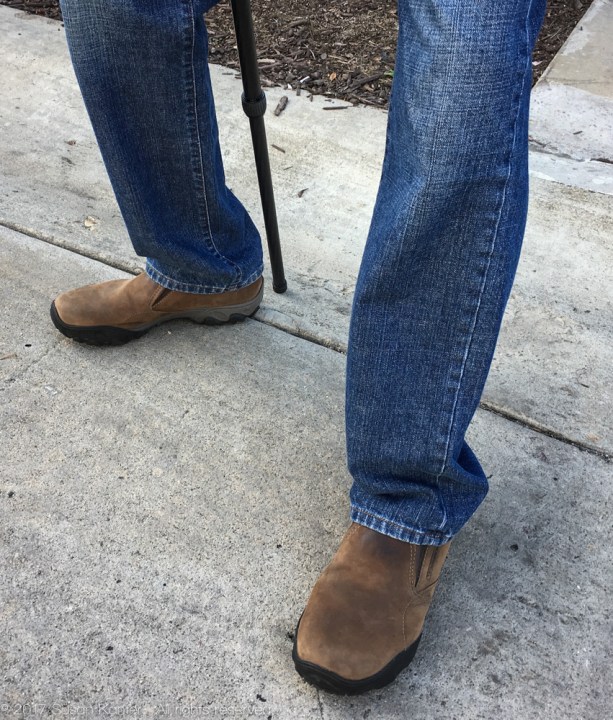
2. Stand with legs about shoulder-width apart with one leg in front of the other. Place the bottom of the monopod a few inches behind your back foot, resting on the inside of your thigh. A variation of this position is to keep your feet across from each other and not have one in front. Lean forward. (I feel like I am riding a broomstick.) This stance should work on smooth and soft ground.

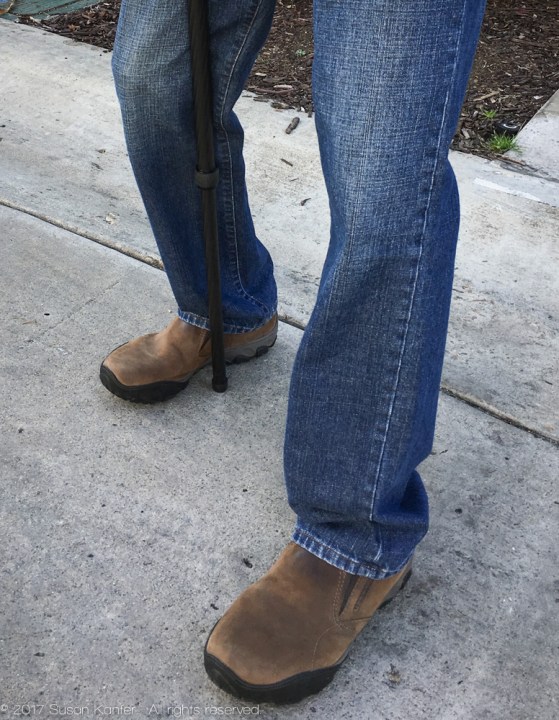
3. Stand with legs about shoulder-width apart with one foot ahead of the other. Turn the back foot out and place it against the inside edge. Move your feet a bit if you feel your initial stance isn’t quite right or lean to one side. You may prefer resting the monopod shaft against the thigh of the front leg. Lean forward. This position should work better on smoother surfaces.

4. Open your monopod tall enough so you don’t have to scrunch up your back.
None of the positions are set in stone, just suggestions to work from. Move around and experiment to see what works best for you, to give your camera greater stability when shooting.
Stabilizing the monopod
- Keep your elbows close to the sides of your body as you use one hand to hold the top of the monopod just under the camera, pushing down on the shaft to improve stabilization. Use the other hand to operate the camera.
- If it comes with a wrist strap, put your wrist through it and push it down to improve stabilization. My wrist strap is rather long for my wrist, so I double it up to shorten it.
- Buy a monopod that is substantial enough for your equipment so that it provides adequate support. I use an Oben CTM-2500 5-Section Carbon Fiber Monopod. You can read my review on my monopod here.
Improving angle of use
Add a ball head or tilt head on the top of the monopod so that you can angle your camera in different directions. I use an Oben VH-R2 Tilt Head for Monopods unless I need the range of motion of a ball head and then I use the ball head from my smaller travel tripod.
Giving yourself options
You will get the best results from your monopod if you actually bring it with you. So many people I know think they will be fine handholding their camera, even with a long lens, by just increasing the ISO and the shutter speed. I, for one, do not like being held captive by ISO or shutter speed. By using a monopod I gain greater control over my final image, having many more exposure options to choose from.

Tell your story with the second annual Visual Storytelling Conference!
Experience four days of interactive, online training sessions featuring a range of educational content with experienced photographers and content creators. This free event kicks off with a series of technical boot camps to build essential skills, followed by live, online sessions on photography, video, business and social media. Join live from March 10-13, 2022!
