Early into the whole Shelter In Place phenomenon, I wanted ways to stay in practice with portraiture and off-camera flash. Clearly, my muse friends couldn’t come by and I wasn’t going to the studio space I rent for a while. So, self-portraits is was.
The living room would be nice but my stuff takes a lot of space and the whole family is sheltering in place with me. If I blocked the TV I’d be sleeping out in a tent for the duration.
Utilizing my office
I spend most of my days in my small home office. I’ve experimented with setting up my backdrop rack in there before but that gets pretty cramped. I spent the next several days pondering how to hang a backdrop from the ceiling. I swear I wasn’t just staring at the ceiling. For the record, there are 120 holes, three spider webs, and two hooks for potted plants.
The hooks for the potted plants gave me an idea. I slid a PVC pipe through the loop in my favorite muslin backdrop than a wire through the pipe. The pipe added enough stiffness … it looked promising.
It was a little heavy so the tiny hooks for the plants weren’t going to hold this all up. I set up a couple of bicycle hangers that could handle more weight. A wire through the pipe let me hoist it up on the hooks and I was nearly in business.
It hung up OK the first time but there were still some problems. I tried a much heavier paper backdrop just to see if it would work. It really, really didn’t because the paper roll was so heavy that I couldn’t hoist it up with the meager leverage offered by the wire.
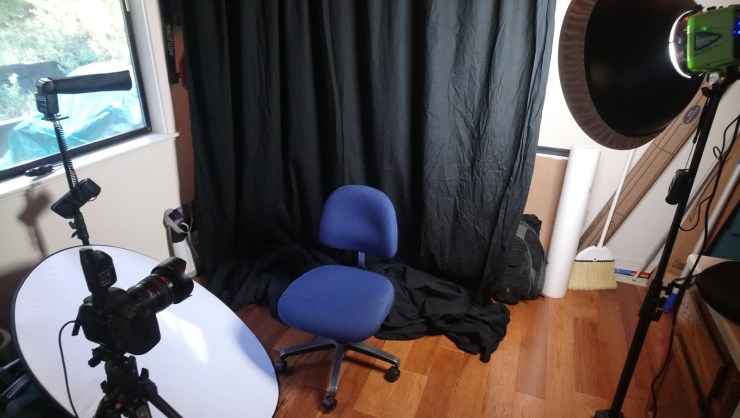
I ran with the idea for a few days. The cloth backdrop hung reliably and there was no rack for me to trip over.
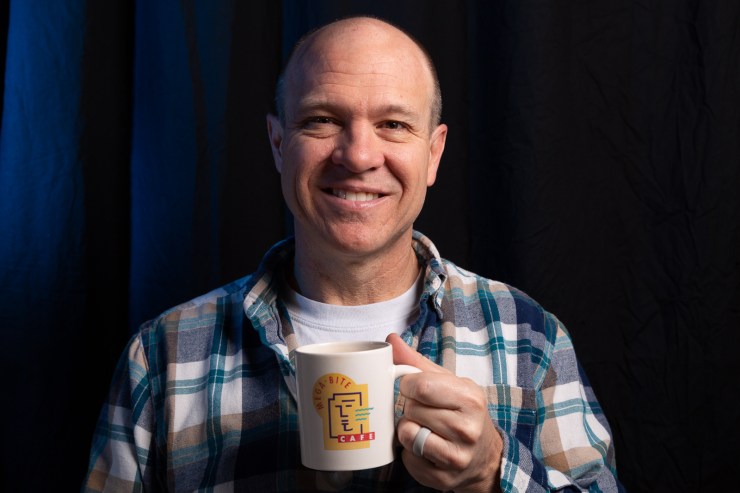
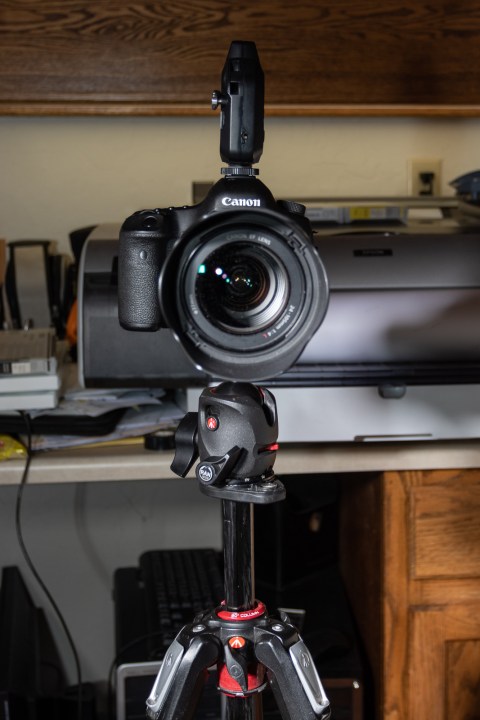
I set up a DigiBee800 with a Fotodiox 18” beauty dish — now I had a miniature studio. I put my DSLR on a tripod with a set of PocketWizard radio triggers and gave it a whirl. Selfie Central was born!
Improvements
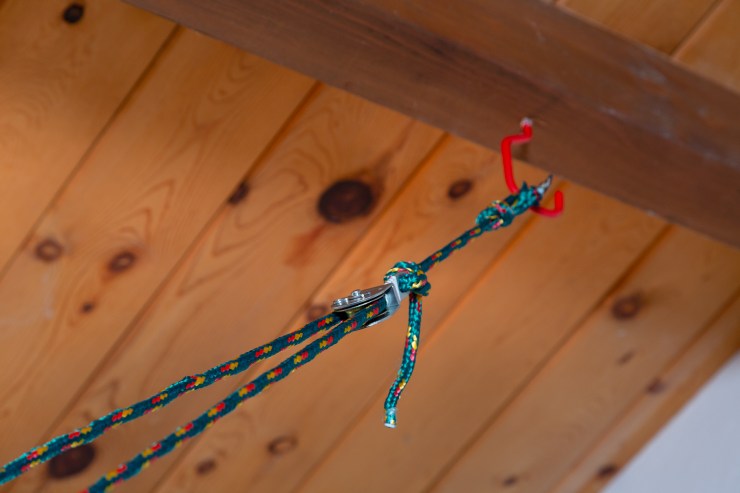
I still wanted the option to hang the heavier paper backdrop. Besides the current rig was, oh I’ll just use the actual word, “ugly.” Why not a set of small pulleys?
I had to remember some knots from Scouts to get it all hung right but now with a pull of a rope, the backdrop rose and stayed put.
Self-portraits
Now that the backdrop was hung it was time to work out the methods involved. What I had in mind for a self-portrait is more complex than the typical “selfie.” This was going to involve:
- A backdrop
- Studio lights
- Radio triggers
- DSLR
- Tripod
- Remote shutter control
Focus
The tricky part is getting decent focus. A lot of cameras offer a face recognition feature and many will automatically focus on the closest face. That works great for my Canon when using its Live View.
But therein lies the problem — I don’t get to trigger a flash when using the Live View so that’s not an option. My workaround is to place something at about eye level where I plan to be then manually focus on that.
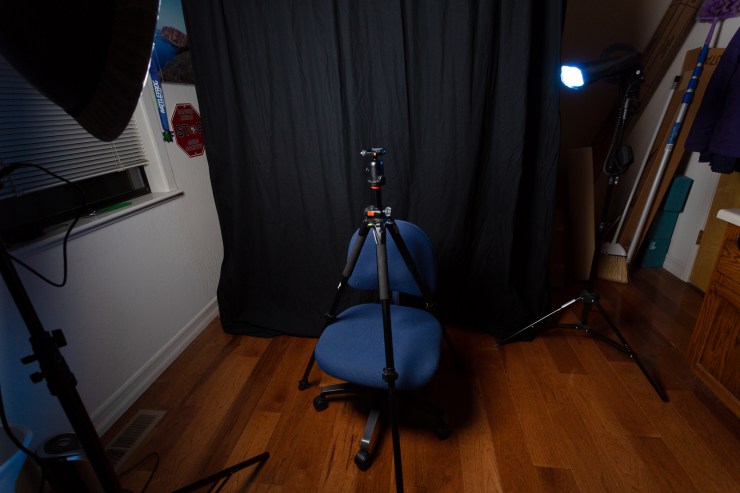
The camera was placed on a tripod as far from me as I could; it’s a small room which meant only about four feet away. I manually focused on my target and then took a test shot.
Next, I set up the camera for tethered shooting with Lightroom Classic. With the tethered approach, I could not only see results quickly, but I could also use Lightroom to trigger the shutter.
Lighting for self-portraits
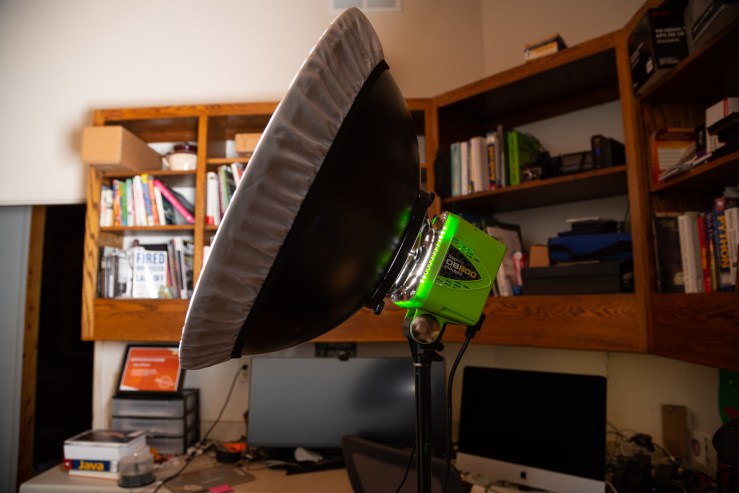
The plan was for the main light in front of me to the right and up at a 45-degree angle. I also wanted a speedlight behind me for some separation from the backdrop. The main light, a Paul C. Buff Digibee800, was outfitted with an 18” Fotodiox beauty dish and triggered using a PocketWizard receiver. My focus point was going to need a lot of room for error, so I metered for f/8 to provide plenty of depth of field.
Fun fact — a beauty dish is a great tool and looks fantastic for women with smooth skin. I am a guy who I would best describe as “bumpy.” But this is to keep in practice, not to show off my lack of modeling skills.
.mgl-tiles { display: none; } #mgl-gallery-634ecb1fa1b8d { margin: -5px; width: calc(100% + 10px); } #mgl-gallery-634ecb1fa1b8d .mgl-box { padding: 5px; } @media screen and (max-width: 768px) { #mgl-gallery-634ecb1fa1b8d { margin: -5px; width: calc(100% + 10px); } #mgl-gallery-634ecb1fa1b8d .mgl-box { padding: 5px; } } @media screen and (max-width: 460px) { #mgl-gallery-634ecb1fa1b8d { margin: -5px; width: calc(100% + 10px); } #mgl-gallery-634ecb1fa1b8d .mgl-box { padding: 5px; } }
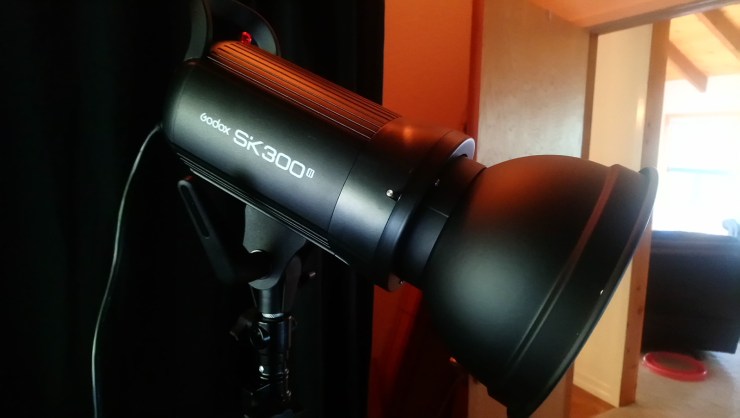
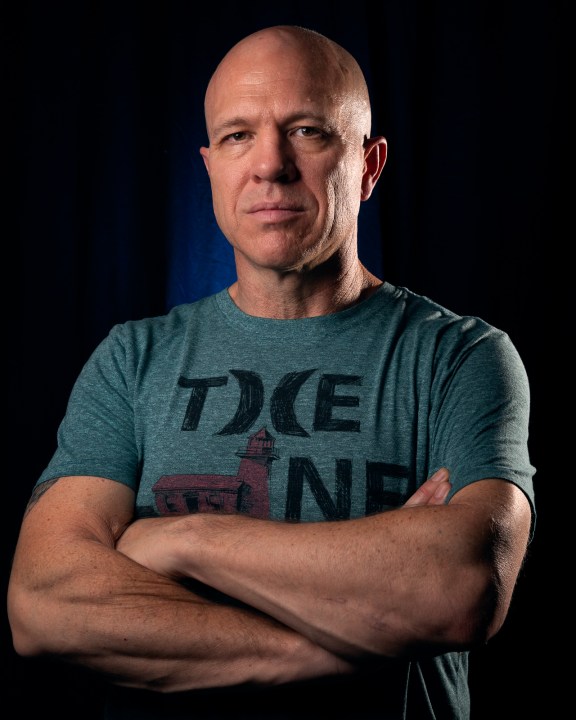
By sheer coincidence a Godox SK300 II that I ordered arrived right after I had this all dialed in. I placed this behind me as a rim light and set it to its lowest power output. I also configured it to be an optical slave. This little light is impressive! The results were really fun.
Tell your story with the second annual Visual Storytelling Conference!
Experience four days of interactive, online training sessions featuring a range of educational content with experienced photographers and content creators. This free event kicks off with a series of technical boot camps to build essential skills, followed by live, online sessions on photography, video, business and social media. Join live from March 10-13, 2022!
