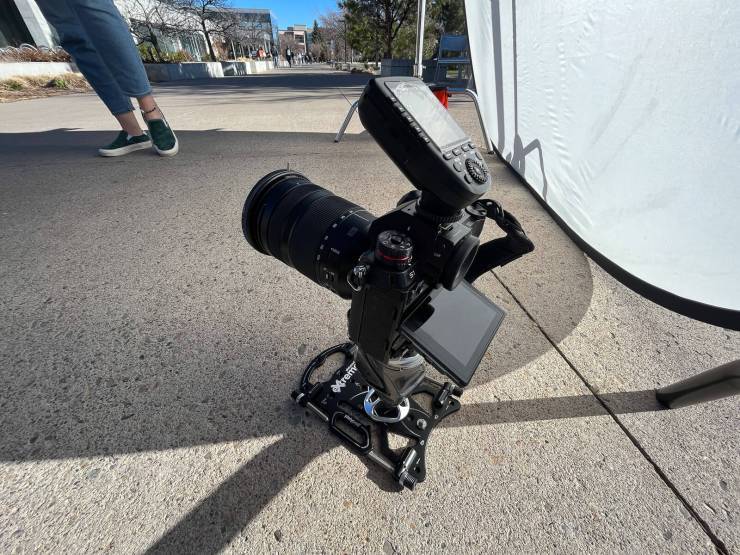
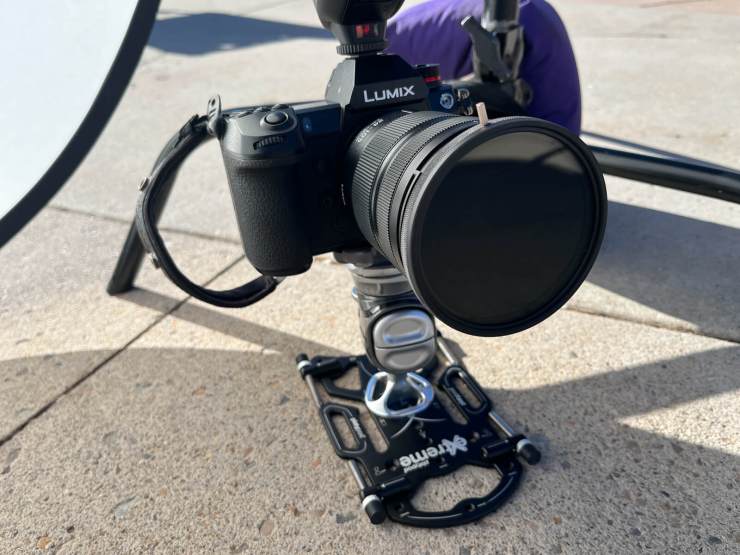
I’m an absolute and unapologetic apologist and fanboy of this tool. We’ve been showing you how we use Platypods for several years. I personally have at least one with me on every shoot in every environment. I use them for holding my camera, I use them for holding my lights, and I even use one for holding my microphone for podcasts.
The latest version, Platypod Extreme, is the perfect evolution of the tool, and if you don’t have one yet, this is definitely the one to get. And you’ve got just a few more days to back it on Kickstarter. (By the way, they have a perfect record on Kickstarter.)
Let me show you some ways I’ve used this thing. Keep in mind that the one I have is a preproduction unit.
Platypod Extreme vs. Platypod Max
The significant difference between Extreme and Platypod Max is that the extreme has built-in swivels that store and stow the adjustable feet. You’ve always been able to screw the feet in, but I rarely do because it’s another step. I’ve used them when I really needed them but wished it was easier.
Now, Extreme lets me use the feet every time because they are ready to deploy instantly. It’s amazingly good. I’d even suggest that if you already have Max, you might want to add Extreme anyway.
Solving problems with Platypod Extreme

Here I am on top of a building. There’s a glass barrier and a big corner with an angled top. The view of the building across the quad, Utah State University’s Old Main, is excellent from this spot, but getting a tripod in place wouldn’t allow the same view from behind the glass. It’s also an uneven surface, so the adjustable foot screws were absolutely clutch. See the header image.
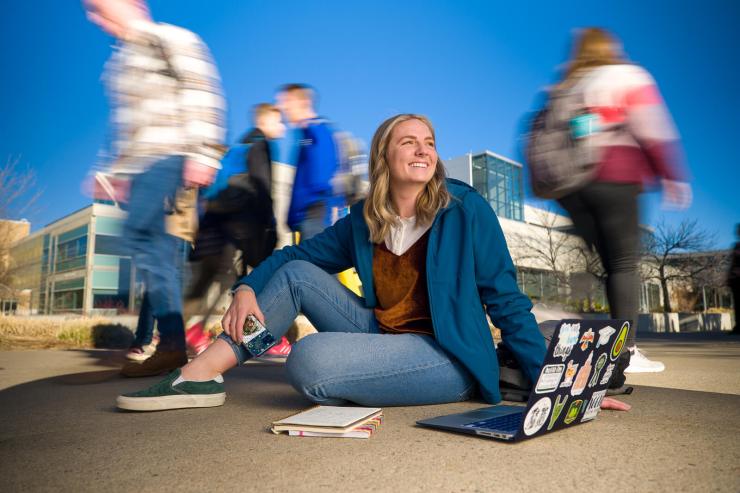
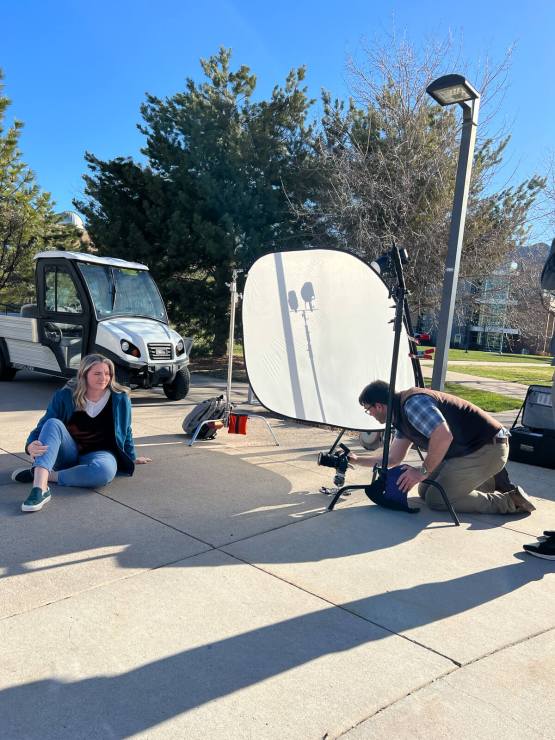
This one was really fun to make. I needed to show a lot of movement and stillness in the same photo to accompany a magazine article. A neutral density filter on the lens ensured a slow shutter speed even in full sunlight. Two strobes shining through a diffuser and augmenting the sunlight brought the subject back up to full brightness but with soft light. And the camera on the ground on Extreme gave the right angle without entangling myself in tripod legs — and it’s definitely lower than my tripods could go.
.mgl-tiles { display: none; } #mgl-gallery-634ecc23853e7 { margin: -5px; width: calc(100% + 10px); } #mgl-gallery-634ecc23853e7 .mgl-box { padding: 5px; } @media screen and (max-width: 768px) { #mgl-gallery-634ecc23853e7 { margin: -5px; width: calc(100% + 10px); } #mgl-gallery-634ecc23853e7 .mgl-box { padding: 5px; } } @media screen and (max-width: 460px) { #mgl-gallery-634ecc23853e7 { margin: -5px; width: calc(100% + 10px); } #mgl-gallery-634ecc23853e7 .mgl-box { padding: 5px; } }
Put it anywhere, at any angle
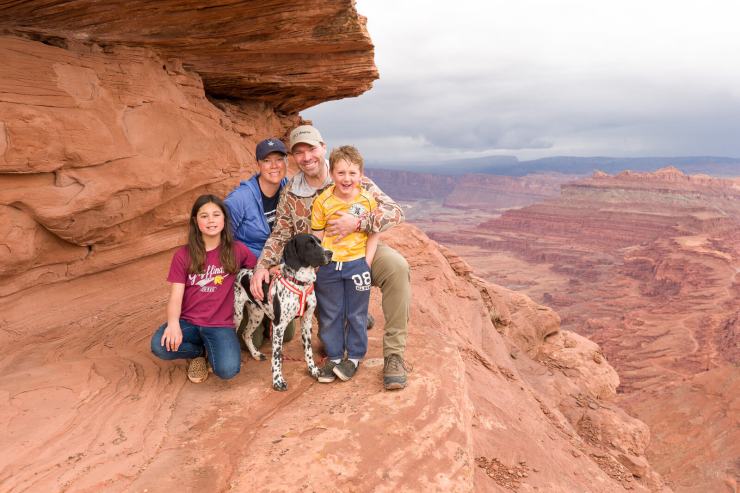
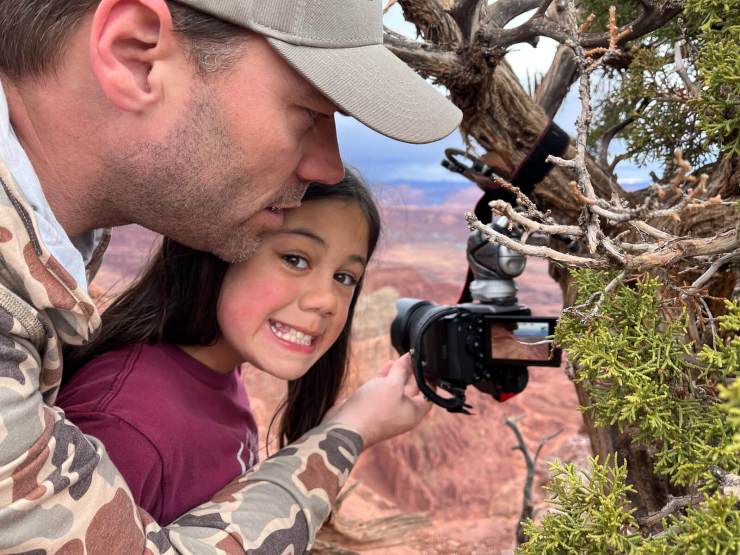
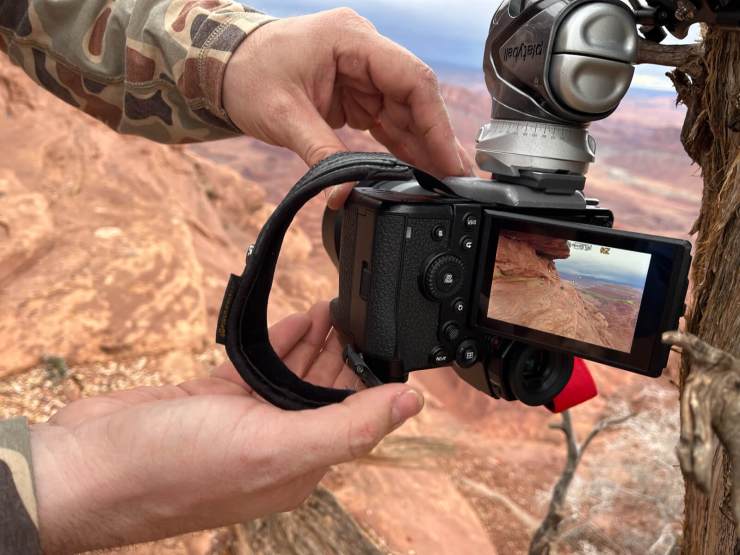
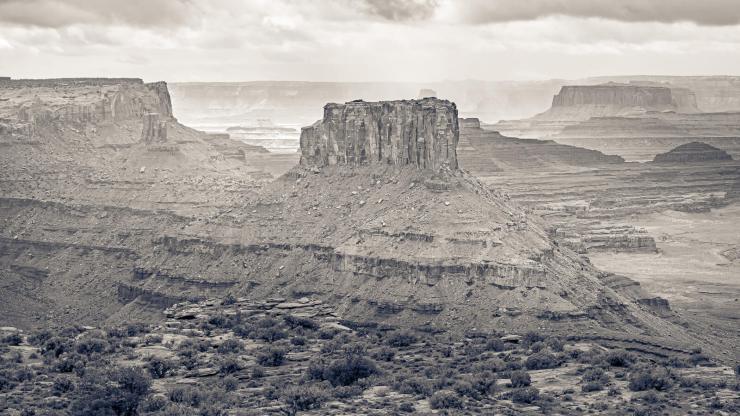
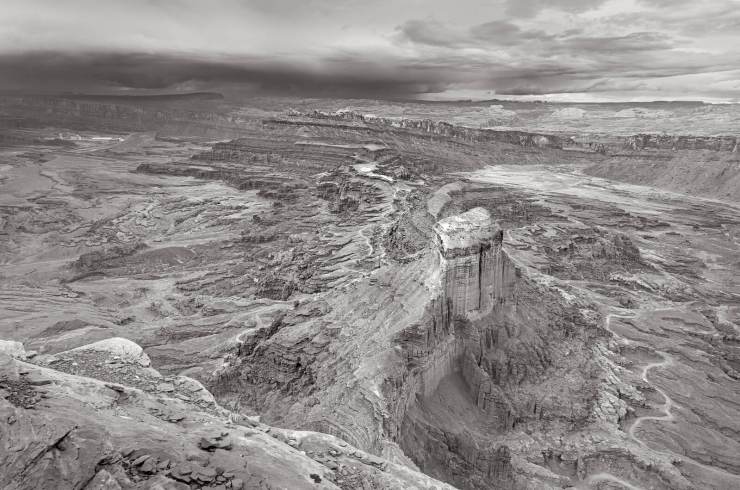
Here’s my favorite thing about Platypods: The strap slots. Using these slots on each side, you can strap Extreme to almost anything. I strapped it to a juniper tree overlooking Canyonlands National Park and set my camera to shoot a time-lapse. Then I wrangled my family into the picture. This is one of my favs.
.mgl-tiles { display: none; } #mgl-gallery-634ecc2386060 { margin: -5px; width: calc(100% + 10px); } #mgl-gallery-634ecc2386060 .mgl-box { padding: 5px; } @media screen and (max-width: 768px) { #mgl-gallery-634ecc2386060 { margin: -5px; width: calc(100% + 10px); } #mgl-gallery-634ecc2386060 .mgl-box { padding: 5px; } } @media screen and (max-width: 460px) { #mgl-gallery-634ecc2386060 { margin: -5px; width: calc(100% + 10px); } #mgl-gallery-634ecc2386060 .mgl-box { padding: 5px; } }
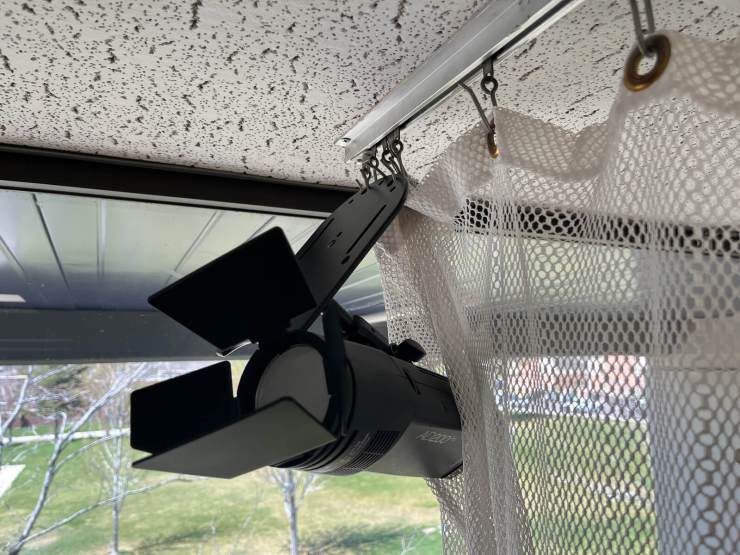
Back to portrait mode, I used my Max to hang my lights from the curtain in a nursing lab to supplement the light coming in the windows. It’s the main light in this photo. It was superior to using a stand because I later put the subjects on the other side of the bed and used it as the rim light. Had it been on a stand, it would have been visible in the background and taking up space. Although I used Platypod Max in this case, Extreme is loaded with the same 3/8″-16 stud for either tripods or baby pins.
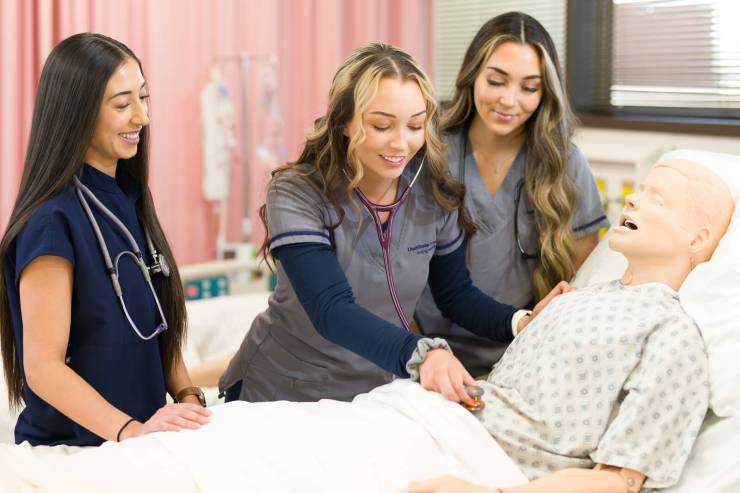
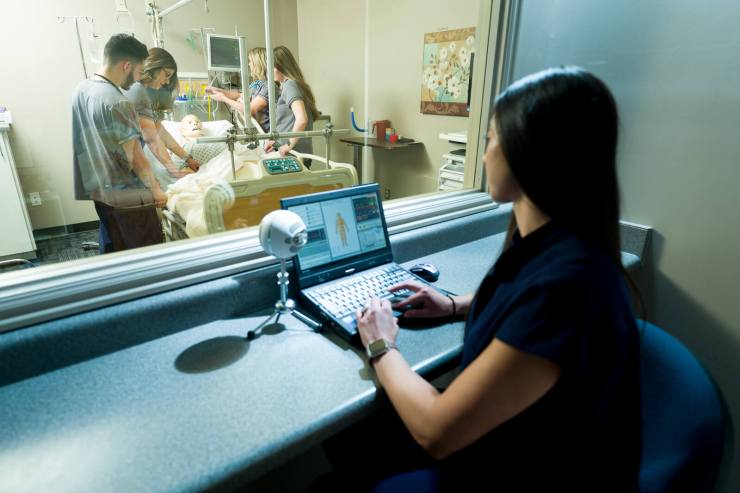
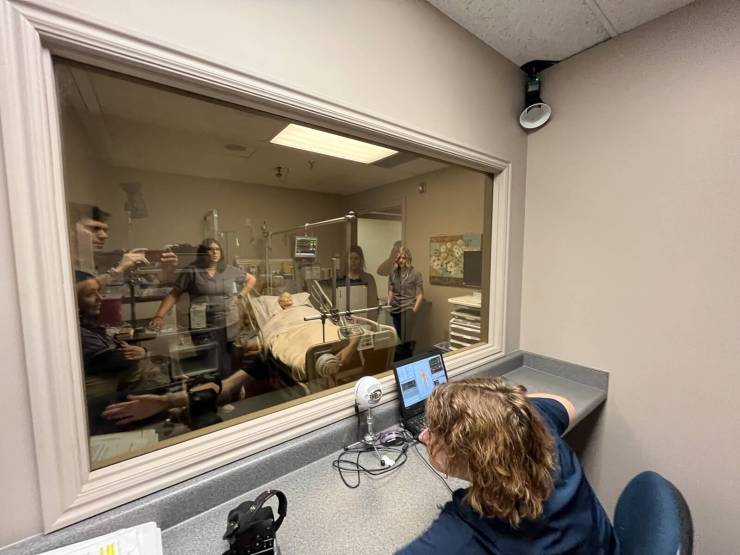
Next, we switched to the simulation lab where teachers can create various situations and watch the students react. The Platypod let me slide my light into the drop ceiling; there was no other place for a light to go! Again, Max or Extreme work equally well here.
.mgl-tiles { display: none; } #mgl-gallery-634ecc238683e { margin: -5px; width: calc(100% + 10px); } #mgl-gallery-634ecc238683e .mgl-box { padding: 5px; } @media screen and (max-width: 768px) { #mgl-gallery-634ecc238683e { margin: -5px; width: calc(100% + 10px); } #mgl-gallery-634ecc238683e .mgl-box { padding: 5px; } } @media screen and (max-width: 460px) { #mgl-gallery-634ecc238683e { margin: -5px; width: calc(100% + 10px); } #mgl-gallery-634ecc238683e .mgl-box { padding: 5px; } }
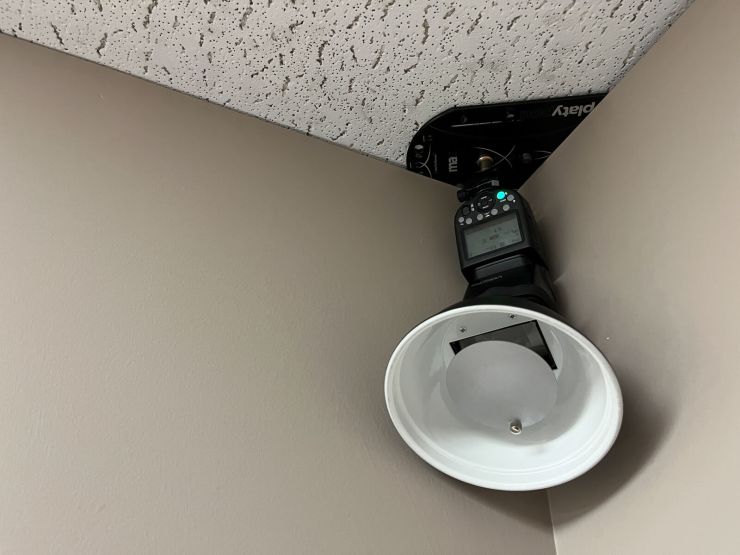
By the way, I used the Impact Strobos Beauty Dish Version II for speedlights from B&H, and it’s a surprisingly useful little tool. More on that another day.
And back to Canyonlands. I took Extreme with me on all my hikes, which is so much better than taking a tripod because of the weight and bulk. With little kids, if I want to go somewhere I’ve got to be ready to carry the kids on the way back. Any extra weight can’t be tolerated. Extreme kept me nimble with reserves for tired kiddos.
.mgl-tiles { display: none; } #mgl-gallery-634ecc2386fd4 { margin: -5px; width: calc(100% + 10px); } #mgl-gallery-634ecc2386fd4 .mgl-box { padding: 5px; } @media screen and (max-width: 768px) { #mgl-gallery-634ecc2386fd4 { margin: -5px; width: calc(100% + 10px); } #mgl-gallery-634ecc2386fd4 .mgl-box { padding: 5px; } } @media screen and (max-width: 460px) { #mgl-gallery-634ecc2386fd4 { margin: -5px; width: calc(100% + 10px); } #mgl-gallery-634ecc2386fd4 .mgl-box { padding: 5px; } }
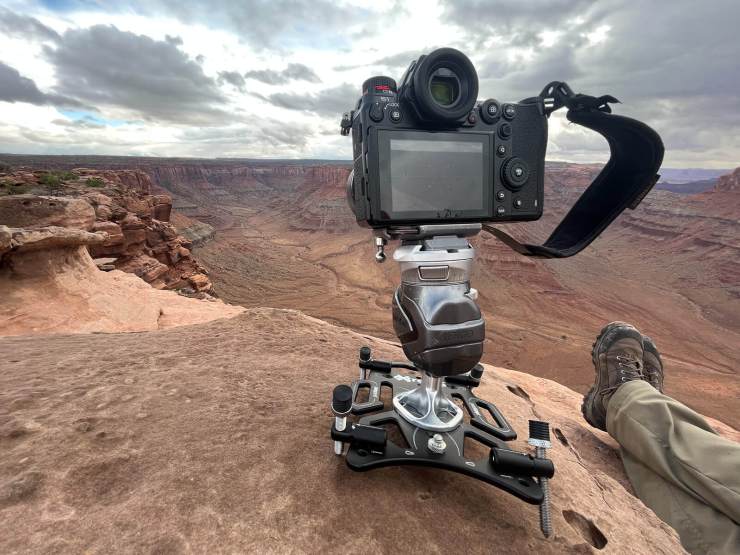
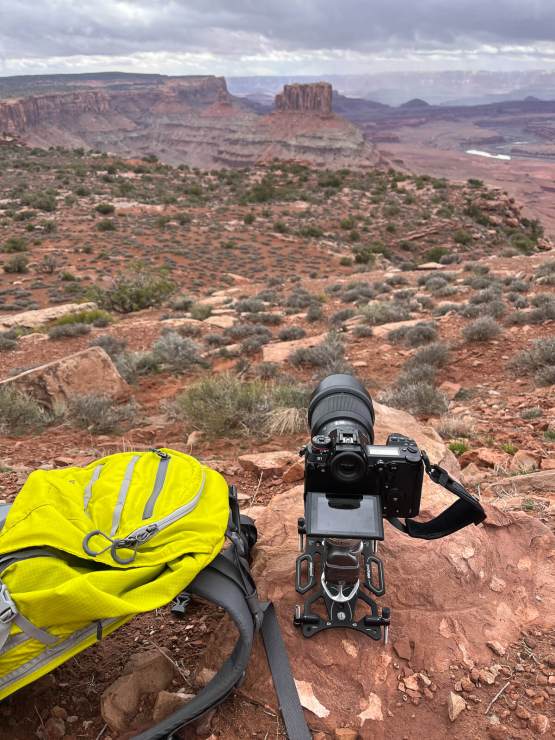
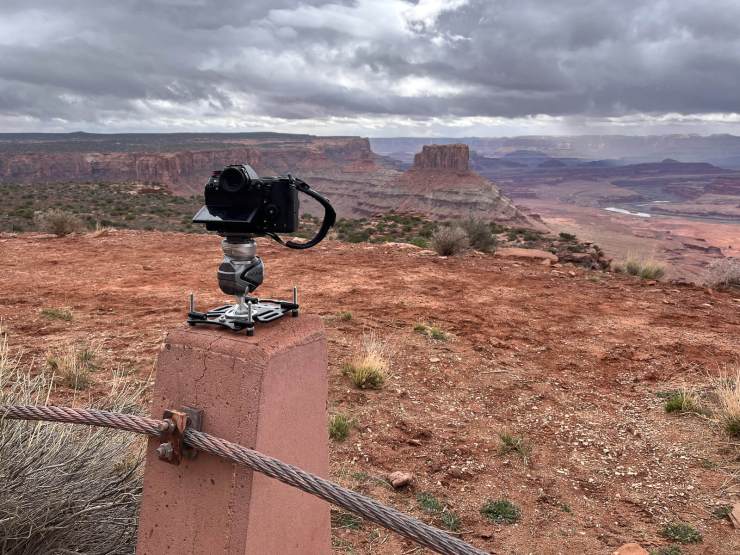
All this to say: I use my Platypods all the time. Weekly, and usually several ties each week. I use them more frequently than tripods. My use has changed the way I look at my work for the better. I figure if they’ve been so good for me, you could probably benefit, too.
I haven’t been paid to write this article, however I have given design suggestions and beta tested this tool. It’s rad. It’s on Kickstarter right now, fully funded, and you can get some benefits by preordering there.
Highly recommended.
Tell your story with the second annual Visual Storytelling Conference!
Experience four days of interactive, online training sessions featuring a range of educational content with experienced photographers and content creators. This free event kicks off with a series of technical boot camps to build essential skills, followed by live, online sessions on photography, video, business and social media. Join live from March 10-13, 2022!
