I love being on the coast, I feel at home. The waves and gulls call to me and I feel inner peace when I can smell that sea salt tang in the air.
Nothing quite beats a gorgeous coastal image to remind us of that feeling. So here are my six favorite tips for gorgeous coastal images.
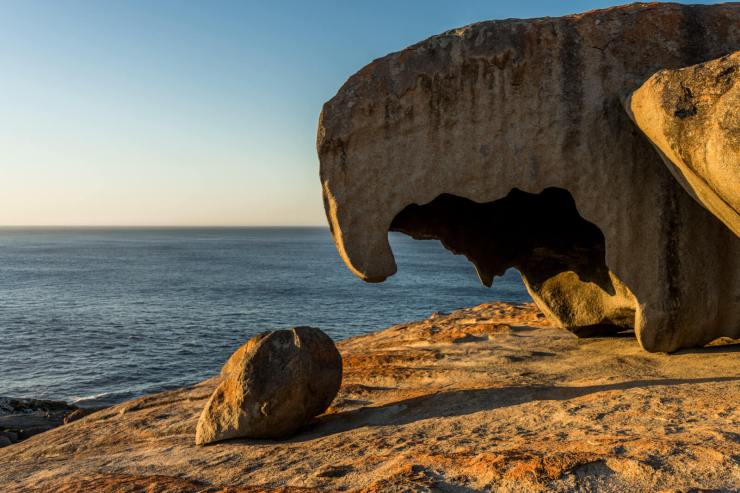
Don’t forget your filters
Many beginners often forget, or perhaps don’t yet know about Neutral Density (ND) filters, but they truly are an essential part of capturing gorgeous coastal images. The two main types I highly recommend you to add to your kit;
- A neutral density filter
- A soft graduated neutral density filter
In my opinion, both of these filters are critical if you want to capture highly detailed images. A Neutral Density (ND) filter restricts the amount of light entering your camera lens, which allows you to shoot at slower shutter speeds. Slower shutter speeds allow for more detail, but mostly to create smooth ethereal blurs in waves, clouds, etc. You can often buy these in kits with different strengths, but an ND 6 and ND10 are just fine. They also come in different types, with different holders.
.mgl-tiles { display: none; } #mgl-gallery-634ecd8768335 { margin: -5px; width: calc(100% + 10px); } #mgl-gallery-634ecd8768335 .mgl-box { padding: 5px; } @media screen and (max-width: 768px) { #mgl-gallery-634ecd8768335 { margin: -5px; width: calc(100% + 10px); } #mgl-gallery-634ecd8768335 .mgl-box { padding: 5px; } } @media screen and (max-width: 460px) { #mgl-gallery-634ecd8768335 { margin: -5px; width: calc(100% + 10px); } #mgl-gallery-634ecd8768335 .mgl-box { padding: 5px; } }
Without ND filter
With ND Filter
Graduated Neutral Density (GND) filters are similar to standard ND filters, except they only reduce light to part of the filter. There are hard-edged and soft-edged filters. I prefer a soft-edged filter. The GND allows you to place the darker edge of the filter where the most amount of light is, for instance shooting a sunrise or sunset.
The sky is quite bright, but often your middle and foreground are in shadow. So you have the filter over the sky and the edge at the horizon line (if there is one); that’s why I like the soft, as you don’t see a hard line in the photo.
Pick the right location
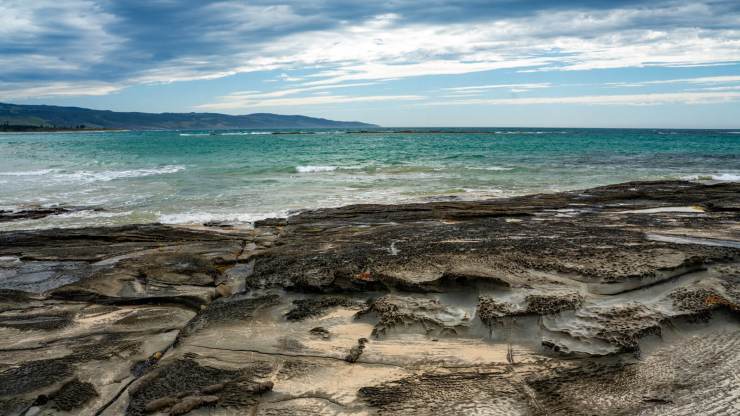
While it is tempting to find a lovely sandy beach or a scenic overlooking bluff, the truth is they can be a bit underwhelming in the final image. Try to find something with a bit of interest in the foreground, some rocks or boulders, a jetty or a boat. These will add interest to the foreground.
Why not scout locations ahead of time, so you know what to look for when you’re ready? Scouting during the day is a great time, as the light isn’t fantastic for photos, then come back when the light is good.
Pick the right time of day

Which I guess brings me to the right time of day to capture gorgeous coastal images, or pretty much any landscape. Head out at sunrise or sunset, actually before either. I highly recommend at least 60 minutes before either. Get to your chosen location, set up your gear and just wait.
Capture that gorgeous light just before sunrise. And don’t forget to stay after sunset, too. Often the magic happens after the sun has gone down.
Sadly many really interesting and scenic spots are closed to the public between sunset and sunrise, making it near impossible to get the best shots. So it pays to double-check the opening and closing hours of your chosen spot.
Grab your wide-angle
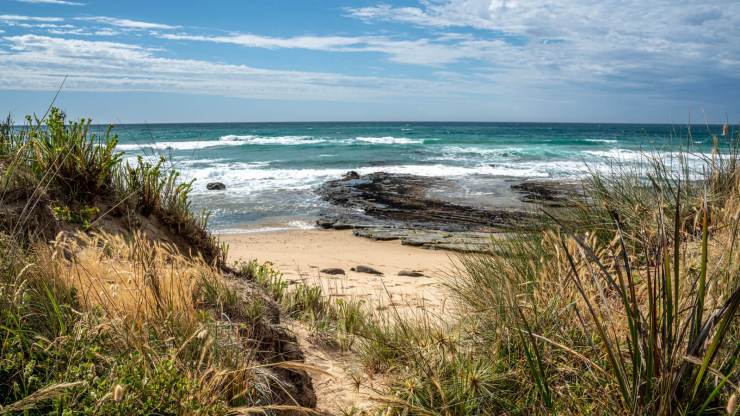
Granted not everybody owns a wide-angle lens, but using the widest angle you have is always advantageous, I believe. I adore my Sony 16-35mm wide-angle for landscapes and it is rarely off my camera while I travel. I highly recommend it if you are likely to be doing lots of landscapes.
If you are only doing a few, then perhaps a telephoto with a wide like 16-28mm through to 200mm might be a great purchase as they are so versatile. I don’t always shoot at 16mm, but often it is handy to have the extra to fit in a truly stunning seascape.
Use composites
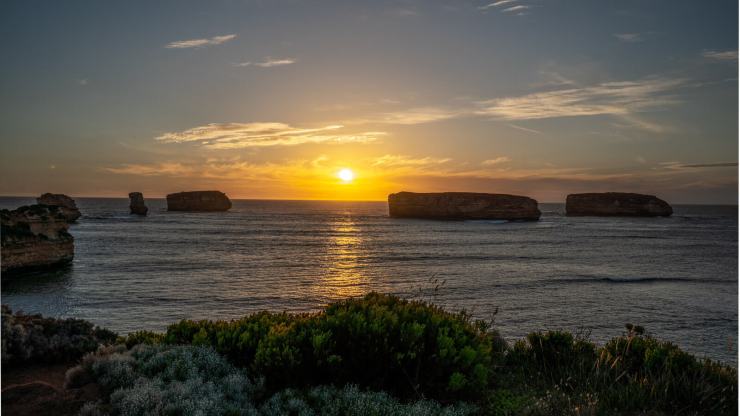
Look for three key elements for your compositions: The background, the main subject and the foreground. If you can’t quite get everything in one shot, think about multiple shots with multiple focus points. Then merge these in post to create a wider dynamic range within your image.
The foreground adds interest and a sense of three-dimension, a sense of depth. Your main subject or point of interest needs to be well lit and in sharp focus. It draws the viewer in and holds their attention. Your background … well generally it will be the sky. Shooting sunrise or sunset will often add drama to your overall image.
Alternate your shutter speeds
Getting your camera settings perfect for a stunning coastal image is more often than not, not a random chance. Shooting in Auto probably won’t get you the best results. You need to switch to Manual or at least Aperture Priority mode. If you are shooting on a tripod you can pretty much set your ISO to 100.
Next is setting your aperture. Obviously, you will want to get as much in focus as possible, shooting anywhere from f/11 to f/22. That then leaves the shutter speed. Slowing down your shutter speed, to at least 1/8s to 2 seconds will give that lovely blur effect to clouds and waves. Want to go real silky soft and ethereal? Then slower than 10 seconds should do the trick.
Of course, if you want to freeze the power of Mother Nature you will need a faster shutter speed of at least 1/320s. For that, you may have to alter your f-stop and ISO.
Remember the exposure triangle? A little bit of dial-in this and then dial in that is often the case. I wish I could tell you that XYZ is the perfect ratio for every image, but it just doesn’t work that way. If you are working in low light (chances are yes) then you may need to boost your ISO and a wider aperture.
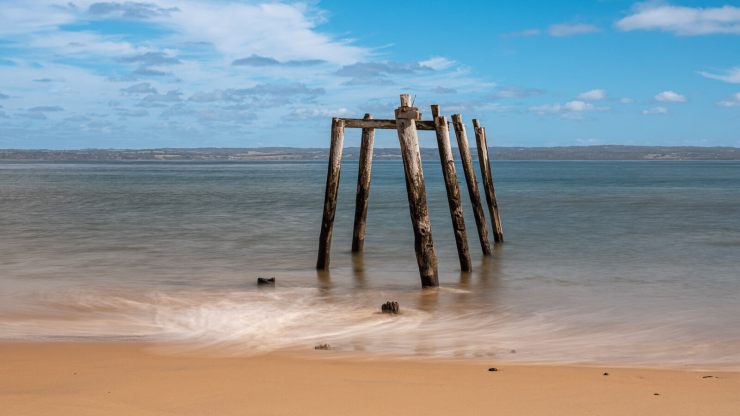
If you are trying to get a slow shutter speed, and you’re at the limits of your shutter speed and aperture. That’s where a Neutral Density filter can really come in handy to block much of the light entering your camera lens. Ie; you’re shooting at f/16 and ISO 100 but your shutter speed is 1/60s, an ND6 will stop six stops of light, slowing your shutter speed down to roughly 1 second, and give you that lovely smoothing effect.
I am NOT a professional landscape photographer and many of my images probably won’t make it into National Geographic. But I am quite proud of them and would happily hang them on my wall. I have many in coffee table books of our travels, which I can share with family and friends. And that is fine by me.
I want some lovely photos which capture special memories of travel that look fabulous. If you truly want to take your landscape photography to the next level, consider a workshop or travel photography tour with someone whose images totally blow you away. Many of them offer incredible advice for the capture and the edit. And now that the world is opening up again, it’s the perfect time to start researching trips for the future.
Tell your story with the second annual Visual Storytelling Conference!
Experience four days of interactive, online training sessions featuring a range of educational content with experienced photographers and content creators. This free event kicks off with a series of technical boot camps to build essential skills, followed by live, online sessions on photography, video, business and social media. Join live from March 10-13, 2022!
