One of my favorite things to do is explore with my camera in hand and capture the world around me.
Sometimes it includes objects that give me time to think about composition and thoughtfully adjust my settings. Other times, I see things that require a split-second decision to take the shot. In order to be ready to capture the Decisive Moment, I make use of the Custom Shooting Modes on my Canon EOS R6. By quickly rotating a dial, I can be prepared to photograph whatever crosses my path.
Most modern mirrorless and DSLR cameras (and even some bridge cameras) have custom shooting modes that let you customize settings for quick access. The number of custom settings and functionality they encompass will vary by camera model and manufacturer.
Settings to consider
Start by taking a look at your camera’s manual to find out the number of Custom Shooting Modes available to you and then think about what you like to photograph. Consider a few of the shots you missed because you didn’t have your settings dialed in correctly. For me, the most common scenarios are:
- Handheld HDR
- Street Photography (humans)
- Animals, birds in flight
Each of these scenarios has a group of settings that I would typically use as a starting point. Settings to consider include:
- Image Quality (raw, JPG, raw + JPG)
- Shooting Mode (Aperture Priority, Shutter Priority, Manual)
- Single shot or brackets?
- Continuous Shooting or Single Shot
- ISO
- Shutter Speed
- Aperture
- White Balance
- Focus Mode
HDR custom shooting mode
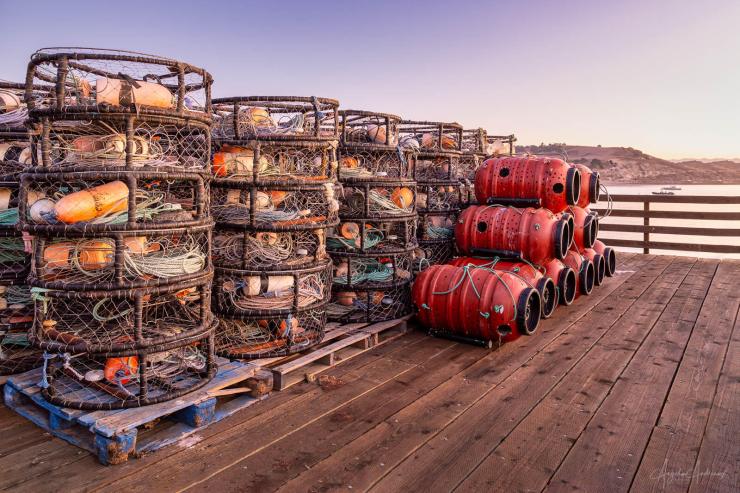
To get the best results for HDR, your brackets should be captured with a consistent aperture, ISO, and white balance. Click here to learn more about how to photograph for HDR.
Starting point settings for Handheld HDR:
- Aperture Priority
- AEB (Auto Exposure Bracketing) for 3 images at EV -1.3, 0, +1.3
- ISO 100
- F/7.1
- Daylight White Balance
- High Speed Continuous Drive Mode
- Autofocus mode — One Shot
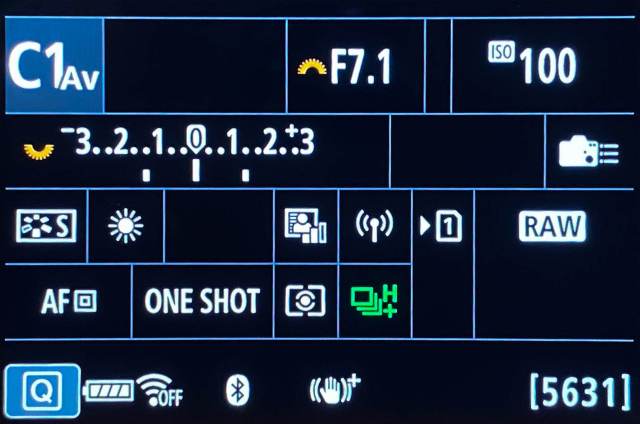
I use the settings above as a starting point and if time is of the essence, I can usually make a pretty good photo with those settings. If I have a bit of extra time, I can always make adjustments to my aperture and ISO based on the lighting conditions and subject matter.
Street photography custom shooting mode
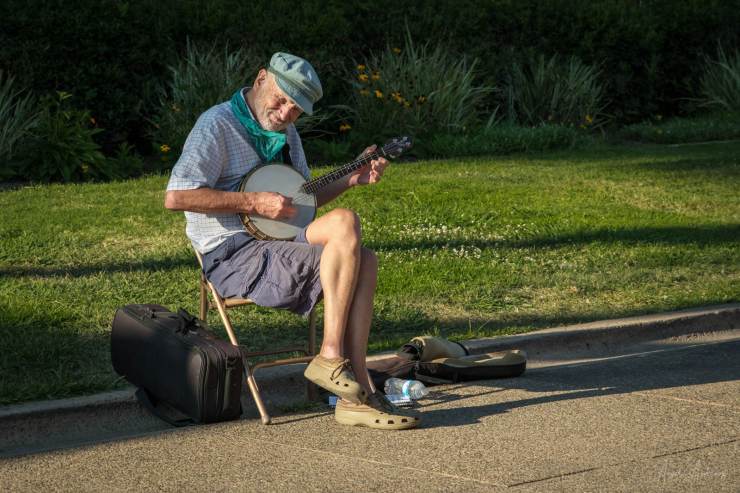
Street photography is all about capturing a moment and telling a story. This often means that focus and a fast shutter are important. Using a higher ISO and ending up with some grain isn’t a big concern.
Starting point settings for street photography:
- Aperture Priority
- Auto ISO
- F/8
- Auto White Balance
- High-Speed Continuous Drive Mode
- Autofocus mode — One Shot with human eye tracking ON
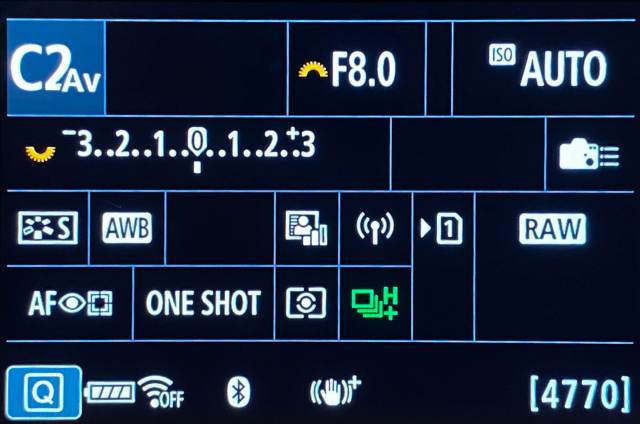
Depending on the scene and if I have time, I’ll refine those settings to better fit the lighting and subject matter. But, if I only have a split second to capture a moment, these settings will usually do the trick.
Custom shooting mode for animals in action
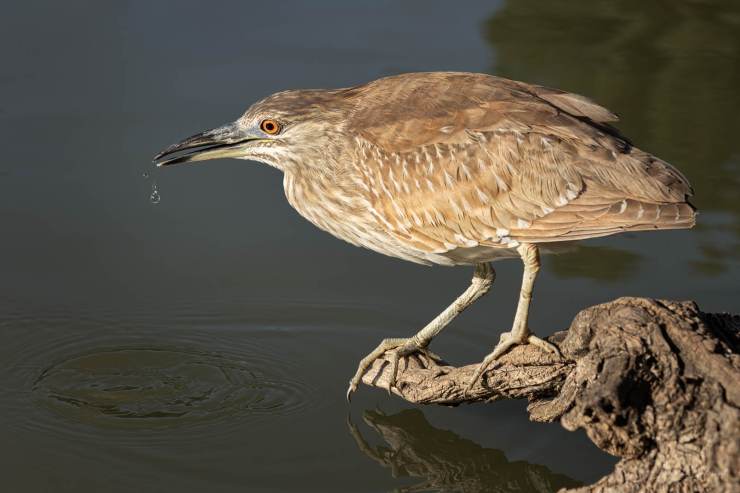
There have been many times when I’m walking on the beach and see a bird take off and try to photograph it. Unless my settings are right, they come out as a blur. A custom shooting mode with a fast shutter speed and autofocus tracking turned on give me a much higher number of “keepers”.
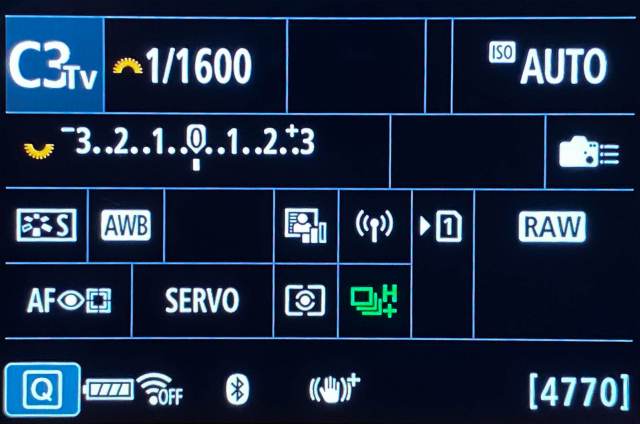
Starting point settings for animal and bird photography:
- Shutter Priority
- Auto ISO
- 1/1600th of a second
- Auto White Balance
- High-Speed Continuous Drive Mode
- Autofocus mode — AI Servo with animal eye tracking ON
If the animal I’m photographing is posing, such as a perched bird, I usually have time to reduce the shutter speed (down to 1/400th at the lowest) to let in more light and bring down the ISO, but if the bird is about to take off, I know that I have a fair chance of a sharp photo with the settings above.
Being ready for The Decisive Moment
The Decisive Moment, a phrase made popular by Henri Cartier-Bresson refers to capturing a meaningful and spontaneous moment in time. Taking a bit of time to customize my camera settings allows me to be ready for a variety of situations and greatly increases the odds that I get the shot.
Tell your story with the second annual Visual Storytelling Conference!
Experience four days of interactive, online training sessions featuring a range of educational content with experienced photographers and content creators. This free event kicks off with a series of technical boot camps to build essential skills, followed by live, online sessions on photography, video, business and social media. Join live from March 10-13, 2022!
