Night photography has its own quirks and needs. After all, you’re photographing in the dark, maybe not the most normal thing to do.
I decided I would avoid the more obvious sort of tips, such as “know how to operate your camera in the dark” or “understand how to shoot in manual,” and get to physical sorts of tips that can help immensely. Let’s dive in.
1. Gaffer’s tape
Let’s start off with one that every night photographer could use — gaffer’s tape. Yeah. This all-purpose tape is used by gaffers in film and TV production. The gaffer is the chief lighting technician and is typically the head electrician. They need to use tape that is strong but doesn’t leave a residue. This is where we come in.
We can use this for all sorts of purposes, so it’s always great to have gaffer’s tape in your bag. Break something? Tape it together. If you break part of your tripod, such as the ball head, you can tape your camera to the tripod. Need to keep something in place, such as a prop or piece of equipment? Gaffer’s tape to the rescue.

With some old cameras that don’t have a self-timer and you are missing your external intervalometer, you can even tape a pebble to the shutter button to hold it down. Need to tape down your focus ring on your lens so you can keep the same focus while moving around? Yes, gaffer’s tape. Too much light coming into your room when you need to sleep late? Tape a blanket over the window. Want to use some tape to find things easier? I use orange gaffer’s tape (among other things … see below).
All this and more — gaffer’s tape is indispensable.
2. Velcro your intervalometer
Do you have an external intervalometer? If so, use hook and loop fasteners to “Velcro” your intervalometer to the leg of your tripod. This allows you to keep it up high without either dangling and swaying from your camera or dragging in the dirt when you are operating down low.
3. Working in pitch-black indoors
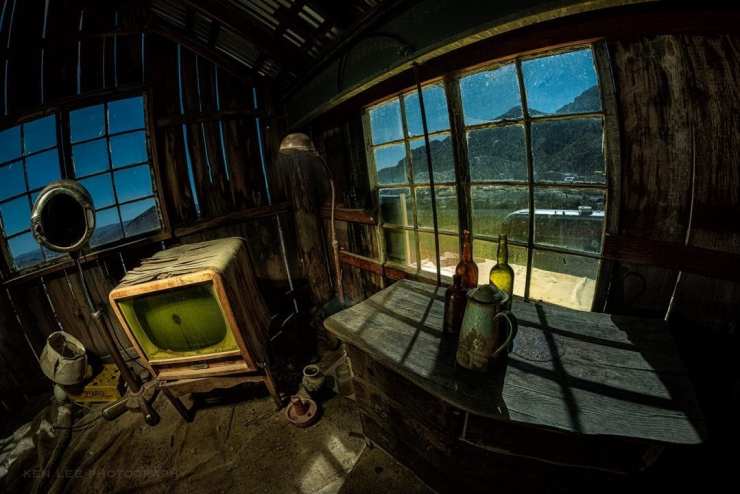
I photograph a lot of abandoned places. Many of these places are indoors, so even if there’s a full moon overhead, it’s likely very dark. I’ve photographed abandoned mining houses, penitentiaries, tunnels, factories, and more indoors. They’re completely pitch black, quite often.
A great tip is to take dim electric tea lights or even a headlamp, or really, anything that creates a dim light that illuminates the room. Place this anywhere, and then get to work. You can see what you are doing and see the room, but the light is dim enough that it doesn’t adversely affect your light painting of the room. This is also nice because I don’t blow out my eyes, but it’s just bright enough that I can see what I am doing. I also use a red LED headlamp so I don’t blow out my vision as well.

4. Find your belongings at night
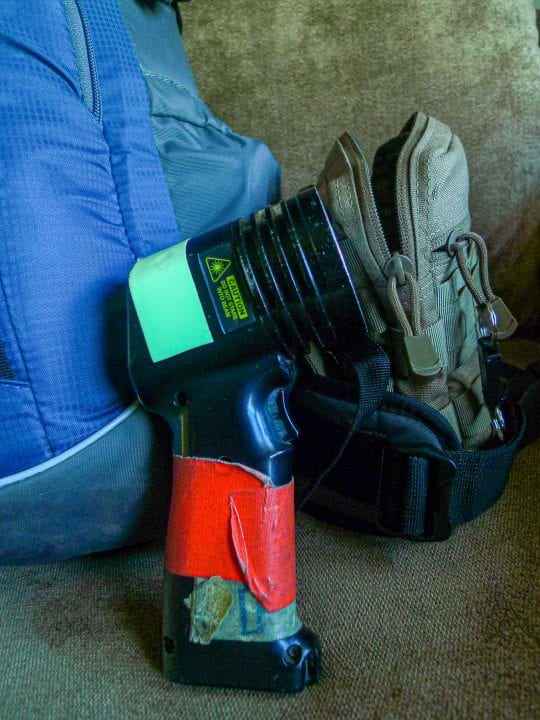
I use both reflective tape and glow-in-the-dark tape for finding my equipment at night. I have both kinds of tape wrapped around my tripod legs and my ProtoMachines LED2 flashlight. Why do I use both? Glow-in-the-dark tape works almost all the time, and 99% of the time, this is enough to find the equipment.
But in those cases where it is too dim or it didn’t get enough light to activate it, I also have reflective tape that alternates red and white so if I need to, I can shine a flashlight around and have this reflect back. I prefer not to do this because I like to work in the dark, but also because I might ruin my exposure if I inadvertently shine my flashlight into the camera lens.
For other things that are dark, I sometimes use orange gaffer tape so that it is a little more visible.
5. Kneepads
I kneel on a lot of surfaces that are sort of rough, whether it is rocks, sand with sharp little rocks or abandoned locations. I also climb around sometimes.
In those instances, it’s really nice to have kneepads to go a little easier on the knees. I have knee braces that have pads in the front so they provide a little bit of support for going down hills or bending a lot. This is really nice when I am photographing for 6-8 hours, especially during a cold evening.

Tell your story with the second annual Visual Storytelling Conference!
Experience four days of interactive, online training sessions featuring a range of educational content with experienced photographers and content creators. This free event kicks off with a series of technical boot camps to build essential skills, followed by live, online sessions on photography, video, business and social media. Join live from March 10-13, 2022!
