Embrace the lights. Something we photographers do quite often.
A few years back, I was tasked to photograph various large-scale art installations for ArtPrize Project 1. Historically, ArtPrize has been the organizer of the world’s largest public art competition, taking place in my hometown of Grand Rapids, MI. This year they shifted gears and wanted to work with five artists throughout the city, showcasing larger art pieces.
For the most part, I photographed the art pieces during the day, capturing overall views and detail shots from different angles. One was even captured from a lift about 20 feet in the air (and yes, I hate heights).
But one art piece in particular provided a bit of a challenge. Because this art piece involved rapidly moving lights on a public walking bridge (referred to as the Blue Bridge in our city), it was near impossible to see during the day. So I knew I would have to venture out during the night. What I didn’t know is how I would photograph it, or what the end result would be.
The challenge
Because I’d be photographing at night, I knew that I would most likely have to combine different exposures. I wanted to capture the Blue Bridge and have it be an obvious setting for the art installation, but I also wanted to capture the light and the megaphones — which were also a part of the art piece — so that they were clear.
While I had taken several photographs of the Blue Bridge in the past, with its lights on, none of those shots involved rapidly moving lights. And none of the lights that the bridge had on previously were anywhere near as bright.
Needless to say, a standard long exposure was out of the question, as it would have blown out the lights that were a part of the art installation.
The solution was to embrace the lights
What I decided to do was manually take five exposures, as different shutter speeds. I relied on my Olympus OM-D E-M1X, Olympus 7-14mm f/2.8 PRO lens and Vanguard tripod. I was patient, as I knew it would take some time to shoot five long exposures.
The photographs ranged from 1/15s to 15 seconds, and helped me to capture every part of the scene in different light. The short exposures were used to lower the brightness of the lights shining on the ground, while the longer exposures were used to capture the Blue Bridge.
.mgl-tiles { display: none; } #mgl-gallery-634edb22a49b5 { margin: -5px; width: calc(100% + 10px); } #mgl-gallery-634edb22a49b5 .mgl-box { padding: 5px; } @media screen and (max-width: 768px) { #mgl-gallery-634edb22a49b5 { margin: -5px; width: calc(100% + 10px); } #mgl-gallery-634edb22a49b5 .mgl-box { padding: 5px; } } @media screen and (max-width: 460px) { #mgl-gallery-634edb22a49b5 { margin: -5px; width: calc(100% + 10px); } #mgl-gallery-634edb22a49b5 .mgl-box { padding: 5px; } }
1/15s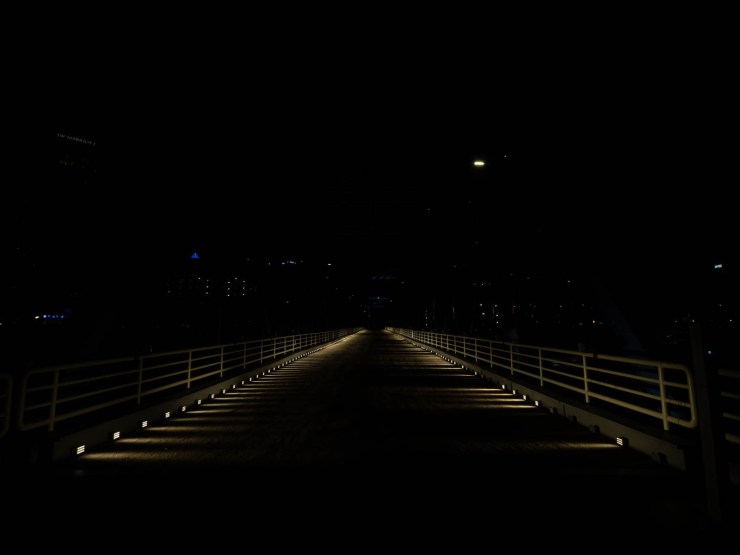
0.8 seconds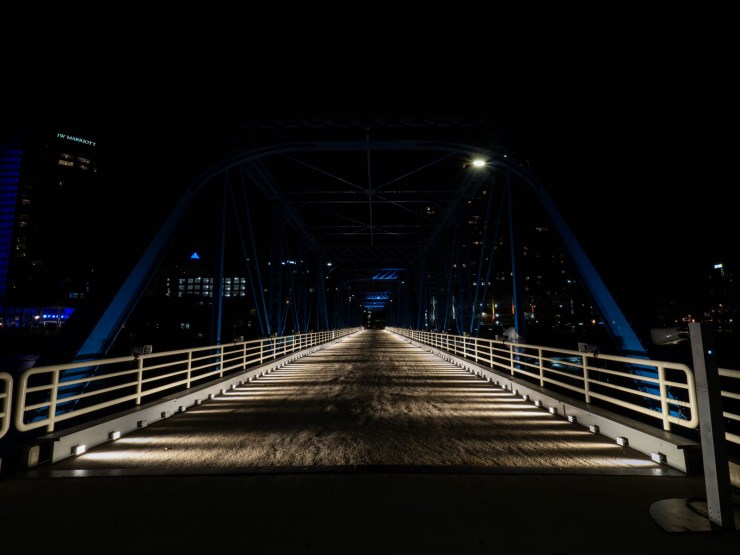
1.3 seconds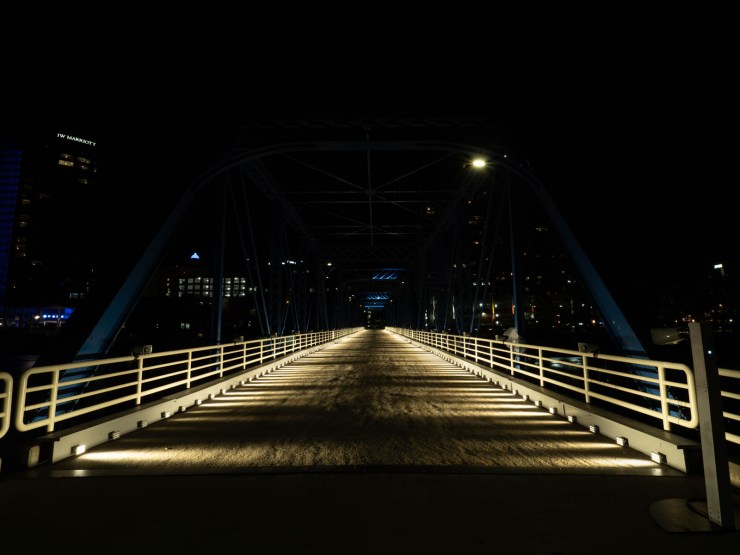
4 seconds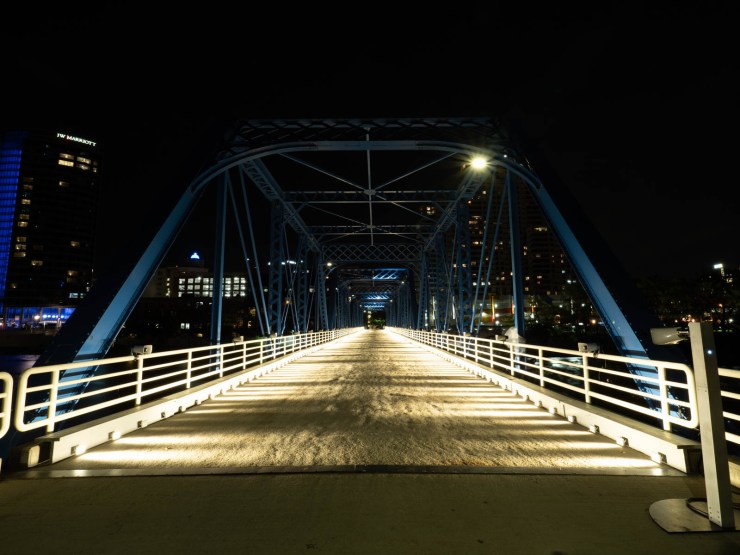
15 seconds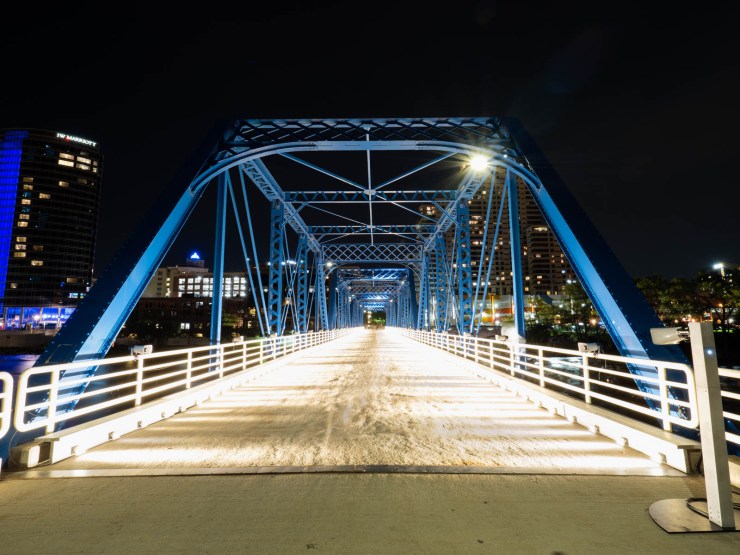
I photographed from multiple angles, but ended up using the straight-on view you see in the brackets above, and then a side view. The straight-on angle gave the best view of the art piece, but the side angle showcased the city’s skyline a bit more, which you can see in the main image for this article.
Putting it together
Now, you’re probably wondering why I just didn’t do a standard bracket series, 1 stop apart. As I mentioned above, I wanted to be sure that the Blue Bridge was lit up in all its glory, in addition to being able to tone down the lights that were shining on the ground. If I just had to worry about one of those areas, a standard bracket would’ve done just fine. But manually bracketing and choosing my shutter speeds carefully allowed me more control for when I put the image together.
I used Lightroom Classic to put the five bracketed shots together. But it was far from being finished in my eyes. The exposure on the Blue Bridge needed to be increased, and some of the highlights on the lights were decreased.
I took down the Highlights considerably (-88) and bumped up the Shadows (+59). Then, I increased the Exposure to +1.35. Additionally, I made minute adjustments to the Whites and Blacks sliders, Clarity, as well as Vibrance. And what I was presented with was a much more finished image. Here’s the before and after.
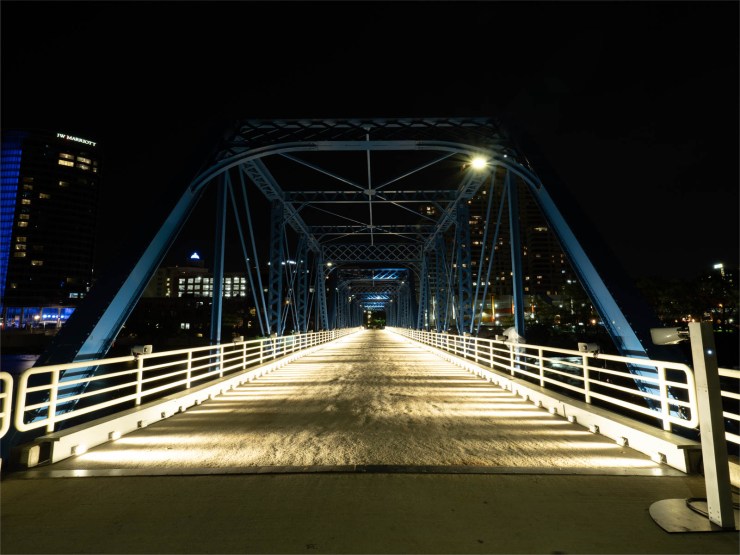
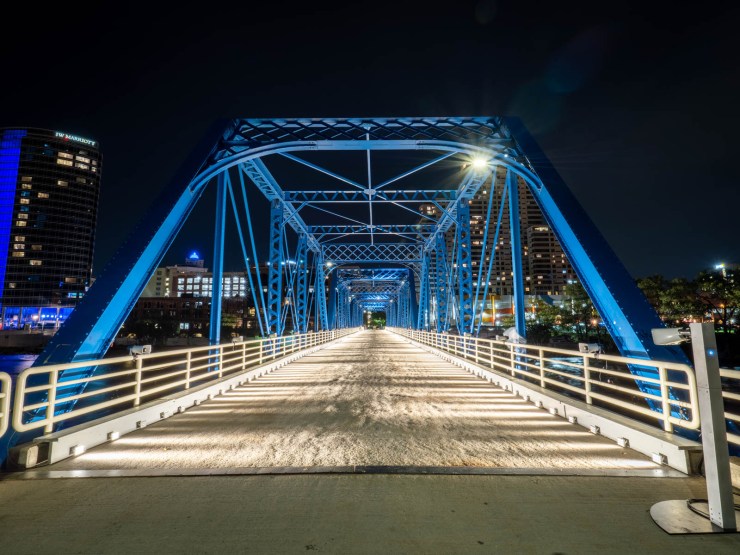
But I wasn’t done yet. As a final step, I took the image into Luminar Flex and used the Accent AI slider to boost the image a bit. This added contrast to my image, and evened out a lot of the toning issues that were present before.
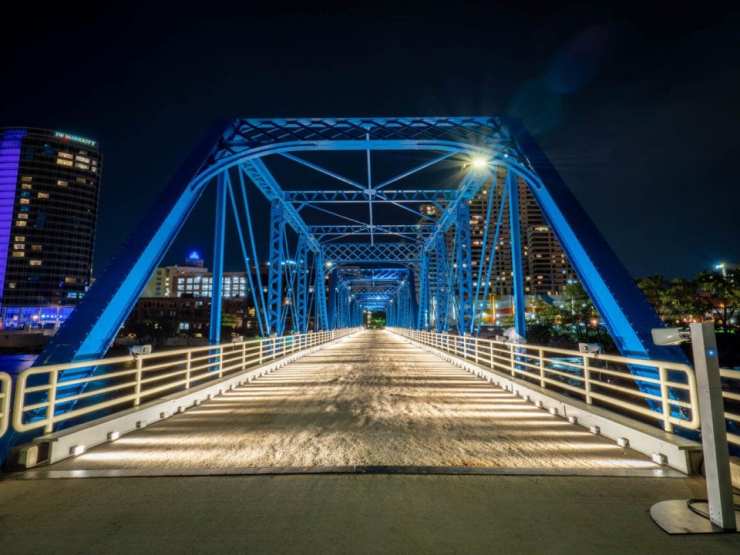
I also took advantage of a mistake in Luminar Flex. By utilizing the AI Sky Enhancer filter, I was able to not only enhance the sky, but also the blue colors of the bridge. It really brought out a lot of the saturation that was missing previously in the bridge.
Once I was done, I was presented with my final image.
It’s all about creativity
I’ve learned over the past several years that it’s OK to try out new techniques, even with client work. For me, this technique of manually bracketing to embrace the lights, was used to solve a problem. I might utilize this technique once or twice a year, but when I do, the results certainly yield themselves to something I wouldn’t have been able to capture otherwise.
Tell your story with the second annual Visual Storytelling Conference!
Experience four days of interactive, online training sessions featuring a range of educational content with experienced photographers and content creators. This free event kicks off with a series of technical boot camps to build essential skills, followed by live, online sessions on photography, video, business and social media. Join live from March 10-13, 2022!
