
I’ve been photographing food and drink for as long as I can remember. It started shortly after college when I helped to run a local food blog, highlighting restaurants in my area. Then I moved on to a beer blog, and now I regularly photograph food and drinks for a local magazine in addition to restaurants.
Over the years, I’ve figured a few things out that are helpful to any photographer who’s just starting to photograph their food. Here’s six of my best tips for food photographers.
1. Be realistic and creative
.mgl-tiles { display: none; } #mgl-gallery-634edd53ad1bb { margin: -5px; width: calc(100% + 10px); } #mgl-gallery-634edd53ad1bb .mgl-box { padding: 5px; } @media screen and (max-width: 768px) { #mgl-gallery-634edd53ad1bb { margin: -5px; width: calc(100% + 10px); } #mgl-gallery-634edd53ad1bb .mgl-box { padding: 5px; } } @media screen and (max-width: 460px) { #mgl-gallery-634edd53ad1bb { margin: -5px; width: calc(100% + 10px); } #mgl-gallery-634edd53ad1bb .mgl-box { padding: 5px; } }
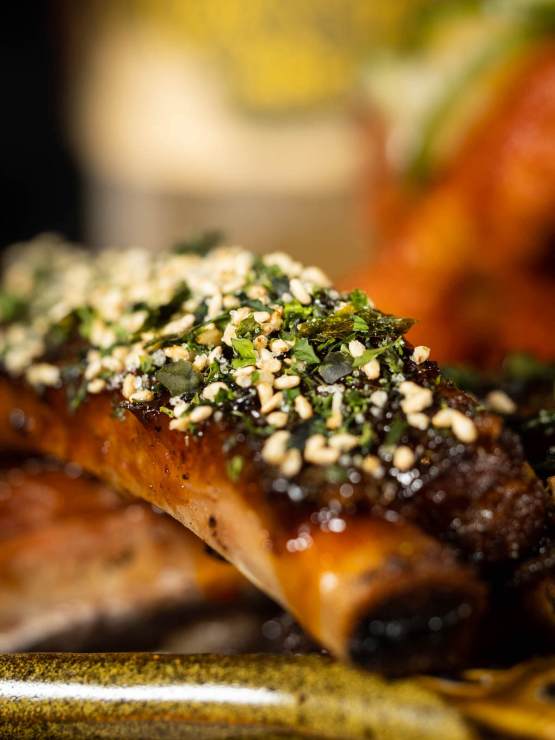
If there’s one thing I’ve learned as a food and drink photographer, it’s that you have to capture the essential shots first. Get different angles of the dish in different settings. Only then can you have some fun.
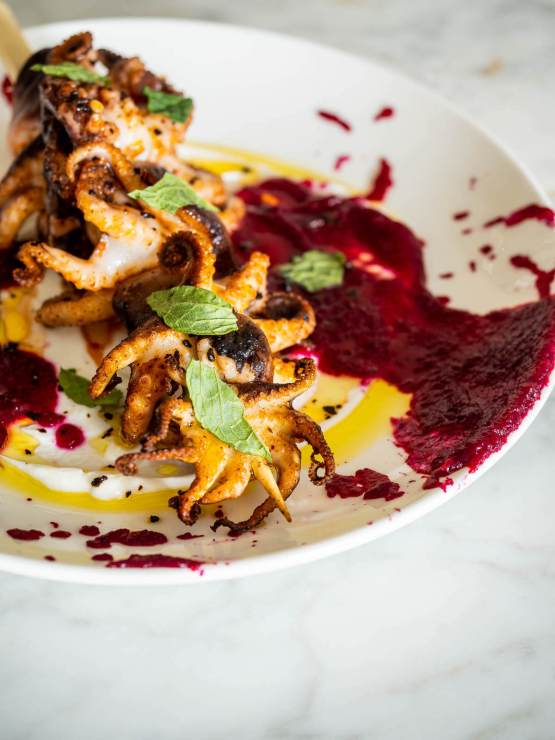
Because I typically photograph for a journalistic publication, I stick more to the realistic side of food photography. I don’t mess with a chef’s work. I remove things like splatters and fingerprints on a plate, but I don’t move anything around on the plate.
For me, I get creative in two ways. One, I play with different angles, perhaps angling my camera so the dish is on a 45-degree angle. But I’ll also pull out my macro lens, focusing on the details and the essence of what makes up the food. You might take it a step further, working with colored backgrounds and other lighting techniques that can really make a dish come to life.
2. Don’t be afraid of shadows
.mgl-tiles { display: none; } #mgl-gallery-634edd53adcdc { margin: -5px; width: calc(100% + 10px); } #mgl-gallery-634edd53adcdc .mgl-box { padding: 5px; } @media screen and (max-width: 768px) { #mgl-gallery-634edd53adcdc { margin: -5px; width: calc(100% + 10px); } #mgl-gallery-634edd53adcdc .mgl-box { padding: 5px; } } @media screen and (max-width: 460px) { #mgl-gallery-634edd53adcdc { margin: -5px; width: calc(100% + 10px); } #mgl-gallery-634edd53adcdc .mgl-box { padding: 5px; } }

This was my biggest flaw when I first started photographing food. I was scared to have shadows in my shots. But shadows can help to add depth to the overall environment where your dish is placed and make it appear more natural.
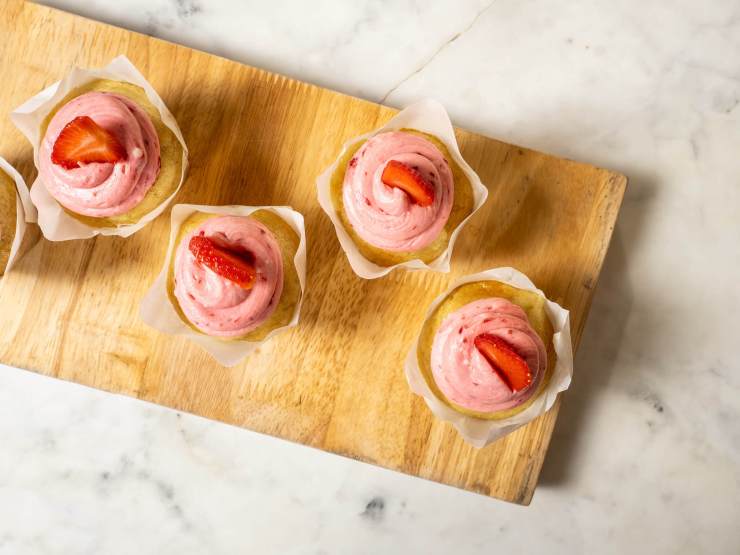
3. Play around with your heights and levels
.mgl-tiles { display: none; } #mgl-gallery-634edd53ae887 { margin: -5px; width: calc(100% + 10px); } #mgl-gallery-634edd53ae887 .mgl-box { padding: 5px; } @media screen and (max-width: 768px) { #mgl-gallery-634edd53ae887 { margin: -5px; width: calc(100% + 10px); } #mgl-gallery-634edd53ae887 .mgl-box { padding: 5px; } } @media screen and (max-width: 460px) { #mgl-gallery-634edd53ae887 { margin: -5px; width: calc(100% + 10px); } #mgl-gallery-634edd53ae887 .mgl-box { padding: 5px; } }
I typically follow a standard process when I photograph food. I start by shooting the food at eye level. Then I do some overhead shots, and finally, I play around with different angles.
But with all of these, it’s important to look at the heights and levels present in your image. Bring in some props into the shot and see how you can elevate it. See how it can complement the dish, and draw your viewer’s eye back to the plate. And by playing with multiple objects, you can introduce different levels to your shot, which helps to add interest and create a scene that draws back to the main dish.
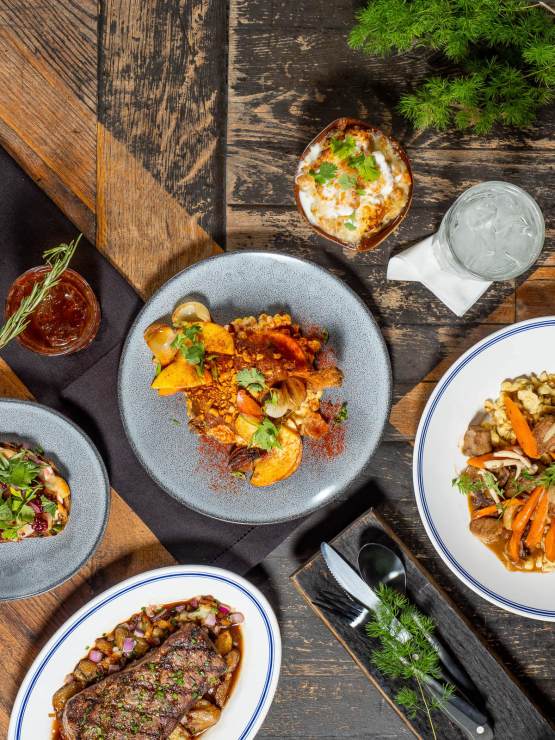
4. Cut it off
.mgl-tiles { display: none; } #mgl-gallery-634edd53af766 { margin: -5px; width: calc(100% + 10px); } #mgl-gallery-634edd53af766 .mgl-box { padding: 5px; } @media screen and (max-width: 768px) { #mgl-gallery-634edd53af766 { margin: -5px; width: calc(100% + 10px); } #mgl-gallery-634edd53af766 .mgl-box { padding: 5px; } } @media screen and (max-width: 460px) { #mgl-gallery-634edd53af766 { margin: -5px; width: calc(100% + 10px); } #mgl-gallery-634edd53af766 .mgl-box { padding: 5px; } }


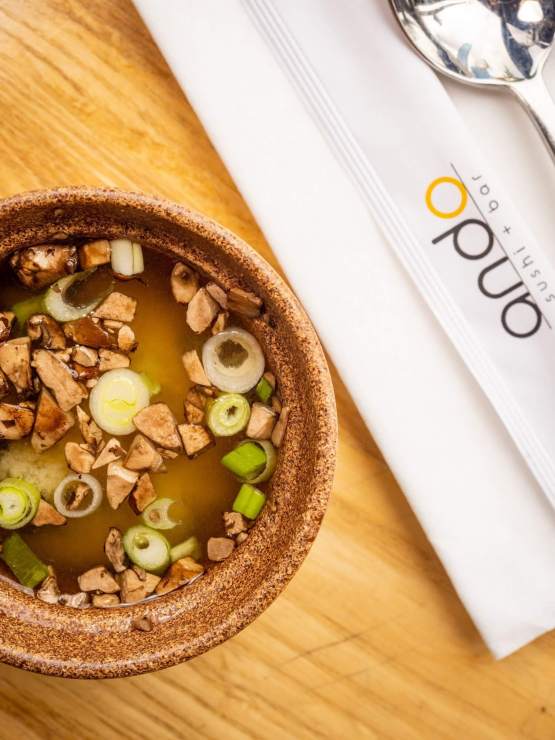
Some of my favorite food photos have been when a dish is only partially photographed. By that, I mean that I deliberately cut off part of a dish from a frame. It adds some visual interest and really lets the star of the dish shine! I especially like to do this for overhead photos.
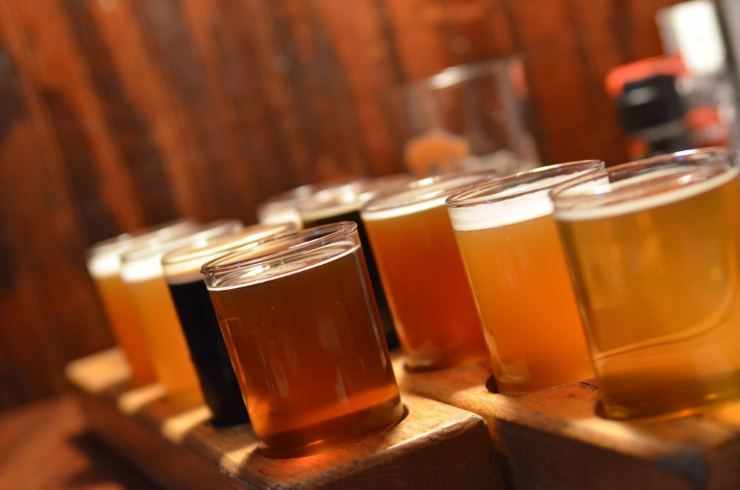
5. Don’t always shoot at f/2.8
.mgl-tiles { display: none; } #mgl-gallery-634edd53b02a0 { margin: -5px; width: calc(100% + 10px); } #mgl-gallery-634edd53b02a0 .mgl-box { padding: 5px; } @media screen and (max-width: 768px) { #mgl-gallery-634edd53b02a0 { margin: -5px; width: calc(100% + 10px); } #mgl-gallery-634edd53b02a0 .mgl-box { padding: 5px; } } @media screen and (max-width: 460px) { #mgl-gallery-634edd53b02a0 { margin: -5px; width: calc(100% + 10px); } #mgl-gallery-634edd53b02a0 .mgl-box { padding: 5px; } }
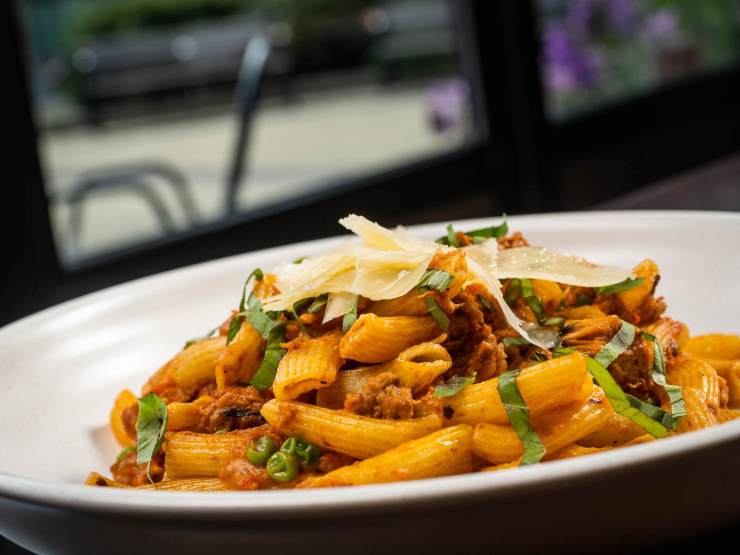

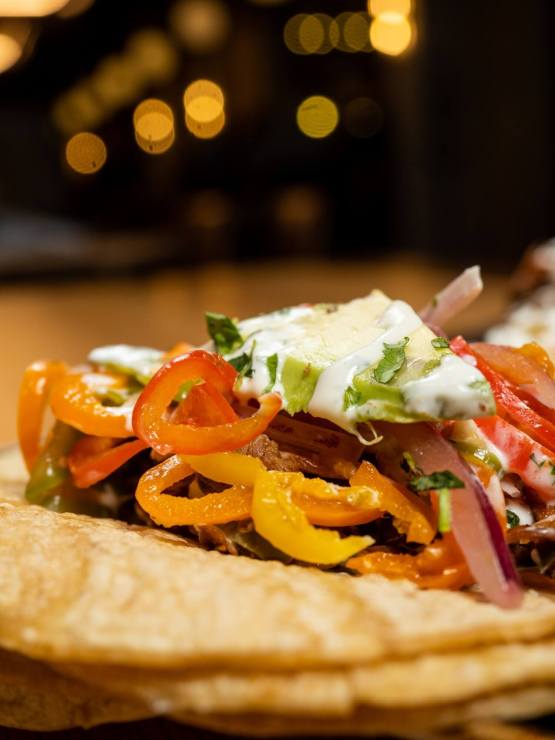
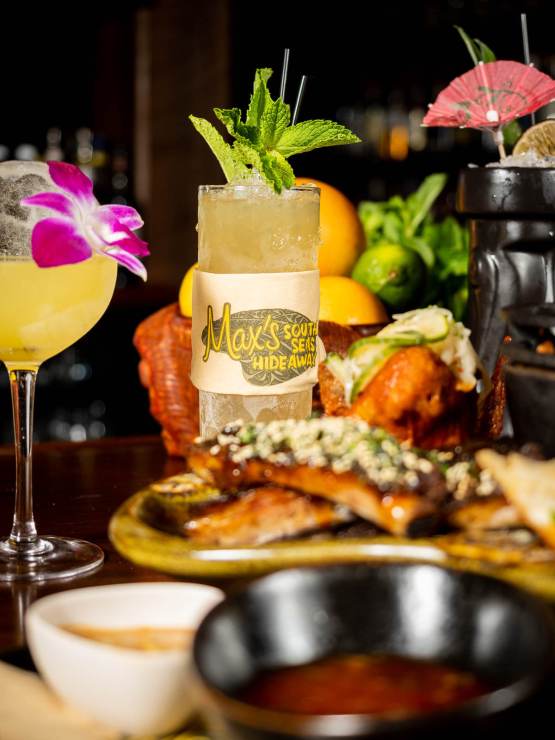
Unless you want an ultra-shallow depth of field, try closing your aperture a bit. I personally start at f/4, which allows me to get more of the dish in focus, but still have a blurry background. And I can sometimes go all the way up to f/16 if I working with different layers that I all want to be sharp. Usually, I only shoot at f/2.8 if I’m getting a wider shot, where I know I’ll get the entire subject in focus (like the drinks above).
6. You don’t need lighting, but it certainly helps
.mgl-tiles { display: none; } #mgl-gallery-634edd53b0b20 { margin: -5px; width: calc(100% + 10px); } #mgl-gallery-634edd53b0b20 .mgl-box { padding: 5px; } @media screen and (max-width: 768px) { #mgl-gallery-634edd53b0b20 { margin: -5px; width: calc(100% + 10px); } #mgl-gallery-634edd53b0b20 .mgl-box { padding: 5px; } } @media screen and (max-width: 460px) { #mgl-gallery-634edd53b0b20 { margin: -5px; width: calc(100% + 10px); } #mgl-gallery-634edd53b0b20 .mgl-box { padding: 5px; } }

As a food photographer, I like to have control over my scene. But sometimes things don’t go right, and that lighting trigger that you thought you had in your bag is actually sitting in your living room (guilty).
You can still make do without a lighting setup. Find a table by a window, or where there’s some nice natural light present. You might find that the main subjects won’t pop or glisten quite as much, but by adding some contrast and clarity in post-processing, you can easily get the look you’re going for.
Tell your story with the second annual Visual Storytelling Conference!
Experience four days of interactive, online training sessions featuring a range of educational content with experienced photographers and content creators. This free event kicks off with a series of technical boot camps to build essential skills, followed by live, online sessions on photography, video, business and social media. Join live from March 10-13, 2022!