Fill flash is a great way to work with the weather and lighting conditions we have at the moment.
Oftentimes we can’t schedule our photoshoots around perfect sky conditions. Especially during the summer, the long days and high sun becomes challenging, leaving you guessing at having clouds in the sky, or praying that Golden Hour will work out.
But there’s a common solution to all of this, using just your speedlight and a diffuser.
Balance the light with a fill flash
The past few weeks, we’ve been blessed with sunny skies in Michigan, along with super hot and humid days. Because the days are longer right now, it means your window for shooting Golden Hour means either very early in the morning, or if you’re in Michigan, around 8:30 or 9 p.m. in the evening.
Needless to say, this isn’t ideal for client work.
But there’s a simple way to help balance your light and decrease the shadows, all the while making your photos turn out realistic.
I’ve utilized a fill flash on two of my recent shoots — one corporate promotional shoot, and another senior portrait session. For me, a fill flash means putting a speedlight on my camera’s hot shoe and then putting my MagMod MagBounce on the flash, helping to diffuse the harsh light coming from the speedlight.
This sounds pretty simple, and it is. The one thing you need to keep in mind is that you’ll want to take your speedlight off of TTL mode, and instead put it in manual, letting you control the light that your speedlight produces. It’s important to not completely overpower an image, and more often than not, leaving a speedlight in TTL mode will mean over-exposed outdoor images. Instead, cut your speedlight to 1/2 or 1/4 power. It’ll provide just that little bit of boost needed to take care of hard shadows, helping to even out the light in your photograph.
Comparison of before and after
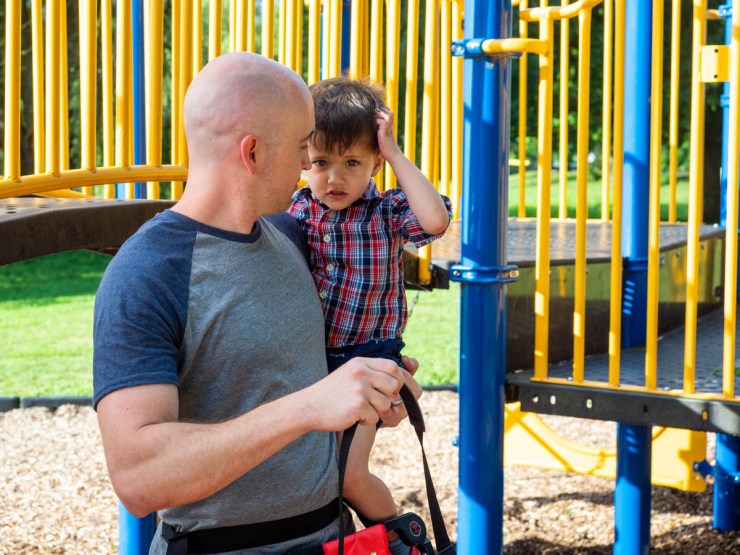
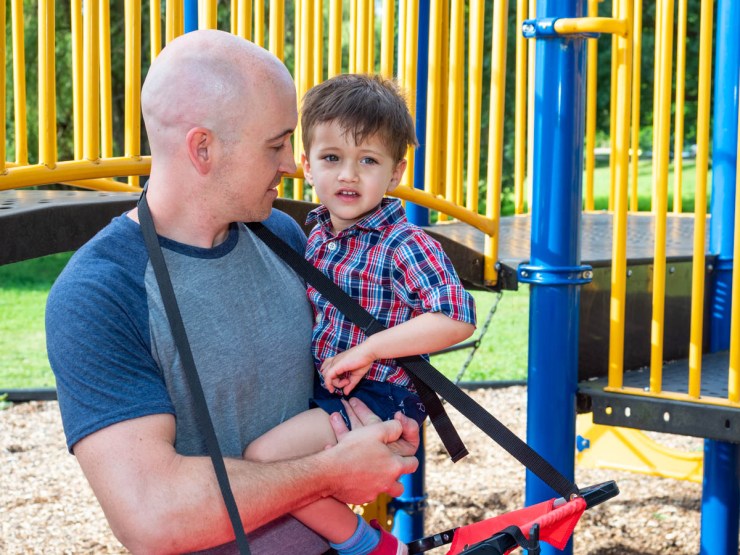
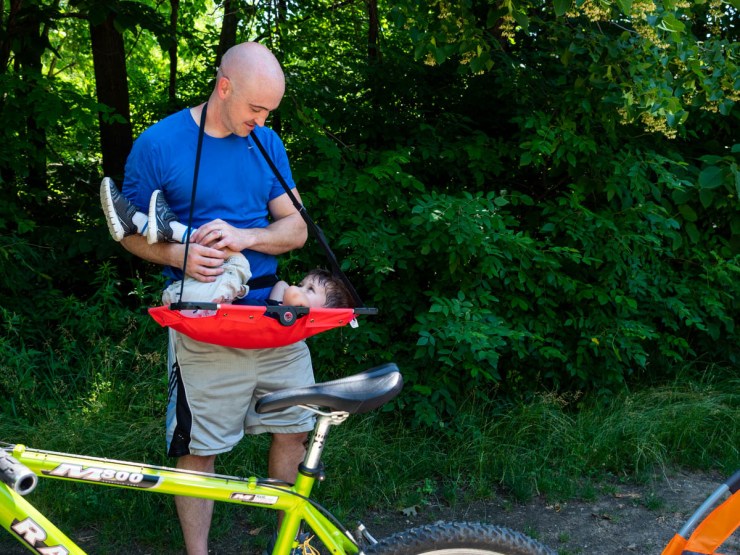
It’s easy to see why, in a lot of cases, using a fill flash can help to even out the light in your photograph. Here, Jason and his son Porter modeled a new portable changing table called Toot & Tote. Jason, the owner of Little Kaboose, is the inventor.
.mgl-tiles { display: none; } #mgl-gallery-634edd2e0f66e { margin: -5px; width: calc(100% + 10px); } #mgl-gallery-634edd2e0f66e .mgl-box { padding: 5px; } @media screen and (max-width: 768px) { #mgl-gallery-634edd2e0f66e { margin: -5px; width: calc(100% + 10px); } #mgl-gallery-634edd2e0f66e .mgl-box { padding: 5px; } } @media screen and (max-width: 460px) { #mgl-gallery-634edd2e0f66e { margin: -5px; width: calc(100% + 10px); } #mgl-gallery-634edd2e0f66e .mgl-box { padding: 5px; } }
Before a Fill Flash was used. Note the shadows, especially on Porter’s face. Even he knows it’s not a good picture!
After a Fill Flash was used, the tones and lighting are much more even. The shadows on Porter’s face are gone, and you can now see him clearly.
It’s easy to see why using a fill flash here was necessary. While these photos were taken at 8:30 a.m., the sky was still very bright due to little cloud cover. Without the fill flash, Porter’s face is completely shadowed. Once I turned on the fill flash, Porter’s face was now clearly visible and no longer shadowed. It makes both him and Jason “pop” just a bit, especially in front of the bright yellow playground bars behind them.
Things to keep in mind when using fill flash
As with any new tool, you need to know how to use a fill flash in outdoor settings. As I mentioned earlier, it’s important to manually control it, so you add just a “pop” of light instead of overpowering the entire image. By using too much of a fill flash, you risk the subjects looking unrealistic and plastic-y. Needless to say, it’s not an appealing look.
Using a fill flash won’t solve all your problems, either. You might need to block out some of the sun with a large oval diffuser in order to fully get the look you’re going for and to avoid any weird lighting on faces. And if you’re shooting against a bright background, it’ll definitely help to bring out some of the color and tone back the highlights in a bright sky, but you’ll still more than likely need to make a few adjustments. Mind you, those adjustments will be much more minor than if you hadn’t pulled out your speedlight.

Conclusion
Using a fill flash can ultimately help you get out of a tricky situation, and it’s a great, easy tool to pack in your bag. While it might not yield perfect results in all instances, it’ll help you to light your subject better, reducing the silhouette look we often find when dealing with bright backgrounds, and helping to bring a “pop” of light to your images.
Tell your story with the second annual Visual Storytelling Conference!
Experience four days of interactive, online training sessions featuring a range of educational content with experienced photographers and content creators. This free event kicks off with a series of technical boot camps to build essential skills, followed by live, online sessions on photography, video, business and social media. Join live from March 10-13, 2022!
