I was recently asked how I go about setting up a still life shoot in the studio. I have written quite a few articles on various aspects of still life, but I guess maybe not HOW I set things up.
Decide on your hero piece
Decide on what is going to be your hero. Still life is more often than not a type of storytelling, so who (or what) is going to be the hero of your story? Is it a single shot or more of an editorial style shoot? This is going to be your focus point, and where you ultimately want your viewer’s eye to be drawn.
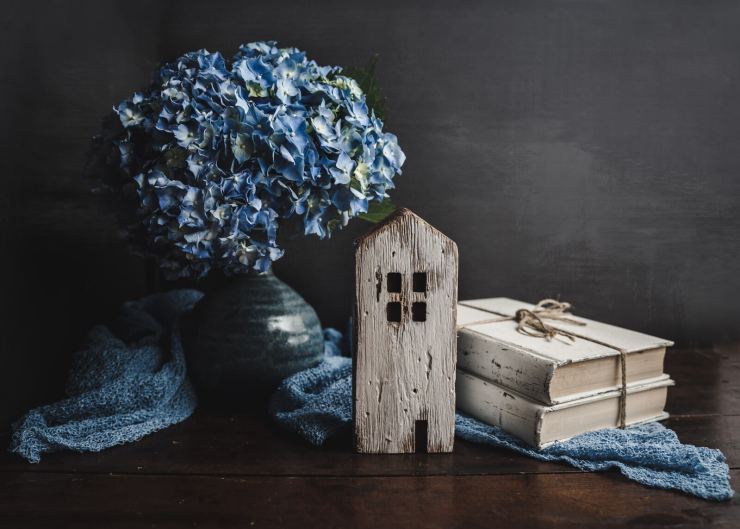
In the below image, I draw the viewer’s eye in with the blue fabric on the left and up through the flowers to the little wooden house (my focus point) and then to the books and off to the bottom right, again with the blue fabric.
Decide on your composition
There are several different types of photographic composition, and it is worth learning them all. However, we invariably have a few favorites. While there are many, here are a few key compositions:
- Leading lines
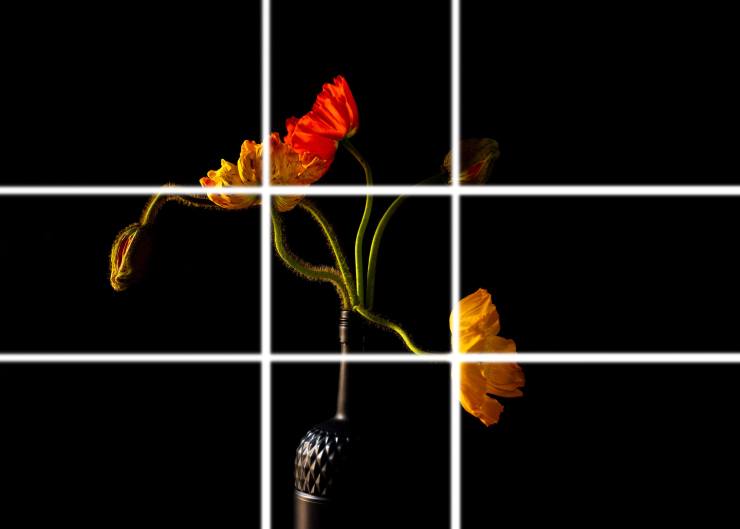
- Rule of thirds
- Rule of space
- Minimalism
- Colors & patterns
- Symmetry & balance
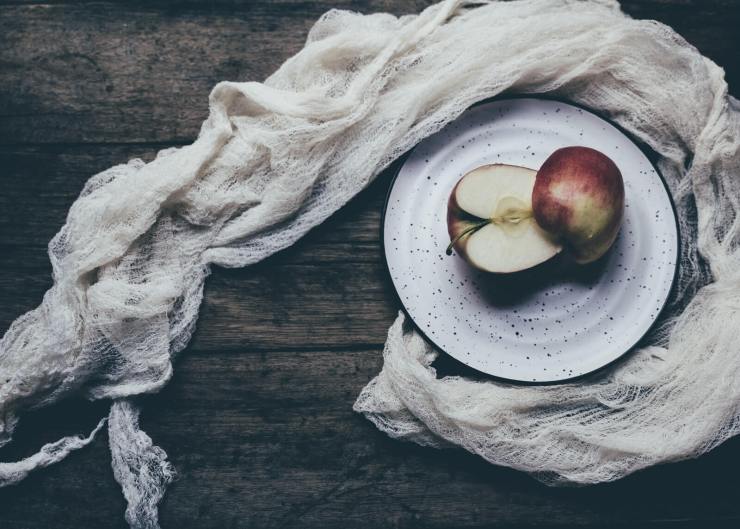
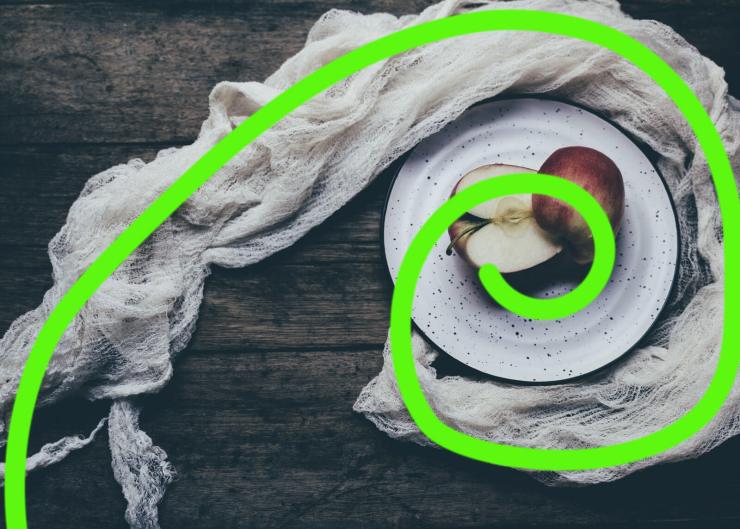
- Golden spiral (see below)
.mgl-tiles { display: none; } #mgl-gallery-634ede9edc590 { margin: -5px; width: calc(100% + 10px); } #mgl-gallery-634ede9edc590 .mgl-box { padding: 5px; } @media screen and (max-width: 768px) { #mgl-gallery-634ede9edc590 { margin: -5px; width: calc(100% + 10px); } #mgl-gallery-634ede9edc590 .mgl-box { padding: 5px; } } @media screen and (max-width: 460px) { #mgl-gallery-634ede9edc590 { margin: -5px; width: calc(100% + 10px); } #mgl-gallery-634ede9edc590 .mgl-box { padding: 5px; } }
Some other composition tips to consider
- Use balance and symmetry to draw the viewer’s eye
- Try simple shapes as a reference point — like triangles
- Emphasize height and depth by overlapping pieces
- Break the monotony to create interest
- Create frames to compose multiple subjects
Where to place objects
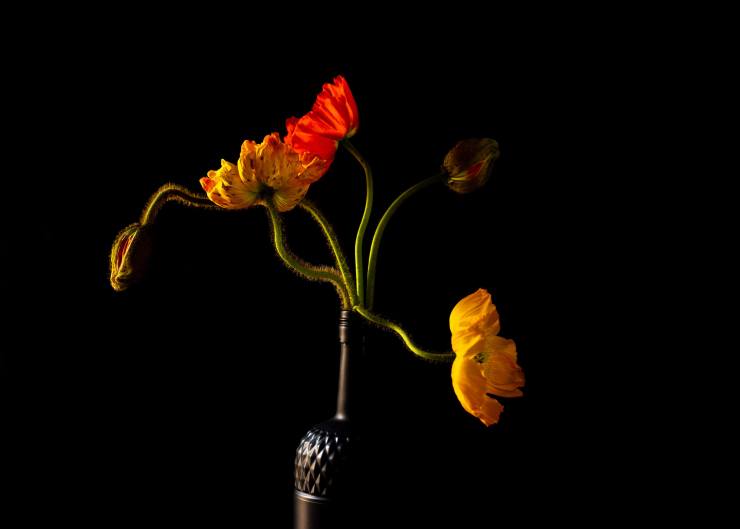
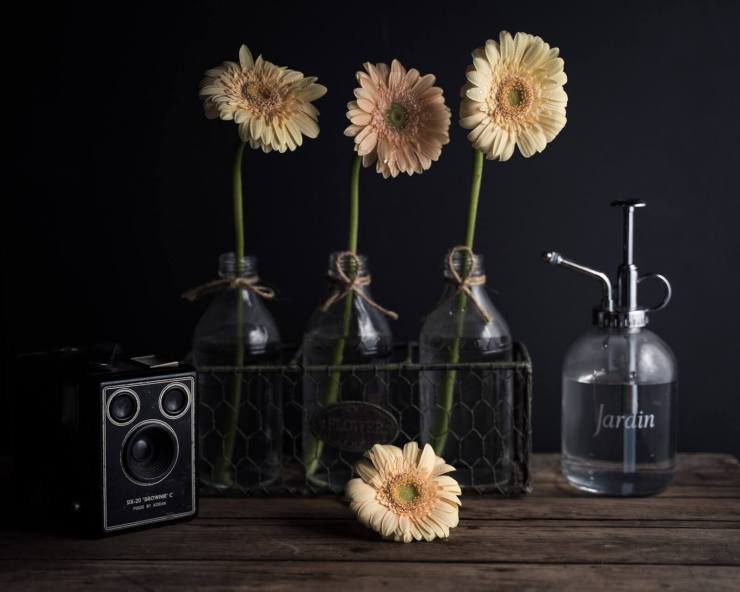
I really like to use triangles within triangles. Start with the largest item in the center at the back. I can then begin to move through my scene placing other props, adding depth and height as I go. I usually end up with my hero front and center. I will also use leading lines to guide my viewer’s eye through the image. If using minimalism I will often fall back on the rule of thirds.
.mgl-tiles { display: none; } #mgl-gallery-634ede9edd50e { margin: -5px; width: calc(100% + 10px); } #mgl-gallery-634ede9edd50e .mgl-box { padding: 5px; } @media screen and (max-width: 768px) { #mgl-gallery-634ede9edd50e { margin: -5px; width: calc(100% + 10px); } #mgl-gallery-634ede9edd50e .mgl-box { padding: 5px; } } @media screen and (max-width: 460px) { #mgl-gallery-634ede9edd50e { margin: -5px; width: calc(100% + 10px); } #mgl-gallery-634ede9edd50e .mgl-box { padding: 5px; } }
Things to remember
Choose which piece is your hero, your focal point. Decide on your composition. Decide on where to place supporting elements and props. Don’t forget the viewer’s eye will also be drawn to the brightest part of your piece.
If you start with these tips I am sure you will be heading in the right direction with setting up your still life photography. Want to learn more? I have a range of self-paced online classes all about still life photography, just visit my website.
Tell your story with the second annual Visual Storytelling Conference!
Experience four days of interactive, online training sessions featuring a range of educational content with experienced photographers and content creators. This free event kicks off with a series of technical boot camps to build essential skills, followed by live, online sessions on photography, video, business and social media. Join live from March 10-13, 2022!
