A couple years ago, I was encouraged by a good friend and professional photographer to consider investing in an infrared converted mirrorless camera. Over this past year, I have enjoyed exploring landscape scenes for compositions and light that work well for infrared, as these often differ from scenes that are favorable for traditional color and black & white landscape images.
I am still working my way through the process of previsualizing landscape scenes with that will provide interesting infrared photos. One of the benefits of infrared photography is that good images can be captured throughout the day, whereas traditional landscape photos are typically much better when captured during the soft light of the early morning or late evening.
In October 2020, I made the leap into infrared photography when I had a new Nikon Z 5 mirrorless camera converted with a standard 720 nanometer (nm) infrared frequency. I now carry this infrared camera along with my standard Nikon Z 7II mirrorless camera with me during my outdoor photography adventures.
What is infrared light?
.mgl-tiles { display: none; } #mgl-gallery-634ee046af4f0 { margin: -5px; width: calc(100% + 10px); } #mgl-gallery-634ee046af4f0 .mgl-box { padding: 5px; } @media screen and (max-width: 768px) { #mgl-gallery-634ee046af4f0 { margin: -5px; width: calc(100% + 10px); } #mgl-gallery-634ee046af4f0 .mgl-box { padding: 5px; } } @media screen and (max-width: 460px) { #mgl-gallery-634ee046af4f0 { margin: -5px; width: calc(100% + 10px); } #mgl-gallery-634ee046af4f0 .mgl-box { padding: 5px; } }
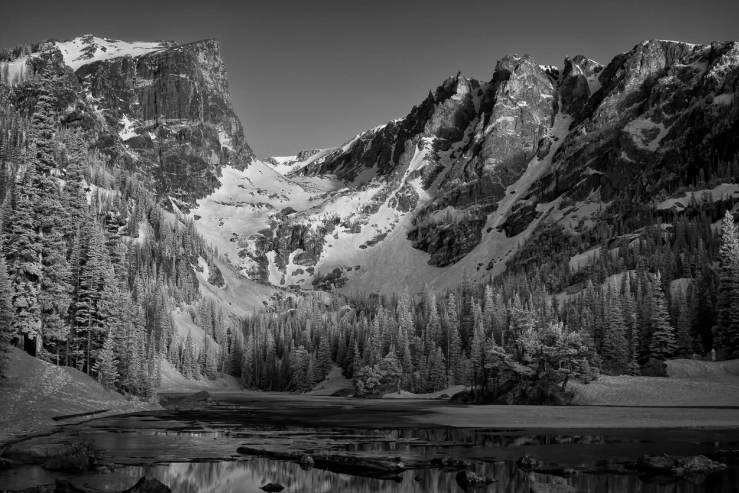
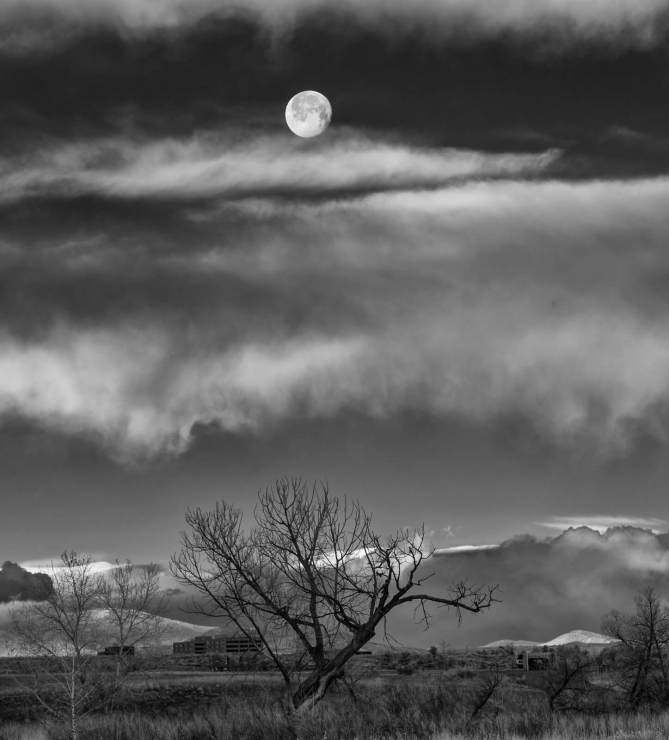
The word “Infrared” is Latin for infra (below) and the color red. Infrared light is below the red portion of light that humans see and is therefore invisible to our eyes. Whereas humans see light wavelengths between 380–700nm, the waves above 700nm fall into the infrared spectrum.
Note that those wavelengths below 380nm fall into the ultraviolet spectrum. Photographers use specialized filters and/or converted camera sensors to restrict wavelengths above the infrared spectrum.
Other considerations
Filters vs. camera conversions
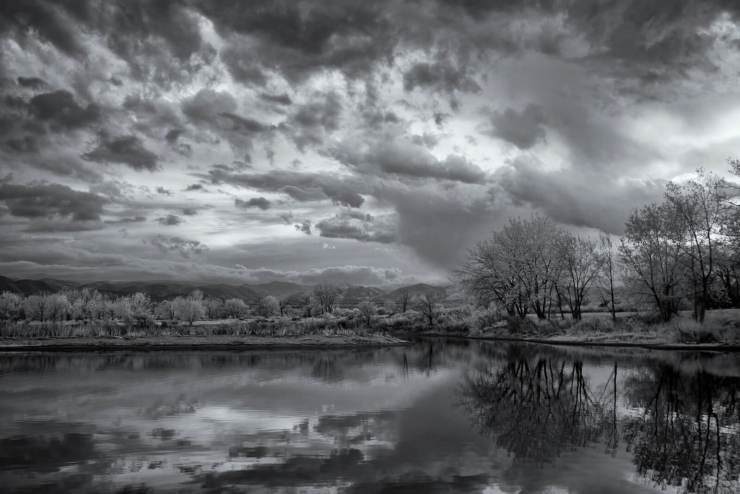
Filters that screw on to the front of a camera lens (much like polarizing filters and neutral density filters) provide an inexpensive alternative for entering the world of infrared photography. However, these filters block out several stops of light and therefore require extended exposure times and the use of a tripod.
These filters work well if there is no movement of trees, leaves, grasses, etc. in the scene. However, these moving objects will blur due to the slower shutter speeds required.
A key benefit of an infrared converted camera is that exposures and shutter speeds are similar to standard DSLR and mirrorless camera settings.
DSLR vs. mirrorless
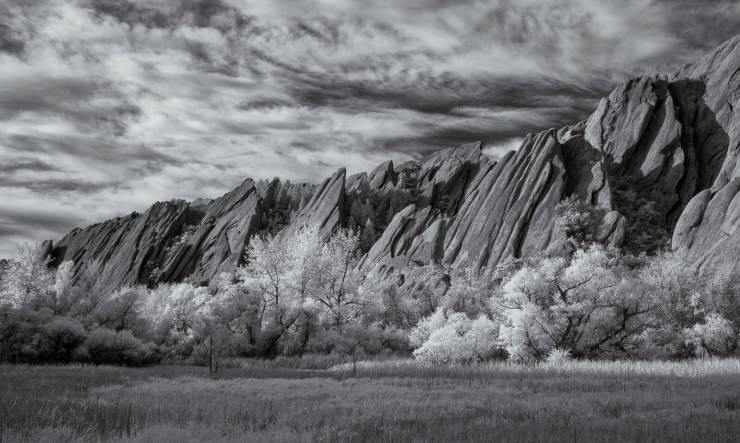
A converted mirrorless camera has advantages over a DSLR camera for infrared photography. A DSLR must be used in “live view” or “mirror lockup” to see the effects of infrared before pressing the shutter, whereas a mirrorless camera provides the infrared scene through the viewfinder or the back of the camera.
A converted mirrorless camera can use a wide range of lenses, whereas a DSLR camera typically requires calibration with a specific lens for purposes of setting accurate focusing, making it less versatile for the photographer who likes to capture landscape scenes in a variety of focal lengths.
Infrared conversion choices
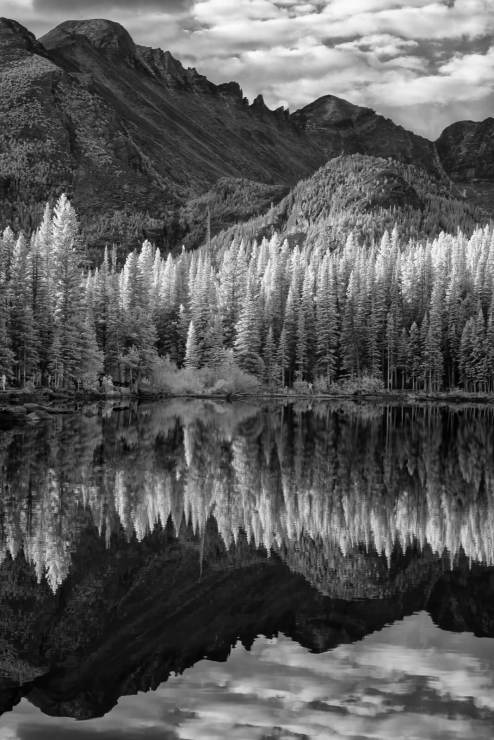
The most common infrared filter or camera conversion is 720nm, which is a great choice for unique black and white images after post processing with common black and white conversion software.
Other infrared spectrum choices include 470, 500 and 665nm (provides surreal and exaggerated colors); 830 and 850nm (provides enhanced black and white) and Full Spectrum (lens filters are then used at various nanometer levels to create different effects).
How things appear in infrared
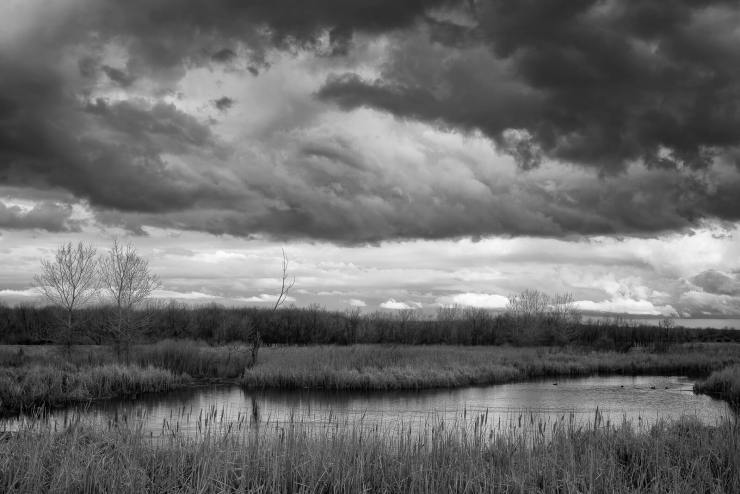
Infrared photos have a unique look depending upon whether the infrared light is being absorbed or reflected by the subjects in the scene. For landscape images, foliage reflects light and will therefore appear very light in infrared. Blue skies and darker water absorb light and will therefore appear much darker than what we see with our eyes. Clouds will often have strong contrast depending upon whether portions of the clouds are naturally light or dark.
Many landscape scenes that combine foliage, blue sky, water, clouds and the moon with various tones are often great candidates for infrared photos.
Post-processing
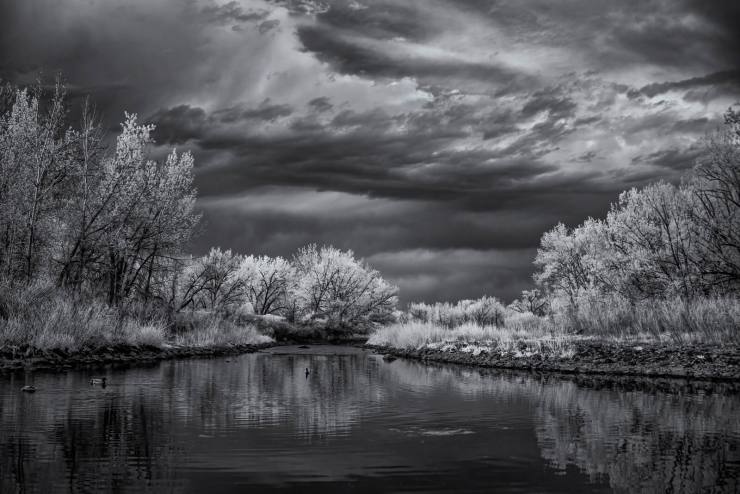
Infrared photos typically require post processing. With the 720nm converted camera I use, I convert essentially all infrared images to black and white using a variety of software programs including Capture One, Nik Silver Efex Pro and Luminar. I find it interesting to experiment with these programs, particularly with adjustments to the blue color channel that helps to darken blue skies, together with increasing the contrast and structure sliders.
It is also worth experimenting with tonal adjustments such as selenium (my favorite), sepia and copper. I usually finish my post processing with the Topaz Labs DeNoise AI software to reduce unwanted noise and enhance the overall sharpness.
Getting hooked on infrared
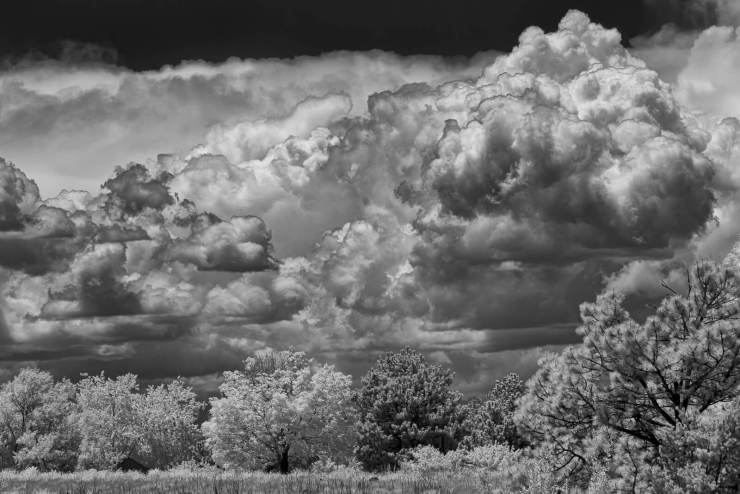
For those who are interested in expanding their overall landscape photography experience, I highly recommend trying infrared. Begin with a relatively inexpensive infrared lens filter to experiment with, but don’t be surprised if you find yourself committing to a camera conversion.
Editor’s note: We welcome this article from Michael Ryno, a landscape, wildlife and nature photographer in Highlands Ranch, CO. Learn more and see his work at michaelrynophotography.com.
Tell your story with the second annual Visual Storytelling Conference!
Experience four days of interactive, online training sessions featuring a range of educational content with experienced photographers and content creators. This free event kicks off with a series of technical boot camps to build essential skills, followed by live, online sessions on photography, video, business and social media. Join live from March 10-13, 2022!
