Mmmm … chocolate. Nothing quite makes a dessert like chocolate. But when it comes to food photography, that one substance can be tricky to work with. Here are a few tips that might just save the day.
In general
- Try not to handle chocolate with your hands, as body heat and natural oils can affect the chocolate. Instead use tongs or kitchen utensils wherever possible and try to make sure they are clean, dry and cold.
- Water is usually disastrous when it mixes with chocolate, so avoid at all costs (there are a few exceptions). If using a double boiler to melt your chocolate, make sure water can react with the melting chocolate.
- Do not let chocolate completely reset while working with it. If using melted chocolate, keep stirring to maintain an even consistency until you have finished. Remelting reset chocolate can often have unexpected outcomes.
- Cutting up chocolate? Use a sharp, cold, dry knife, preferably one you can push down on the back of it with your hand. Want crushed chocolate? Use a chopping action lifting up from the base and leaving the tip of the knife down on the board.
Making chocolate leaves
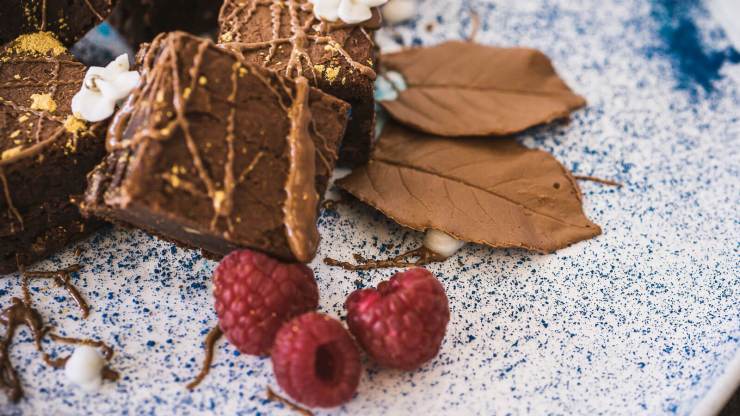
Collect some rose leaves, make sure you have the stem still intact and wash them to remove any pesticides or dust/dirt particles. Dry thoroughly. Now using a small brush, lightly brush pre-melted chocolate onto leaves while holding the stem. Place on some baking paper on a cold plate (preferably one that has been chilled in the fridge).
Once each leaf has a single coat, place the plate in the freezer for at least five minutes. Then remove and give a second coat to each leaf. Put back in the freezer for at least another 30 minutes.
Using a cold knife, gently remove the leaf from the chocolate and then place it back in the freezer until the leaves are required for use. Use metal tongs as much as possible; if you need to use your fingers, try to keep them dry but cold to prevent leaves from melting. Want to curl your leaves? Try gently rolling baking paper and place it in a glass in the freezer. This will give the leaves more of a curved shape.
Drizzling method
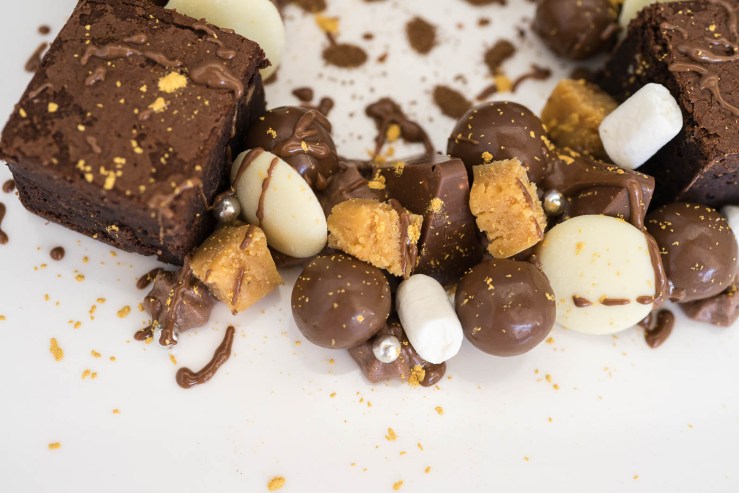
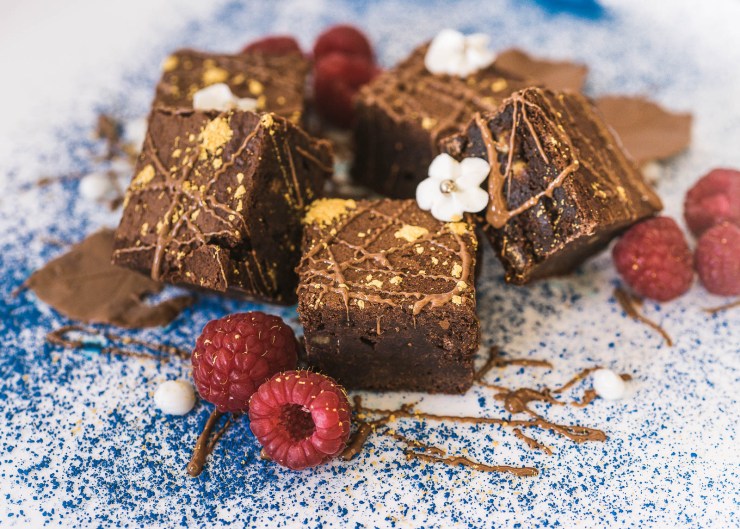
Using baking chocolate, heat it in a clean and dry ceramic bowl in the microwave in 10-second bursts, stirring lightly in between. Once it’s completely melted to a nice, even consistency, add two drops of olive oil and stir in. This prevents it from resetting and makes it easier to drizzle from a spoon onto your food.
.mgl-tiles { display: none; } #mgl-gallery-634ee2176eeaa { margin: -5px; width: calc(100% + 10px); } #mgl-gallery-634ee2176eeaa .mgl-box { padding: 5px; } @media screen and (max-width: 768px) { #mgl-gallery-634ee2176eeaa { margin: -5px; width: calc(100% + 10px); } #mgl-gallery-634ee2176eeaa .mgl-box { padding: 5px; } } @media screen and (max-width: 460px) { #mgl-gallery-634ee2176eeaa { margin: -5px; width: calc(100% + 10px); } #mgl-gallery-634ee2176eeaa .mgl-box { padding: 5px; } }
Powdered chocolate
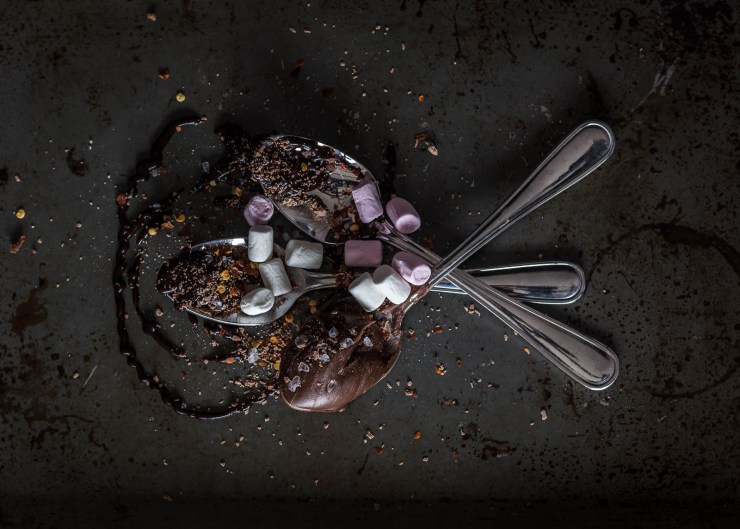
When using powdered cocoa to add interest to a dessert, instead of sprinkling over the top with just a sieve, use some lace or plastic cutouts to create shapes under your dessert or even on top of cakes. You can use utensils to create interesting shapes as well. Spider whisks, metal scoops for fryers and such are small and have interesting patterns for your powder.
Using colored powder? Try a small (clean) paintbrush and dab on where required, or scoop a little onto your brush and then tap the brush gently to disperse the powder over the required area.
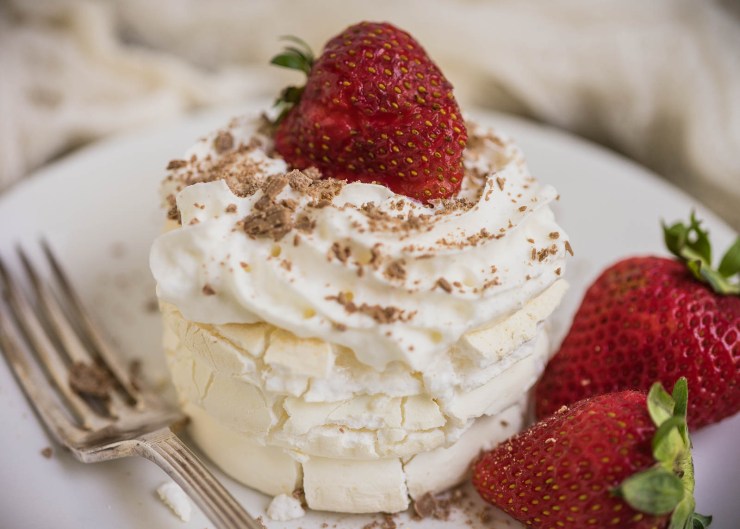
I hope these quick and simple tips help you out when you are next working with chocolate.
Tell your story with the second annual Visual Storytelling Conference!
Experience four days of interactive, online training sessions featuring a range of educational content with experienced photographers and content creators. This free event kicks off with a series of technical boot camps to build essential skills, followed by live, online sessions on photography, video, business and social media. Join live from March 10-13, 2022!
