Now, this might be more a summer photoshoot than heading into a winter one (It also depends on if you’re Down Under or not). It also depends on if you do this inside or outside.
If you have the room to use your bathroom, then a nice warm milk bath on a cold day might be rather nice. Personally, I find the thought of standing on the edge of a bathtub or on a ladder a little scary. I prefer a large kiddies paddle pool easier to work with, but then you need room to set one up. So here is how I photograph a milk bath session.
Why capture milk baths?
There are lots of reasons to capture milk baths, from boudoir to maternity, to fashion to conceptual. Each has its own merits and style. I rarely shoot maternity, but I don’t mind a little fashion, even some boudoir and I adore creating conceptual especially with some creative digital art. Also, they can be lots of fun.
.mgl-masonry { display: none; } #mgl-gallery-634ee34cbd81d { column-count: 2; margin: -5px; } #mgl-gallery-634ee34cbd81d .mgl-item { padding: 5px; } #mgl-gallery-634ee34cbd81d figcaption { padding: 5px; } @media screen and (max-width: 800px) { #mgl-gallery-634ee34cbd81d { column-count: 2; } } @media screen and (max-width: 600px) { #mgl-gallery-634ee34cbd81d { column-count: 1; } }
Unedited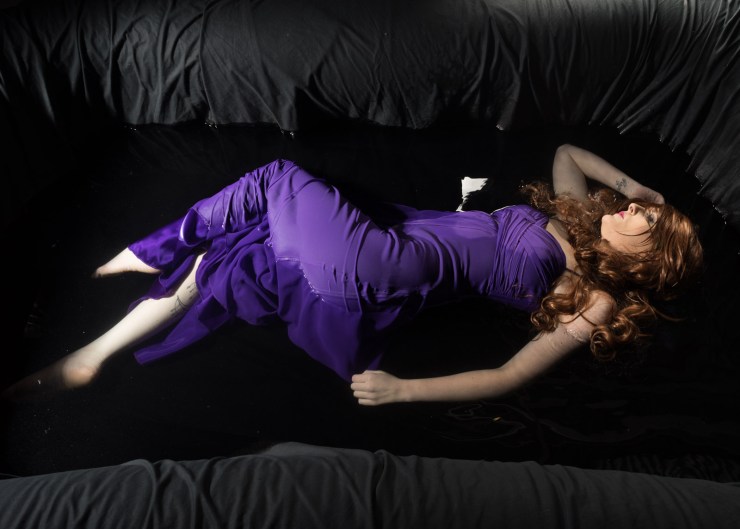
Unedited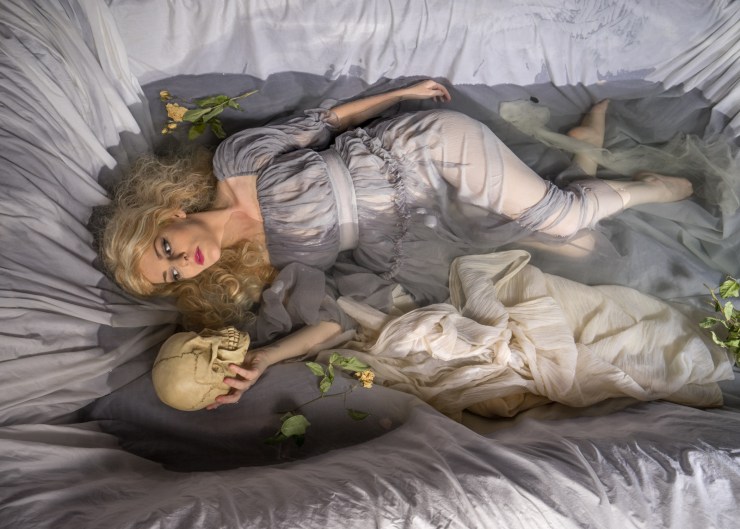
Edited in Photoshop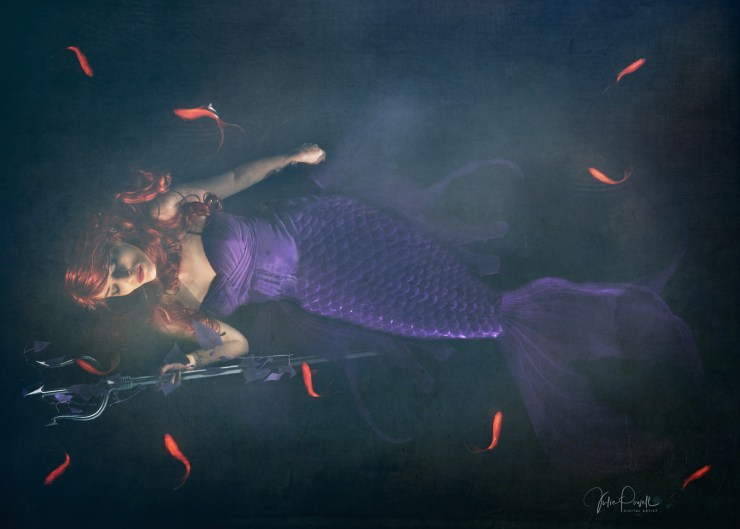
Edited in Photoshop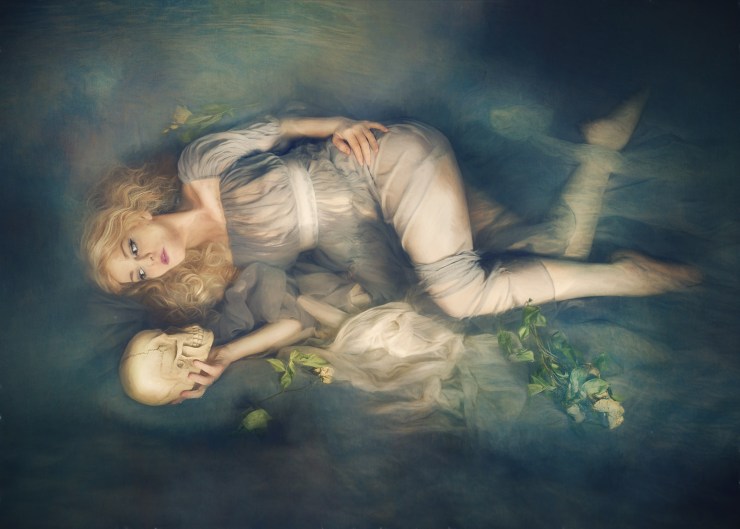
What do you need to photograph milk baths?
Ultimately it depends on the type of images you’re after, but you need a source of water. That can be a bath, occasionally I have had access to a large bath that is in a bathroom big enough for me and my speedlight on a light stand OUT of the water. To make the water murky you can use standard milk, but I personally prefer almond milk, due to allergies.
You can also buy something like this Egyptian Milk and Honey Bath Powder for a truly luxurious session for your client, we used something similar in the bath shots below. You can also use a mix of watercolor paint to add some interest, but I must confess I have not tried that as yet.
.mgl-tiles { display: none; } #mgl-gallery-634ee34cbeae4 { margin: -5px; width: calc(100% + 10px); } #mgl-gallery-634ee34cbeae4 .mgl-box { padding: 5px; } @media screen and (max-width: 768px) { #mgl-gallery-634ee34cbeae4 { margin: -5px; width: calc(100% + 10px); } #mgl-gallery-634ee34cbeae4 .mgl-box { padding: 5px; } } @media screen and (max-width: 460px) { #mgl-gallery-634ee34cbeae4 { margin: -5px; width: calc(100% + 10px); } #mgl-gallery-634ee34cbeae4 .mgl-box { padding: 5px; } }
Before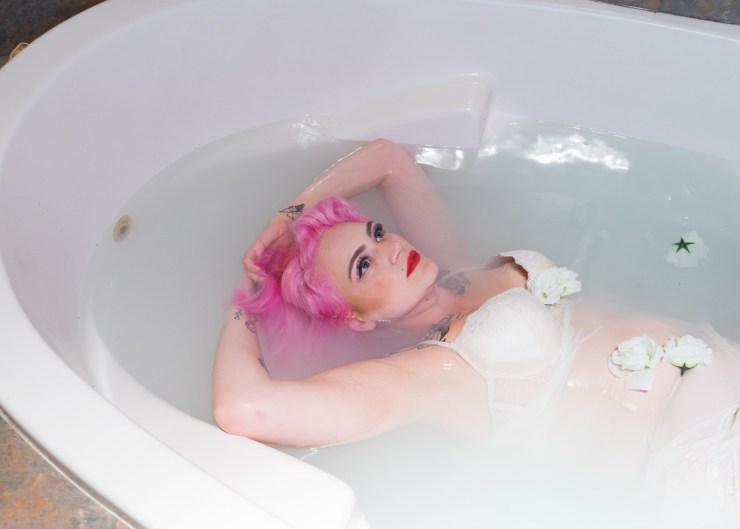
After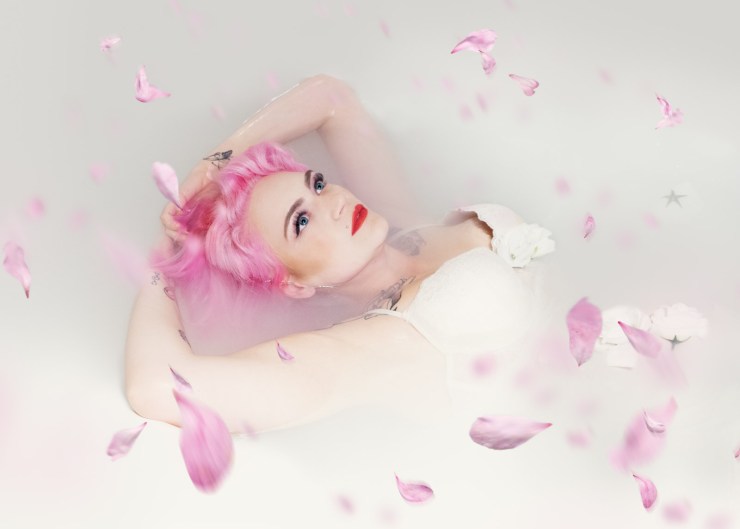
If you are not using a bath, an inflatable child paddle pool can work really well. This is what I often use as I can do it outside or in an undercover area. Fill it with a hose and then tip it out. I line the pool with large backdrops, white, black or any color you like.
I also add in some flowers and petals (these can sometimes sink quite fast and some dried flowers actually float better).
The below shot is with almond milk, I used approximately 3 liters in this small pool with tap water. I also add a kettle full of hot water to take the chill off the water for my model.
.mgl-tiles { display: none; } #mgl-gallery-634ee34cbf41b { margin: -5px; width: calc(100% + 10px); } #mgl-gallery-634ee34cbf41b .mgl-box { padding: 5px; } @media screen and (max-width: 768px) { #mgl-gallery-634ee34cbf41b { margin: -5px; width: calc(100% + 10px); } #mgl-gallery-634ee34cbf41b .mgl-box { padding: 5px; } } @media screen and (max-width: 460px) { #mgl-gallery-634ee34cbf41b { margin: -5px; width: calc(100% + 10px); } #mgl-gallery-634ee34cbf41b .mgl-box { padding: 5px; } }
Before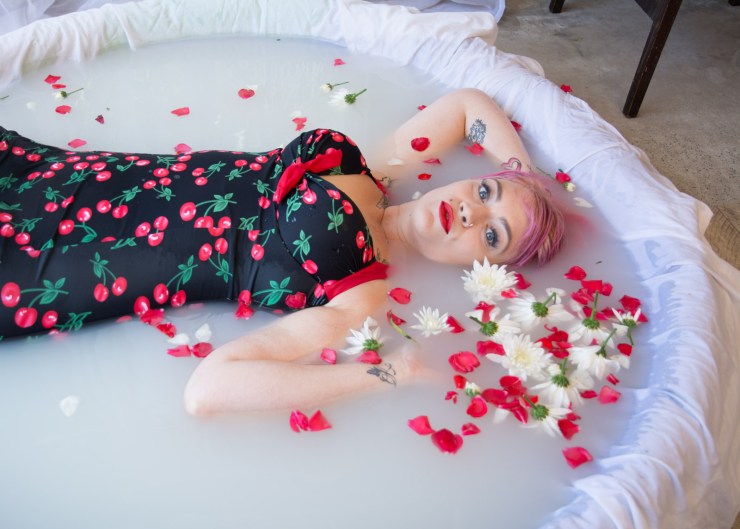
After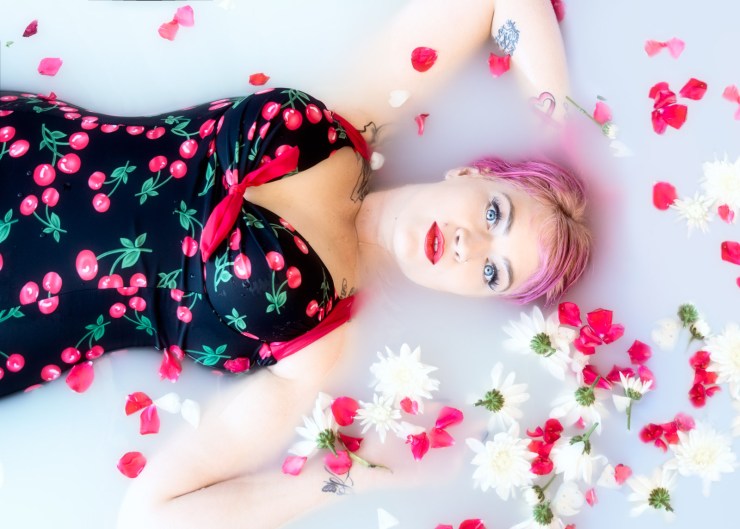
How do you actually do it?
Regardless of whether you shoot in a bath or a pool, you may find you need to be a little creative with your crop. Especially to eliminate distractions in your background.
I find I often have to expand the frame a little in Photoshop to smooth out the edges of the frame. I am often standing IN the water next to or in some cases even over my model to shoot down. Some people stand on the edge of the bath (yikes I am too scared to try that), but you can stand on the edge of the bath or pool and lean over. You can also shoot down low at the level of your subject and in fairly close.
Due to the limited focal distance, a lens with a wider angle is a great idea as well. Something like my Tamron 28-75mm or even my Sony 16-35mm lens. Aperture is a personal preference really (and lens dependent) but I like something from f/2.8 to f/5.6.
.mgl-tiles { display: none; } #mgl-gallery-634ee34cbfcfe { margin: -5px; width: calc(100% + 10px); } #mgl-gallery-634ee34cbfcfe .mgl-box { padding: 5px; } @media screen and (max-width: 768px) { #mgl-gallery-634ee34cbfcfe { margin: -5px; width: calc(100% + 10px); } #mgl-gallery-634ee34cbfcfe .mgl-box { padding: 5px; } } @media screen and (max-width: 460px) { #mgl-gallery-634ee34cbfcfe { margin: -5px; width: calc(100% + 10px); } #mgl-gallery-634ee34cbfcfe .mgl-box { padding: 5px; } }
Before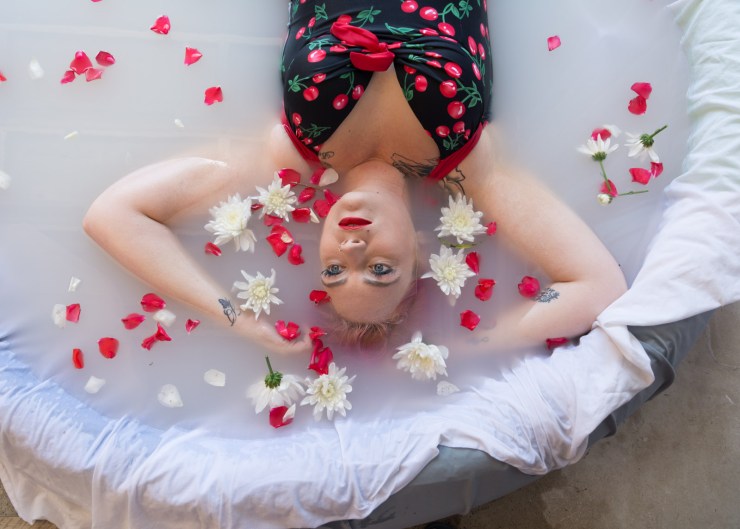
After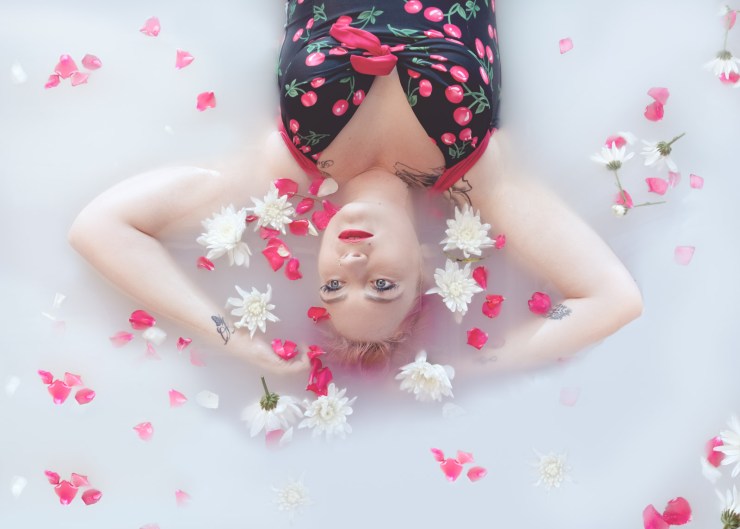
How to light the shot
This is where you need to be a little careful. If using artificial light make sure it is battery operated and well secured, you don’t want it to tip over and end up in the water!
I have used a well-secured speedlight on a light stand with a large softbox. I have also used LED light banks (again secured and well back from the water).
Shooting in a nice bright bathroom or outside can be a real advantage here as you may not need artificial light. Bumping up the ISO to perhaps 250–300 has been more than sufficient in the shoots I have done.
Don’t forget to use a reflector to catch any light you get and direct it where needed. Try to keeps arms and hands etc. away from edges to make editing easier.
Final tips for your milk bath shoot
It is handy to have some towels on set, so your model can dry off a little. Once the photoshoot is done, don’t forget to offer your model a shower, to wash off the milk substance. Perhaps they may even require this to warm up after a cold shoot. And empty the bath or pool as soon as possible — believe me, you don’t want to leave it, especially if you have any hot weather on the horizon.
Tell your story with the second annual Visual Storytelling Conference!
Experience four days of interactive, online training sessions featuring a range of educational content with experienced photographers and content creators. This free event kicks off with a series of technical boot camps to build essential skills, followed by live, online sessions on photography, video, business and social media. Join live from March 10-13, 2022!
