
Being in extended lockdown means I have had time to play with lighting (models limited to Husband and the dogs). I have always had a fascination with lighting and now seemed the perfect opportunity to play, and that’s a great way to learn.
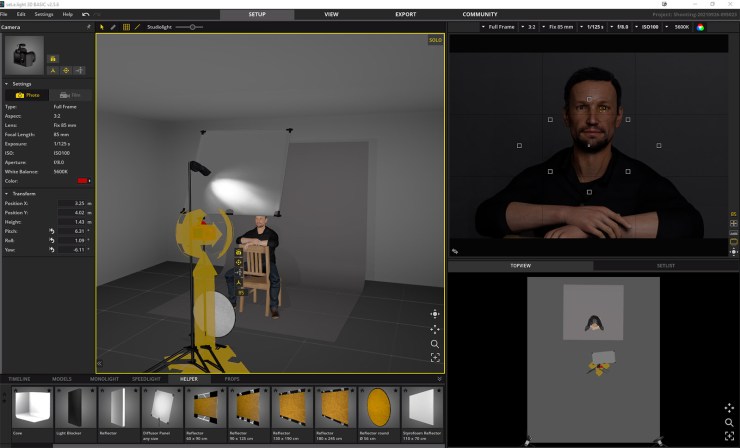
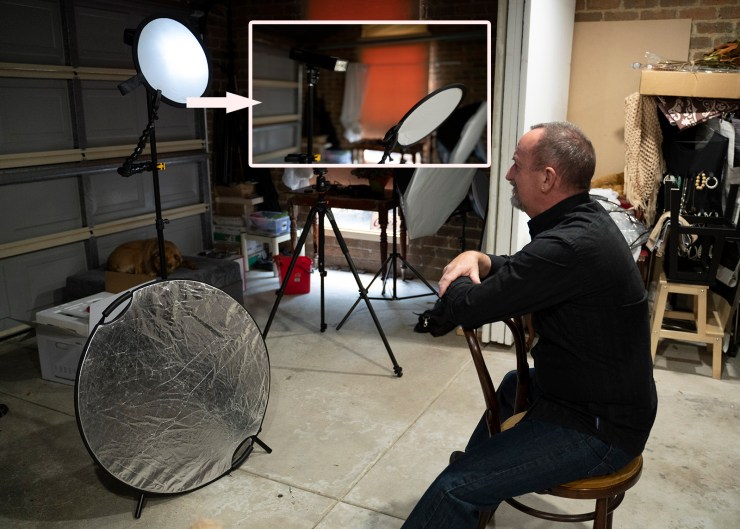
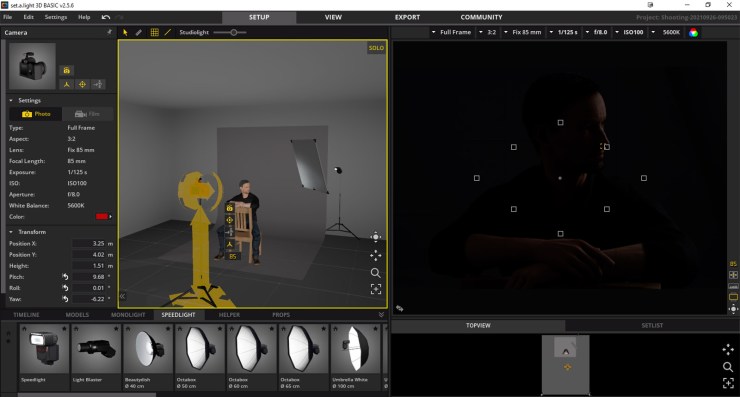
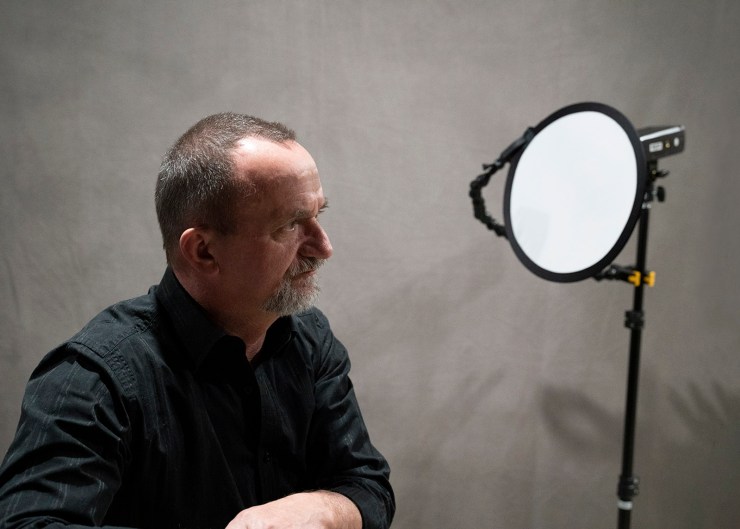
I recently wrote an article that discussed effective two-light setups for portraits, and decided to challenge myself further and create moody, artistic and dramatic lighting setups. To do this, I used a single speedlight (Godox AD200Pro) and a 11-inch 5-in-1 small diffuser, clamped to the light stand with a plamp.
So here are three one-light setups for dramatic and artistic portraits.
Front light
Essentially half a clamshell, I had the speedlight above my model and aimed down creating the catchlights in the eyes and even lighting to most of the face, with deep shadows under the nose and jawline.
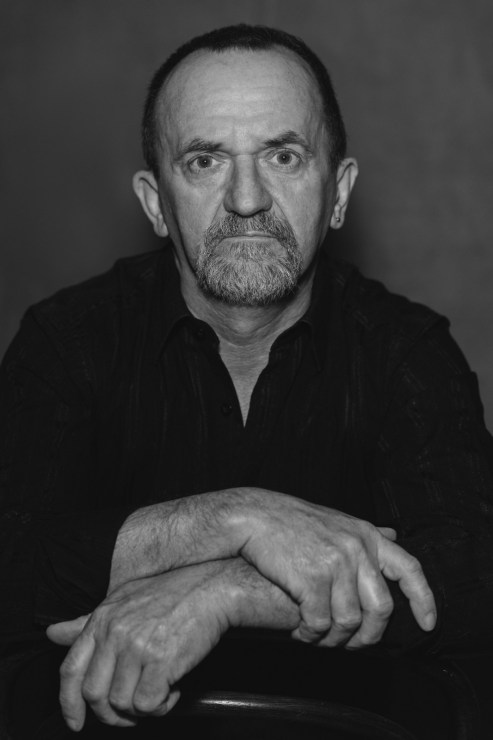
I preferred the full clamshell with the softbox I created last time, but this isn’t too bad, especially if you also want to add a silver reflector to bounce a little light back into the face and soften the shadows. This setup would make a fairly good headshot or profile shot. Although it does appear quite stark against the other two lighting setups.
Split light
Vanelli wrote an article on this recently and the effects are quite dramatic. Instead of a large softbox, I wanted to limit myself to a single speedlight and small diffuser. This is often something found in many photographers’ kits, whether in the studio or on location.
Split light is essentially just lighting half of the face, with the light source place at a 45-degree angle from the subject. A rather distinctive line is created along the nose between the highlight and shadow.
With minimal diffusion, I found this tricky to get just enough light on the shadow side, while not overexposing the short side (facing the light). A large softbox would no doubt have helped or even adding the silver reflector on the shadow side.
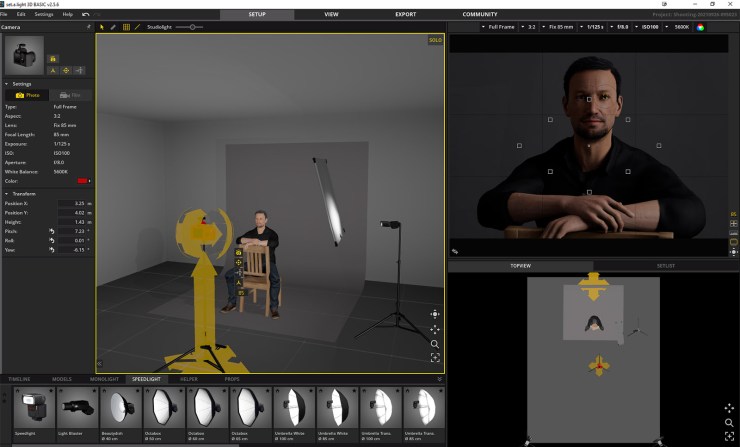
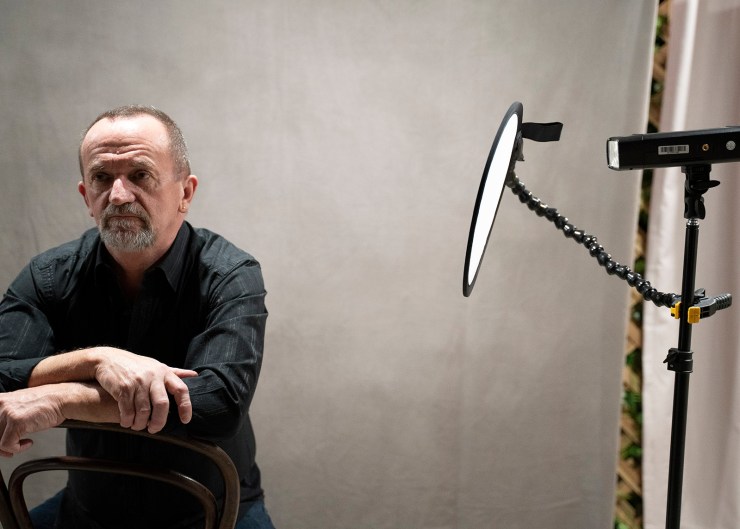
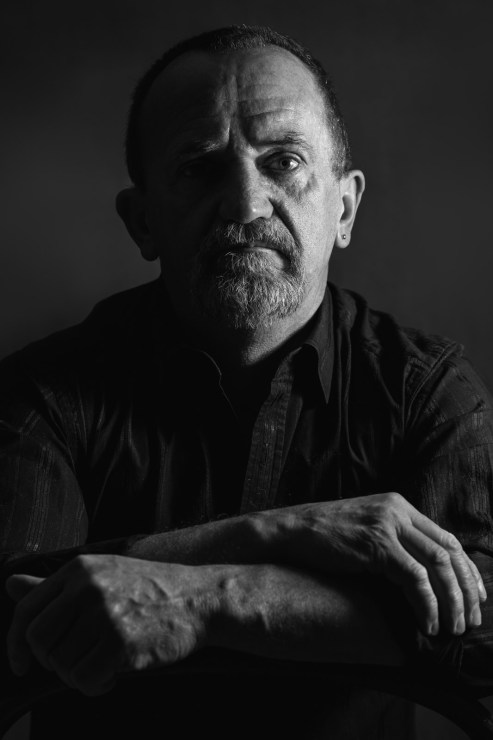
Rim light
I must confess to being wildly surprised by the results on this one and LOVED the effect. Granted it is not a particularly flattering portrait or headshot as such, but I like the simple, yet dramatic moodiness of this image. I found it worked best as a profile shot, rather than front-on.
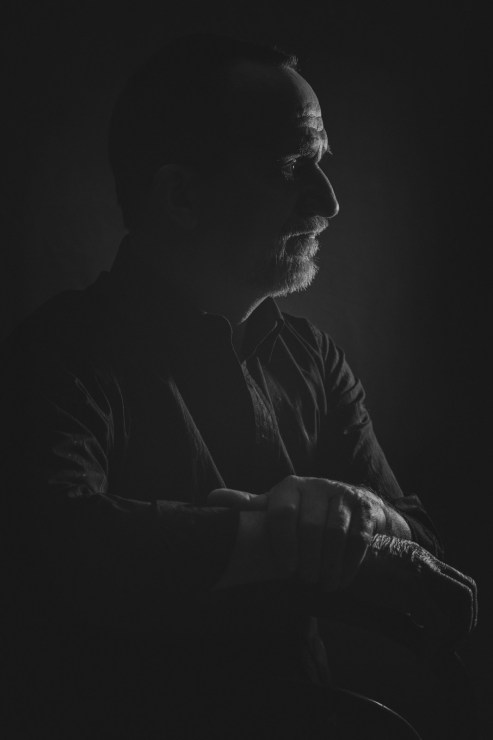
By placing the speedlight to the side but behind my subject, it created a three-dimensional look, separating them from the background and causing almost a silhouette effect. I think this was my favorite light setup for the day. It certainly is dramatic and artistic lighting for portraits.
Using a single speedlight, I was able to create three different dramatic looks. Which is your favorite?
Tell your story with the second annual Visual Storytelling Conference!
Experience four days of interactive, online training sessions featuring a range of educational content with experienced photographers and content creators. This free event kicks off with a series of technical boot camps to build essential skills, followed by live, online sessions on photography, video, business and social media. Join live from March 10-13, 2022!