Deciding I wanted a negative fill, dramatic image ahead of time, I scoped out the room for potential subjects. I was instantly drawn to our new friend Rob Leigh. He reminded me of Hemingway, the famous writer.
Then I paused for a moment and thought, how would I light him to give a dramatic effect? I realized what I needed to do. I just needed to modify my lesson plans in front of a live audience. Forget for the past few weeks I rehearsed how to add light to a portrait and do the opposite; remove light to get a dramatic effect. No pressure.
A simple set up to create a negative fill image
Westcott’s Rapid Box attached to a speedlight gave me a tight, controlled light source to work with. By feathering the light away from the subject, we kept the light from exposing the background.
Speaking of the background, it was nothing special — just a blank wall. To make the background darker, we moved the subject about 15 feet away from a wall.
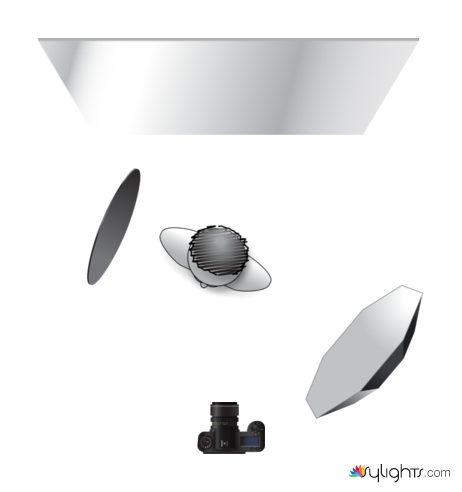
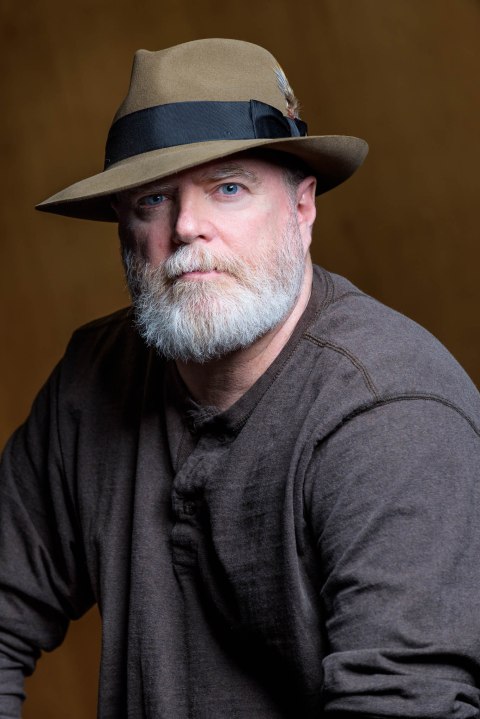
Using a light meter, I set the shutter speed to 1/125s with an ISO of 200. Holding the light meter in front of the subject’s left eye, closer to the light, I triggered the flash to get a meter reading. The meter calculated the scene and came back with an aperture of f/5.6.
Next, I positioned the meter near the subject’s right eye which was farther away from the light. I triggered the flash again. This time the light meter calculated the scene with an aperture of f/4, a one-stop difference. By setting the camera’s aperture to f/5.6, the meter reading for the left eye, the left side of the subject face will be properly exposed. The right side of the subject’s face will be darker.
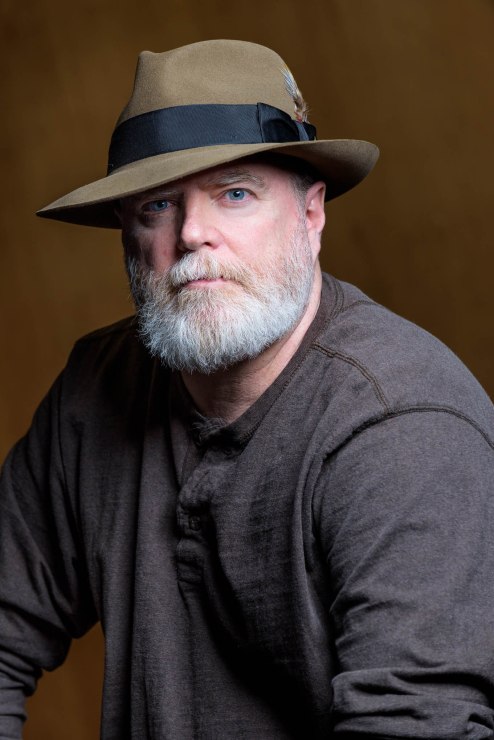
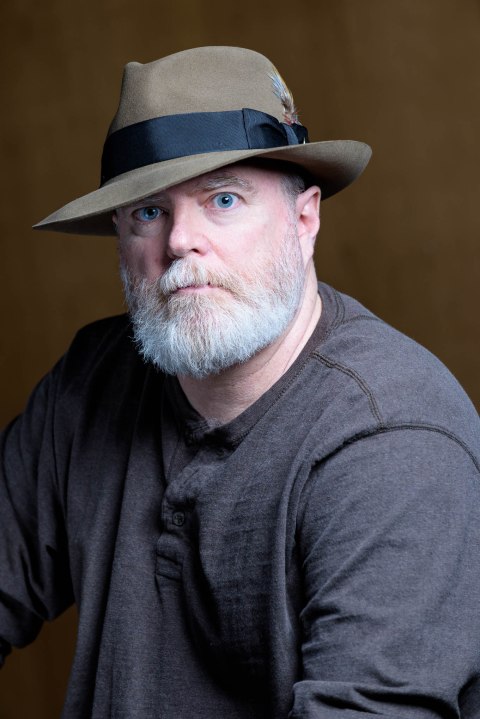
After reviewing the image, I wanted to see how the image would look if I balanced the light. Using a silver reflector on the right side of the subject, parallel with the light, I bounced light onto the subject. The photo looked good but it wasn’t the dramatic look I was going for.
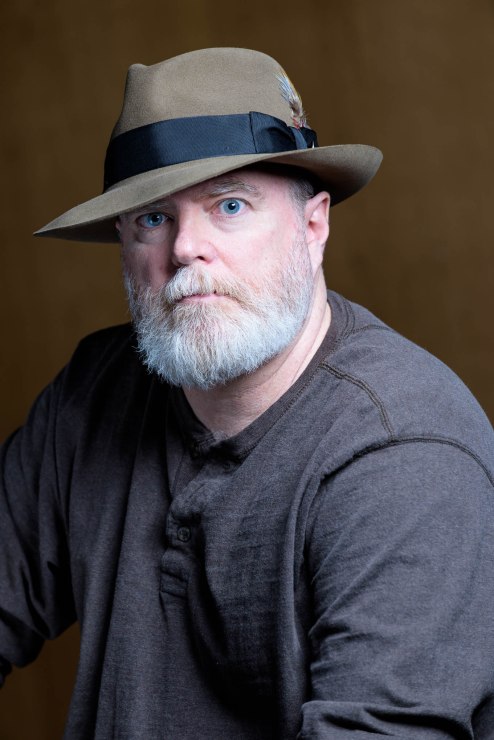
What is negative fill?
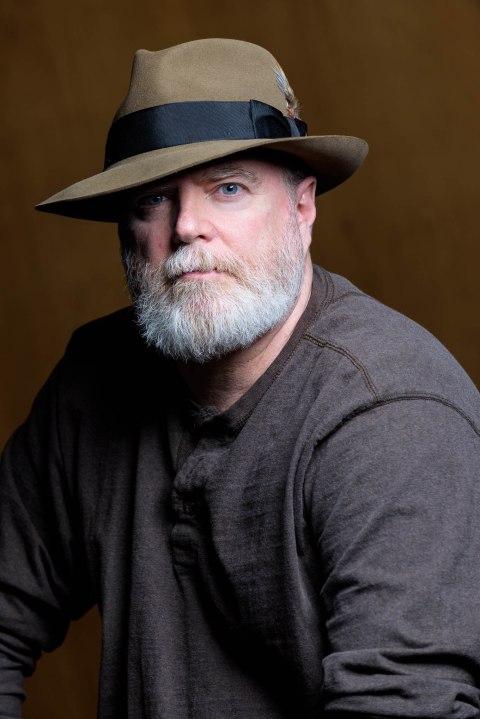
Silver and white add light to a scene whereas black absorbs light, giving an illusion of taking light away. This is known as negative fill. Using a black reflector on the subject’s right side gave the dramatic effect I was looking for.
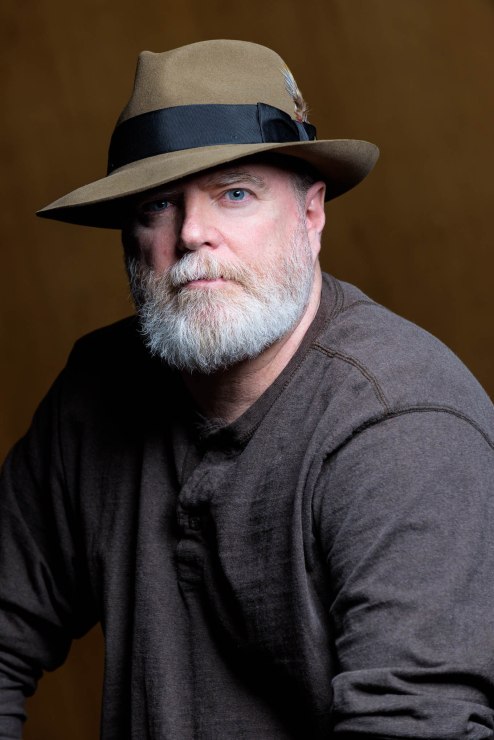
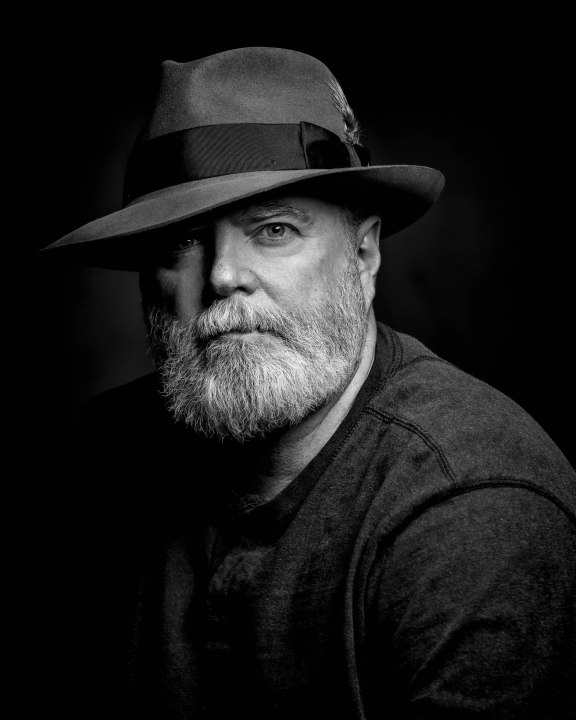
Final image
From there, I used Topaz Studio to convert my image to a timeless black and white. I started with one of the default presets and tweaked the settings until I felt it was the dramatic effect I was looking for. Then I saved the settings as a new preset for future use.
.mgl-tiles { display: none; } #mgl-gallery-634ee47f9d6fa { margin: -5px; width: calc(100% + 10px); } #mgl-gallery-634ee47f9d6fa .mgl-box { padding: 5px; } @media screen and (max-width: 768px) { #mgl-gallery-634ee47f9d6fa { margin: -5px; width: calc(100% + 10px); } #mgl-gallery-634ee47f9d6fa .mgl-box { padding: 5px; } } @media screen and (max-width: 460px) { #mgl-gallery-634ee47f9d6fa { margin: -5px; width: calc(100% + 10px); } #mgl-gallery-634ee47f9d6fa .mgl-box { padding: 5px; } }
Here’s what to remember …
- To make a wall appear darker, move the subject about 15 feet away from the background.
- Feathering the light keeps light from spilling onto the background.
- A Rapid Box modifier controls where the light falls.
- A black reflector is negative fill, meaning it takes away light.
- The hat stylized the scene plus added dramatic shadows on the subject’s face.
- Use a long telephoto lens to compress the shot.
Tell your story with the second annual Visual Storytelling Conference!
Experience four days of interactive, online training sessions featuring a range of educational content with experienced photographers and content creators. This free event kicks off with a series of technical boot camps to build essential skills, followed by live, online sessions on photography, video, business and social media. Join live from March 10-13, 2022!
