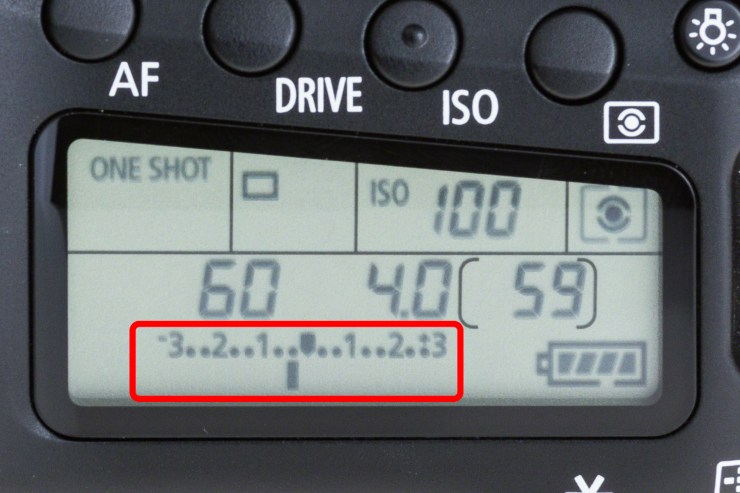
The internal meter in your camera is always trying to balance your settings to create what it thinks is a proper exposure. In the “mind” of the camera meter, it thinks that everything is balanced if it is gray.
For most subjects, such as light skin tone and green grass, the meter is going to create an accurate exposure. But what happens when you are photographing something very dark? That’s when you need to intervene.
How in-camera metering works
If you have your camera set to Aperture Priority, then the camera is choosing the shutter speed based on what setting will balance the exposure in the scene. This works the same (but in reverse) for Shutter Priority. And, if you are shooting in Manual mode, then you choose both settings with the goal of moving that dial to the center of the meter.

Underexposing … for the perfect exposure
My preference for much of my photography, especially when hand-holding my camera, is to set it to aperture priority mode and set the ISO to “auto.” Most of the time the shutter speed is not as important (so long as it is fast enough to handhold the camera), and I’m not overly concerned with the ISO when I have enough light. Instead, it is the aperture that is the creative and intentional choice in my images.
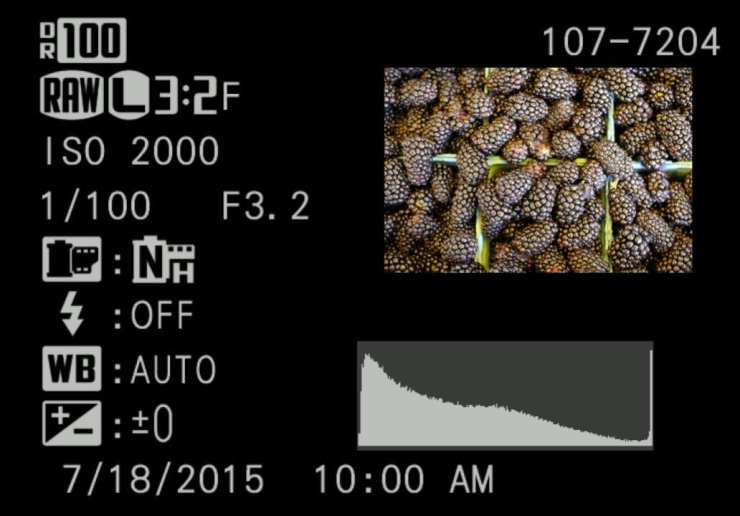
So when I photographed a pile of blackberries at the farmers market, my camera decided that the scene was too dark and needed to be balanced to get closer to that gray tone that it loves so dearly.

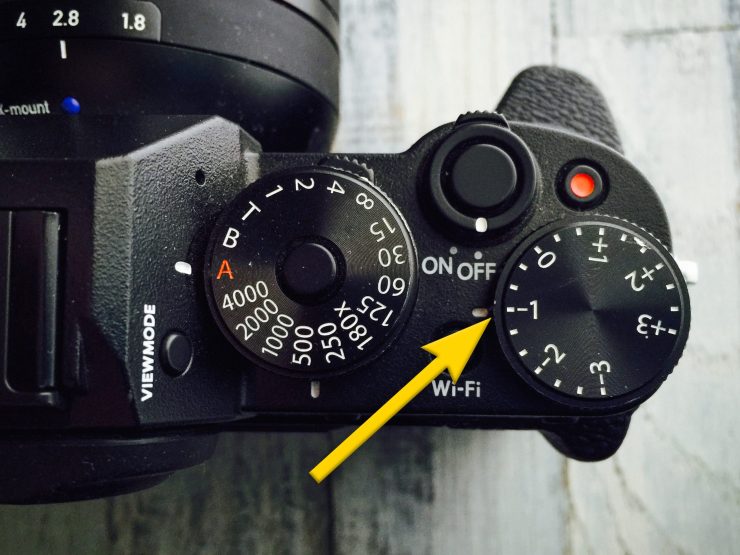
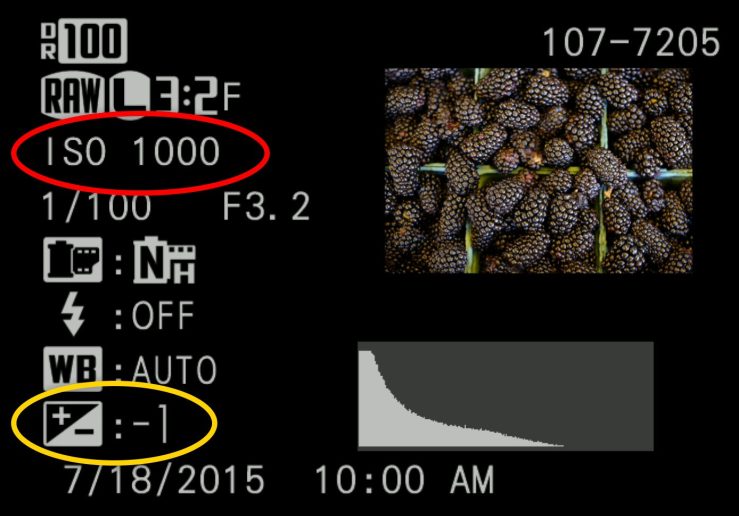
To compensate for this and balance the exposure, I needed to underexpose the scene. So I moved the exposure compensation dial to -1 and photographed it again. This time, the camera adjusted the ISO automatically (it reduced it from 2000 to 1000), and the exposure was spot-on and balanced.
You can even see the change in exposure on the histogram. In the second (properly exposed but darker) image, the histogram is pushing more to the left. Because the subject is dark, then this histogram is appropriate for this scene.
.mgl-tiles { display: none; } #mgl-gallery-634ee8bdd1613 { margin: -5px; width: calc(100% + 10px); } #mgl-gallery-634ee8bdd1613 .mgl-box { padding: 5px; } @media screen and (max-width: 768px) { #mgl-gallery-634ee8bdd1613 { margin: -5px; width: calc(100% + 10px); } #mgl-gallery-634ee8bdd1613 .mgl-box { padding: 5px; } } @media screen and (max-width: 460px) { #mgl-gallery-634ee8bdd1613 { margin: -5px; width: calc(100% + 10px); } #mgl-gallery-634ee8bdd1613 .mgl-box { padding: 5px; } }
The EV Compensation dial on the Fuji X-T1 camera.
By moving the exposure compensation to the left one full stop, I was able to create a balanced exposure.
If you are photographing in Manual mode, instead of changing the exposure compensation, you would just change either your shutter speed, ISO or aperture to push the meter’s dial toward the left.
Tell your story with the second annual Visual Storytelling Conference!
Experience four days of interactive, online training sessions featuring a range of educational content with experienced photographers and content creators. This free event kicks off with a series of technical boot camps to build essential skills, followed by live, online sessions on photography, video, business and social media. Join live from March 10-13, 2022!
