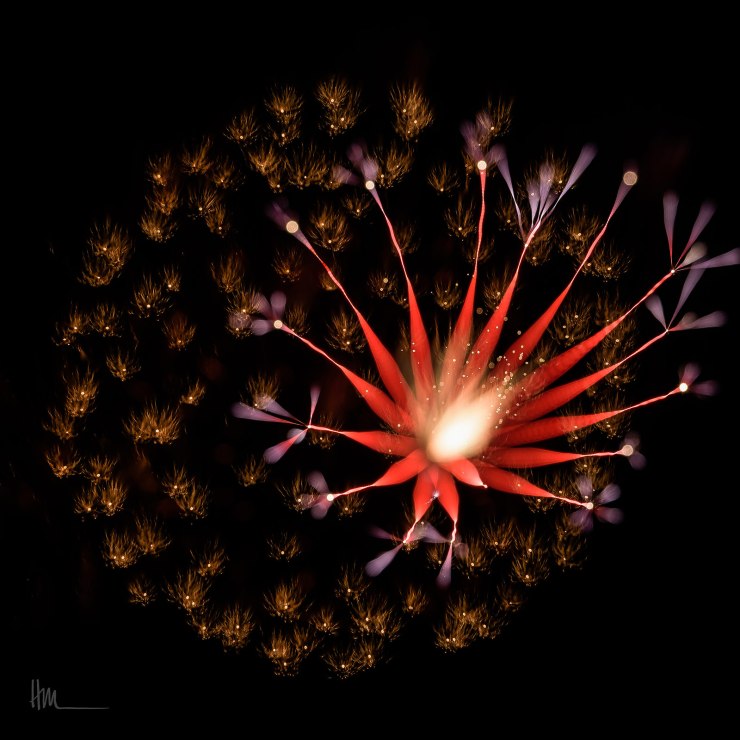
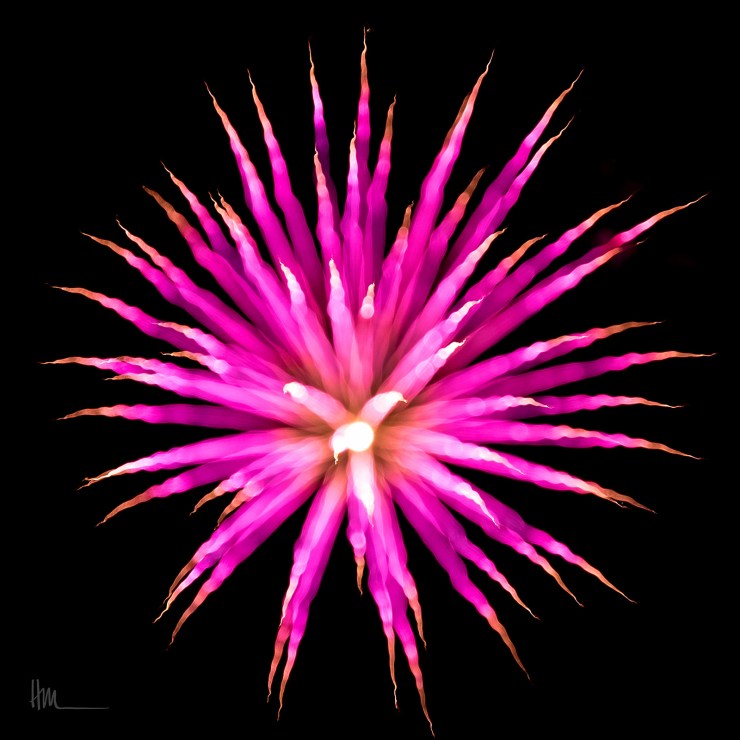
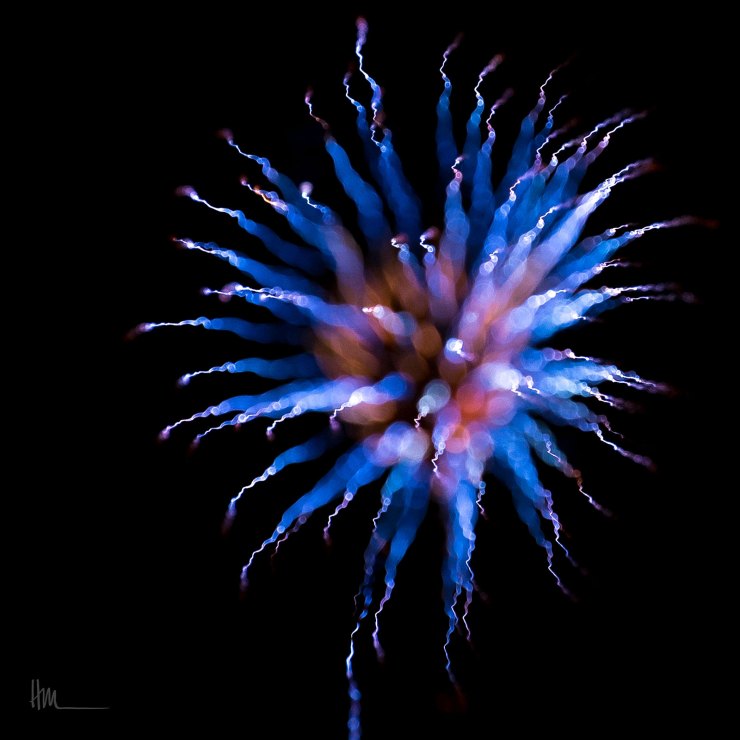
When you are looking to create something different when capturing fireworks, try your hand at making firework flower images. My friend Heidi Mixon shared this primer on getting started in this creative capture method. I haven’t had a chance to try it yet, but I can’t wait! Here’s how she does it.
Gear
You need the basics including camera, lens in the 50–200mm range, a tripod and remote trigger. Heidi also suggests an ND filter.
Preparation
You’ll want to know your lens, and EXACTLY where your focus is tack-sharp, which is usually just a smidge before infinity. Test your tripod to make sure it’s rock steady. Tighten those legs, as you’ll have your hand on the lens during exposure. Practice using your remote control in conjunction with the shutter release using Bulb mode.

Camera settings
These are a bit different from normal fireworks capture. Heidi says a range of apertures from f/2.8 to f/7.1 work well. Work the shutter between 1–2 second exposures.
Taking the shot
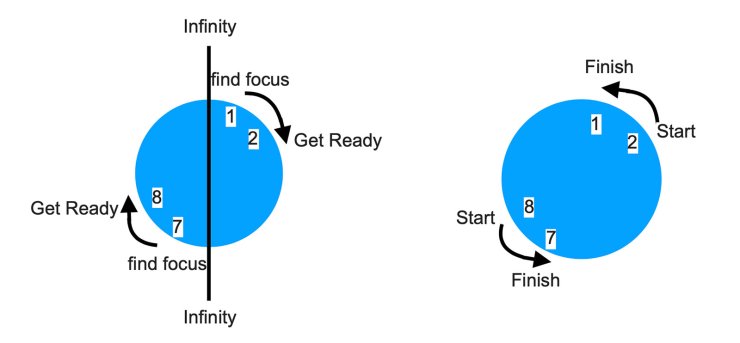
Find the right spot in the sky when the first burst appears in the sky. Point your lens roughly where you see fireworks going off. Starting with focus at infinity fingers at 12 and 6 o’clock, find the tack sharp spot, roughly fingers at 1 and 7 o’clock (just past infinity), then rotate fingers to 2 and 8 o’clock. This will ensure you start out of focus to begin.

Begin the exposure shortly before you predict the explosion. When the fireworks explode, quickly refocus your lens throughout the explosion until you reach the tack-sharp focal point. This step can be frustrating and it takes practice. Once the perfect focus is achieved, end the exposure by releasing the shutter button (Bulb mode).
Variations
Play. The opposite effect can be applied by starting in focus and de-focusing during the explosion which will give you a blurry look. Varying the f-stop will change the width of the petals.
At f/7.1, you’ll achieve long and thin petals. At f/2.8, thicker petals will result, and this can be where the ND filter comes in strong. A wide-open aperture will result in overexposure and lack of color.

Post processing
Heidi says post production on the captures using this method is minimal. Most of the work is done in camera. Crop tight on the desired burst. Use curves or levels to darken the sky and add a touch of Vibrance to enhance color.

Heidi’s parting thoughts
Have fun! Know that your arm will be sore the following day from the new focusing movement. Hers always does! Be patient it takes practice to get the best results. If you try it out, Heidi would love to see your results. Put your favorites in the comments below, and don’t forget to share them on the Photofocus Community!
Thanks a bunch to Heidi for sharing her process!
Yours in Creative Photography, Bob
Tell your story with the second annual Visual Storytelling Conference!
Experience four days of interactive, online training sessions featuring a range of educational content with experienced photographers and content creators. This free event kicks off with a series of technical boot camps to build essential skills, followed by live, online sessions on photography, video, business and social media. Join live from March 10-13, 2022!
