
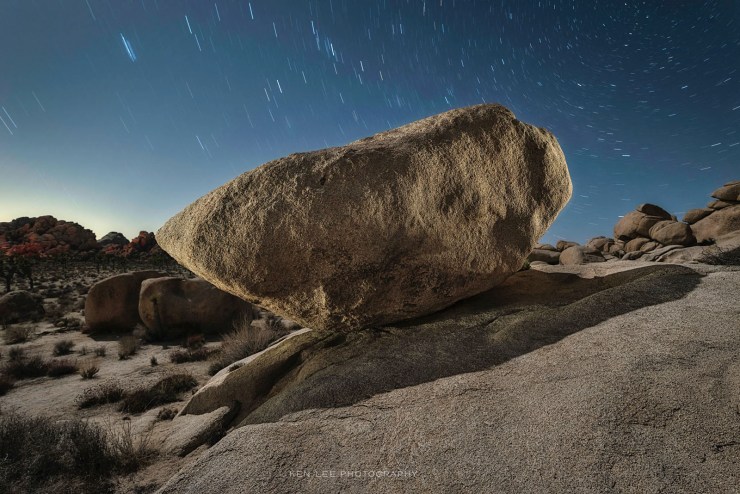
You are out in the field. After taking a photo, you look at your camera’s back screen. This brings a smile to your face — it looks pretty great.
At home, however, it’s a different story. When you go to process it on your home computer, the same photo looks dark and less vibrant. What’s going on here?
What am I seeing?
When you look at your camera’s back screen, you are seeing a JPEG preview of your RAW image, even if you are shooting in RAW. The camera interprets the RAW data for display purposes. This is not necessarily the RAW file that you will see on your computer later.
Furthermore, if you have not adjusted the brightness of your camera’s screen, it appears rather bright to your eyes since it is very dark outside.
Three things you can do with your camera to help you in the field
Most seasoned night photographers might make several simple adjustments to their camera while in the field.
1. Lower the brightness of the camera screen
Many night photographers will lower it almost all the way. Why? Because it’s typically set for day photography, which is too bright. This gives you the illusion that you have a brighter photo than what it might actually be when viewing at night.
Lower the brightness substantially. I usually lower mine to at least -3 or -4. This will help you get a more accurate idea of what you’ve got.
2. Manually adjust your White Balance
Adjusting the White Balance to your desired appearance can help in giving a more accurate representation of what you are seeing on your LED screen. Depending on the situation, I adjust my White Balance manually using Kelvin. I prefer to have a White Balance between 3750–4000°K. Your mileage may vary.
I sometimes hear people argue against this, saying “Why does it matter? I can adjust the White Balance of my RAW image to whatever I want during post-processing.” And this is absolutely true. However, I have two reasons why I strongly prefer to nail my White Balance in-camera.
The first reason is so I can get the closest approximation to how my image will look on my computer, getting it as close to what I want as possible.
The second reason is because it affects the histogram when I view that on my camera’s screen.
Which brings us to the third point.
3. Read your histogram
I always have a look at the histogram of an image. Why? Because despite the two adjustments above, the image I look at on my camera can still be deceiving. I want to make sure that I have a properly exposed photo.
After all, the histogram is a graphical representation of measurable data, showing the range of tones captured in our image. And it helps for us to know what range of tones we are capturing in each image.
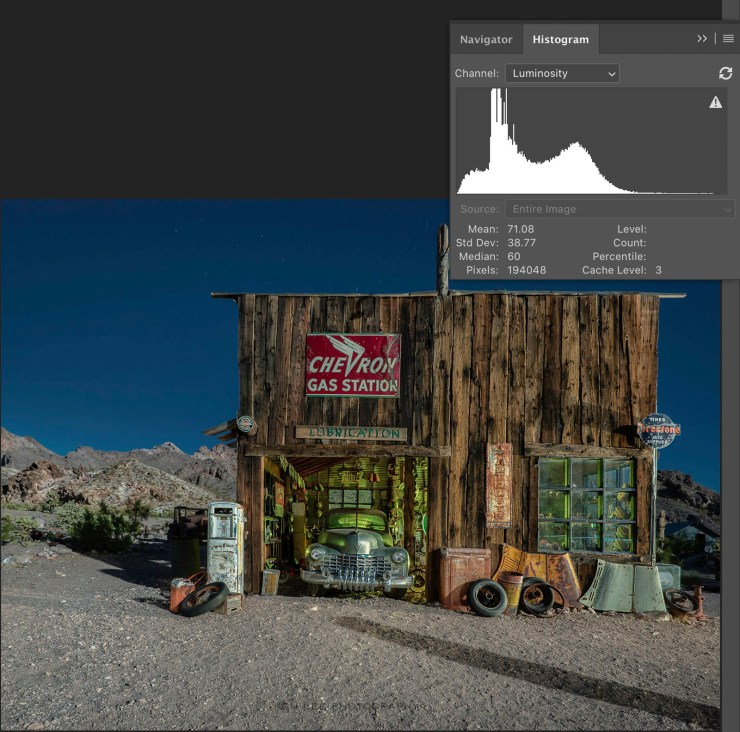
Reading the histogram
Reading the histogram is easy. The information is displayed graphically. They look like mountains. Blacks are to the left. All the way to the left means that it is so dark that we cannot see details. Shadows are dark as well, but have some details. Midtones are, of course, in the middle. High tones, or bright colors again have less detail and have less contrast. And white pixels are so bright than we cannot differentiate details or colors. At either extreme, there’s essentially no information. There is no detail left.
I look mostly to see whether I have enough information in the exposure. Looking at the histogram, try to see whether your image is exposed properly.
Is the information completely crushed up against the left side? This would likely indicate that you have a severely underexposed photo. Conversely, if you have light painted something rather bright or overexposed something, it’s possible that you might have some elements that are pressed up hard against the right side, indicating that there is little or no information available and that this portion of the image is overexposed.
For night photography, obviously, we are typically more concerned with whether we have enough exposure for the darker elements. Sure, sometimes in post, you can pull out more detail in an underexposed photo. However, you will likely also increase noise and have lack of detail and contrast.
Looking at your image on your computer
If you follow those three suggestions above, you should have an image that looks closer to what you see in-camera when you view this on your computer monitor or tablet. Regardless, you should have a RAW image that has sufficient information so you can continue post-processing without having to worry about proper exposure.
Remember, too, that your image still may not look exactly like the image on your camera’s screen. Why? Because your camera is interpreting the RAW data in the way that it sees fit, making a lot of “decisions” for you.
However, when you are post-processing a RAW file, you are the one making the decisions. You choose the exact White Balance, contrast, sharpening, noise reduction, color adjustments and much more — not the camera. And it’s here that you can really bring your photo to life and make it shine, just as if you were a film photographer creating a print from a negative.
Tell your story with the second annual Visual Storytelling Conference!
Experience four days of interactive, online training sessions featuring a range of educational content with experienced photographers and content creators. This free event kicks off with a series of technical boot camps to build essential skills, followed by live, online sessions on photography, video, business and social media. Join live from March 10-13, 2022!