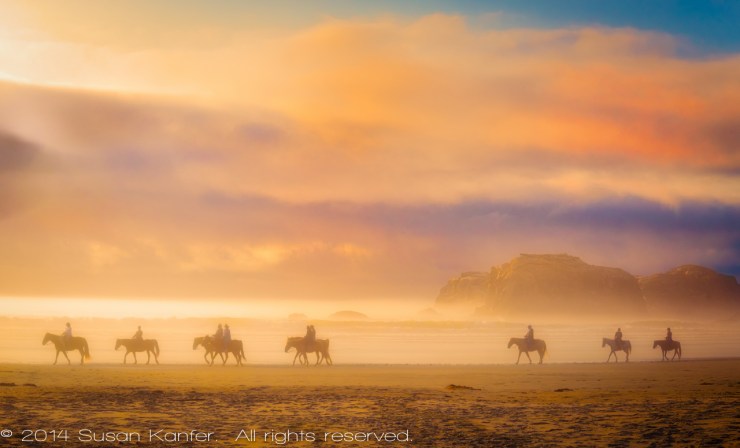
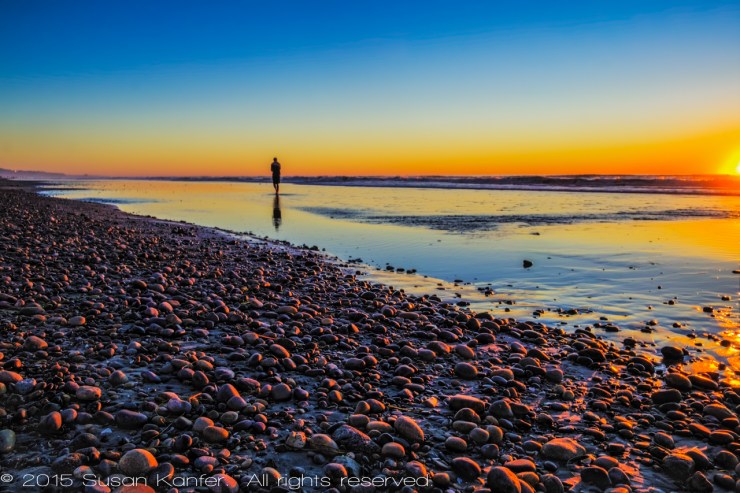
It is summertime and you are off to the beach. Here are some tips to improve your sunset shots.
Bracket
Sunset exposures can be tricky. With bracketing, you have a better chance of getting a properly exposed image. Or you may decide to merge images by blending layers or using HDR software such as Aurora HDR. Spot meter on the sky, not the sun. If you don’t want to bracket, slightly underexpose your images to bring in richer colors.
Move around, get your feet wet
Don’t just stay on the dry part of the beach. Wear water shoes or waterproof boots and walk a little closer on the sand toward the water, so the surf tickles over the top of your feet. Turn around. Look for images behind you and to the side. Check out reflections on the sand, people, animals and landscapes. Stoop low, shoot up. Stand high, shoot down. Change the horizon line. Keeping it in the middle can get pretty boring. Switch your lens, based on your subject. A big sun, go telephoto. A vast landscape considers wide-angle.

Experiment with filters
In particular, graduated neutral density and neutral density. Graduated neutral density filters are gray on the top half and clear on the bottom. They darken the sky while allowing you to expose for detail in the shadow areas in the lower part of your image. Neutral density filters reduce light over the whole image, so you can slow down your shutter speed thus softening and blurring the water.
Stack filters — use more than one. Your shutter speed might get pretty slow, so don’t forget your tripod and cable release. Try filters with different stops, to see how the stops affect your image. Graduated filters typically come in 1-4 stops. Neutral density filters come with many more stops, up to even 20. Or you can get a variable neutral density filter with a number of stops. The key is to experiment. Have fun trying different settings, filters and combinations of filters if you stack them.
Come early, stay late
Plan on arriving at least 45 minutes before sunset and leaving 45 minutes after. Look for the beach action before the sunset, and the deep, saturated colors after. Many times the colors are better if you patiently wait a while after the sun has dipped below the horizon. And always look for clouds. Dramatic clouds can make or break an image.
Look for an anchor point
Find something in the foreground. Rocks, a surfer, a silhouette, whatever pulls your interest. Pay attention to the timing of waves, as they move in and out, cresting high and low, and how the waves affect your anchor point. Wait and be prepared for the wave action you visualize for your image.
Safety always comes first.
Protect your eyes — don’t look straight into the sun through your lens. Don’t stand close to or in the water when there are dangerous riptides, rip currents or undertows, or where a wave could wipe out you or your equipment. Protect your feet with shoes or waterproof boots. Rocks and shells can cut the bottom of your feet, and stingrays sting. Protect your equipment. Keep it in a camera bag unless in use.
Don’t leave equipment on the beach. Sand is bad for a camera plus the incoming tide might cover it with water. Use rain protection for ocean spray. Be mindful of dangerous weather conditions and listen to lifeguard warnings. Always pay attention to your surroundings and the incoming waves. Use common sense when dealing with Mother Nature.

Tell your story with the second annual Visual Storytelling Conference!
Experience four days of interactive, online training sessions featuring a range of educational content with experienced photographers and content creators. This free event kicks off with a series of technical boot camps to build essential skills, followed by live, online sessions on photography, video, business and social media. Join live from March 10-13, 2022!
