Images work just a bit different when you capture a panoramic set of photos. This area of the southwest lends itself to showing off the mountain ranges littered with white puffy clouds that were visible on this day.
Vermilion Cliffs National Monument in Arizona lends itself to a full-on panorama photograph.
Panorama photography
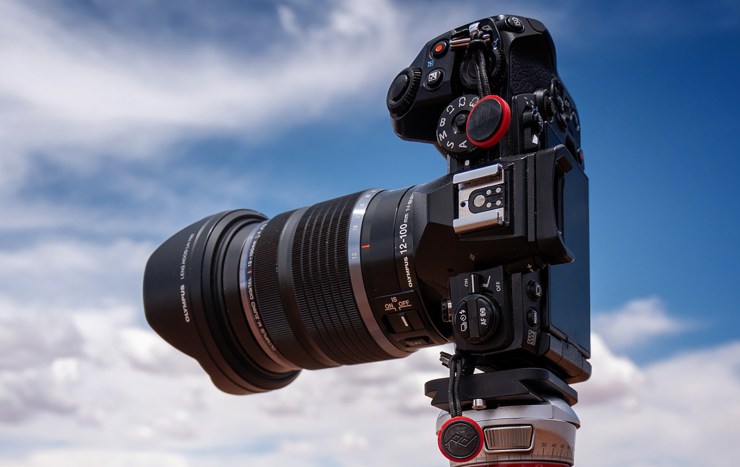
I highly recommend mounting your camera in a vertical position to give you a bit more overlap with which to work.
Watch for two things. Have the camera level and work to get the lens over the light entry point, aka the nodal point. 30–40% overlap works well for me. This makes it easier for Photoshop to stitch. An L-bracket can be of help when mounting the camera tall.

Capture
Here are a couple screen grabs of Adobe Bridge with the pano images selected.


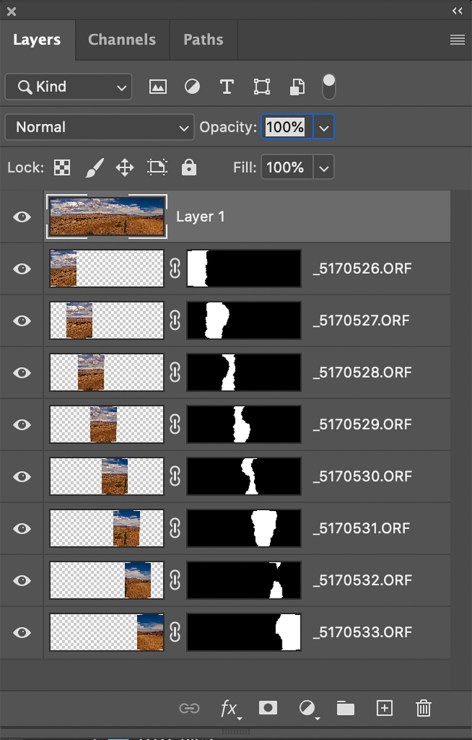
Post-production in Photoshop
After the individual photos are combined it’s time to take it to another level. I’m am creating an idealistic view. It starts with a little content aware to fill in the edges. I cleaned up cars, street signs and fencing. Finally, another image was added to spread the cloud formations just a bit.

Note that I look to create idealistic imagery utilizing multiple photos and retouching. If I was making photos for a different purpose such as tourism advertising it would be a different story.
Extra post-production in Luminar 4
Plug-ins can be a great help in adding finishing touches to an image. This image needed just a little more somethin’ somethin’. I found that in Luminar using a couple gentle filters added that extra numminess.
I use numminess as a technical term for things that look extremely nice and warm. The DetailAI, Mystical and Glow filters were added in a subtle fashion. I always add detail or sharpen a bit whenever I use a blurring filter.
Final image
Here is my finished piece. Enjoy and let me know what you think.

Check out another article on making panoramic images. This one captured two rows and blended them all together to make a monster size file!
Yours in Creative Photography, Bob
Tell your story with the second annual Visual Storytelling Conference!
Experience four days of interactive, online training sessions featuring a range of educational content with experienced photographers and content creators. This free event kicks off with a series of technical boot camps to build essential skills, followed by live, online sessions on photography, video, business and social media. Join live from March 10-13, 2022!
