You reviewed the camera manual and completed an online tutorial. You did everything you thought you were supposed to do. And yet, your photographs have not exposed the way you want them to be.
When I was a new photographer, shooting transparency film, I was always frustrated by exposure. I kept asking myself why some exposures worked and why others didn’t.
What exposures worked
The exposures that worked for me usually depended on the brightness of my subject and the size of the subject in the frame. If my subject contained the brightest highlight in the image and filled a large part of the frame, typically my camera meter automatically gave me a good exposure. I could more or less point and shoot. Otherwise, the meter determined exposure based upon less important tonal values in the image.
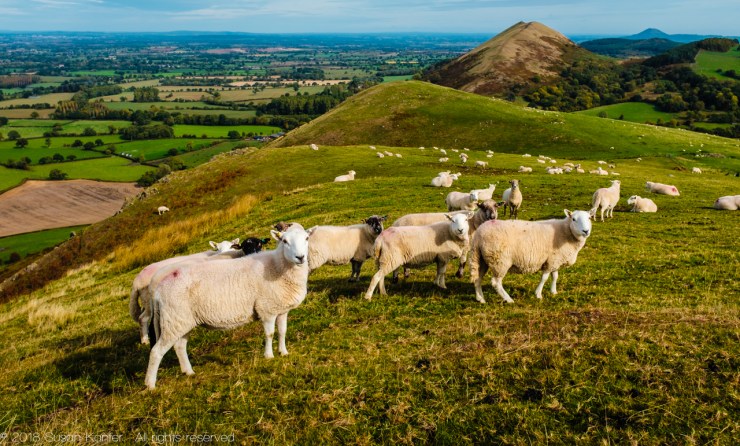
Cute sheep, boring light.
Galen Rowell’s vision
Eventually, I came upon Galen Rowell’s book “Galen Rowell’s Vision, The Art of Adventure Photography.” Known for vibrant and stunning photographs, Rowell was a nature and adventure photographer in the days of film cameras.
A chapter in Rowell’s book is titled “Crash Course to Perfect Exposures.” Reading that chapter was my defining moment on exposure.
Rowell observed that writers and manufacturers overload us with at least a hundred ways to make the same exposure determination. He feared that creativity could be stifled if the photographer locked into one particular method to determine exposure. He was particularly concerned if the method was unnecessarily technical and considered the gospel.
Rowell’s suggestion was to simply “expose for your most important highlight.” He felt that if there was a highlight value brighter than the most important highlight, and not essential to the image, the photographer should consider composing the image to eliminate the brighter highlight.
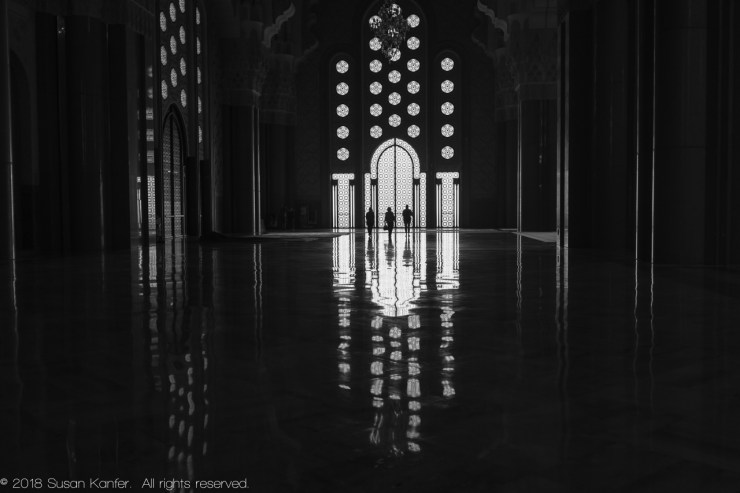
I exposed for the light coming through the windows. This rendered the interior very dark.
Ansel Adams’ advice
Rowell’s recommendation reminded me of advice Ansel Adams once gave. Whereas Rowell shot transparency film, Adams used print film. Exposure is different for print film, due to the extra step of using a negative to create the print. For print photographers, shooting with film, shadows are the important tone to expose for.
In a workshop I took with Adams, he recommended setting the exposure based on the exposure for the most important shadows of an image, letting the other values fall where they may. He kept detailed notes and made adjustments in processing and printing to bring out the highlights in an image after he had exposed for the shadows.
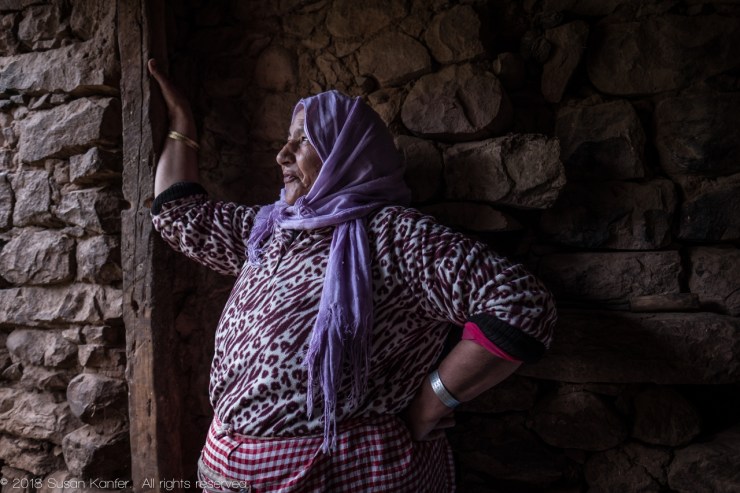
I chose the forehead as the most important highlight as I did not want it overexposed.
Pre-visualize
Although Rowell and Adams worked with film cameras differently, they both suggested the same simple approach to determining the exposure for an image. First, visualize the photograph you want to create. Then, identify the most important value and how you want to expose for it. As noted by Rowell, also think about reframing your image to eliminate a highlight that is brighter than the most important highlight.
Alternatively, I suggest that in certain circumstances you might consider adding light to the subject (via reflector or flash) so that it becomes the brighter highlight (such as in an environmental portrait).
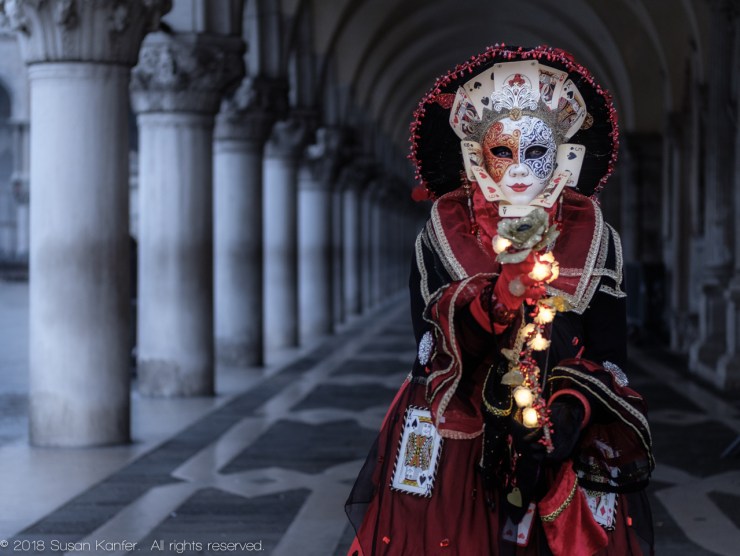
This is an example of using flash. If I had not used a flash the background would have been blown out when I exposed for the mask, my most important highlight. I was OK with the string of lights being brighter than the face mask.
What does exposing for the highlight mean?
Hopefully, you now understand that exposing for the most important highlight is very subjective. It is not an exposure calculation per se. It is an intentional decision as to what your most important highlight is to be, and how you plan to expose for it. For example, would you prefer less exposure to create a more dramatic sky or silhouette? Or, do you choose to add exposure to make a high-key or ethereal image?
Once you identify the all-important highlight and decide how you want to expose for it, then determine the method you will use to set the exposure on your camera. And just like Ansel Adams, you can also make notes (written or mental) on fine-tuning the exposure as you process your image.
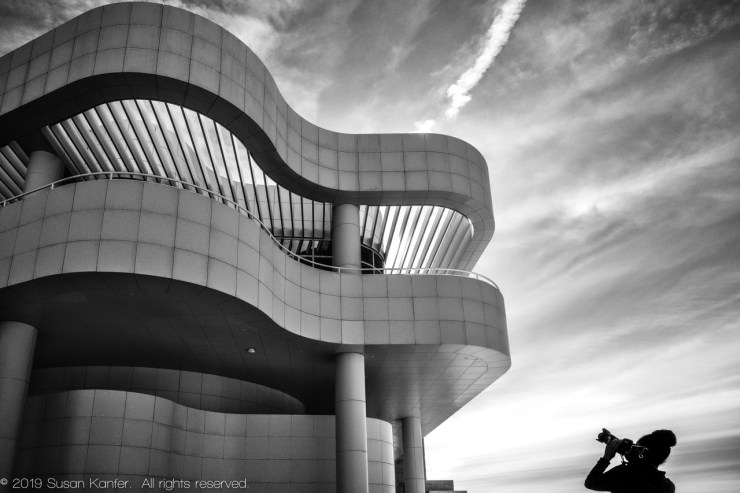
I exposed for the sky, knowing I wanted detail in the sky and the photographer to be a silhouette.
Tell your story with the second annual Visual Storytelling Conference!
Experience four days of interactive, online training sessions featuring a range of educational content with experienced photographers and content creators. This free event kicks off with a series of technical boot camps to build essential skills, followed by live, online sessions on photography, video, business and social media. Join live from March 10-13, 2022!
