I just attended a terrific event hosted by the photo club at the Art Institute of Portland, and beforehand we did a 1-hour photowalk around the block.
Portland, OR is a terrific place to photowalk because there are always lots of people walking around and the light is always excellent. I’ve done lots of photowalks, and these are three things I do to make making pictures simpler and my pictures better — the third one is the most important.
1. Be ready to shoot
First of all, make sure your lens cap is in your pocket. The worst thing ever is seeing a terrific opportunity, but missing it because you had to pause to remove your lens cap. Put it away before you walk out the door — even if it’s raining.
As far as camera settings, set your DSLR camera to the big “A” or “Av.” This is Aperture Priority mode (or Aperture Value). When you use it, you simply choose the aperture you want and the camera chooses the shutter speed for you.
Of course, you still have control over the shutter speed by using the Exposure Compensation button (looks like +/-), but instead of thinking about it in fractions of a second, you just have to think in terms of brighter and darker. If you make a frame and it’s too dark, just turn the compensation higher. You’ll be able to predict what’s needed by the overall tones of your scene.
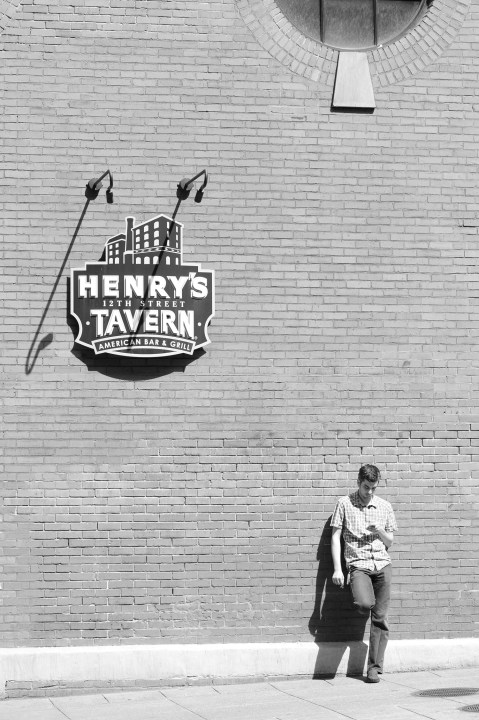
If the scene has lots of dark areas, set the compensation to the minus (darker) side; if it’s got lots of bright tones, set it to the plus side. This wall was awash in sunlight and it was quite bright, so the camera naturally wants to darken it so it’s not too bright; I set the compensation to +2/3 of a stop to make sure it stayed nice and bright (+.7).
On your mirrorless camera, consider using manual mode. I love to use manual mode on mirrorless because I also have Constant Preview turned on, which allows me to see exactly what the photo looks like before I press the shutter.
2. Stabilize and wait
The key is that you’ve got to keep an eye on the shutter speed (it’s displayed in your viewfinder). If you choose a smaller aperture for more depth of field, that shutter speed will drop lower to let in enough light.
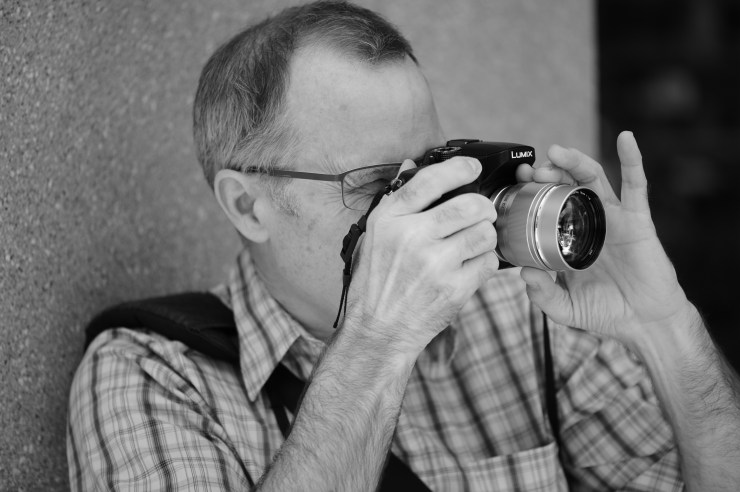
So crank up the ISO, and take a page from my pal Chris’s book: Stabilize yourself. Chris is leaning against the wall and has the camera pressed to his face as another point of stabilization. He’s using focus peaking to manually focus his camera, so the other hand is free to work the focus ring. Once you see some good light, stabilize yourself and wait for some worthwhile action to happen.
For instance, while making the image above, I was also waiting for some people to walk through a gateway that had some great light. It never happened, but I was ready for it!
3. Photograph people’s faces, not their butts
The first time I started making pictures of people on the street I tried to be surreptitious about it, sneaking a shot when they weren’t looking. I didn’t want to be caught, you see. So I’d wait until people walked by to photograph them. You know what I ended up with? A lot of pictures of their backs and butts. BORING!
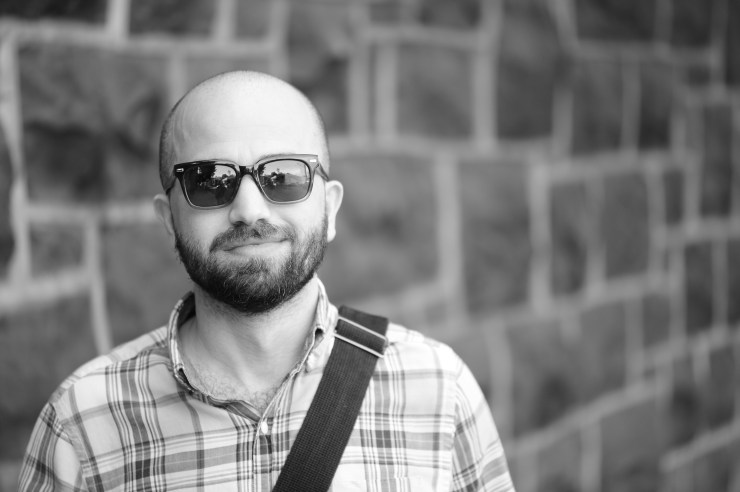
Now I’ve got a simple formula for you to use to make pictures of people on the street. Once you’ve got your camera settings dialed in, hold your camera in front of you and say, “Excuse me, when you look over that way there are some interesting reflections in your glasses, and this dark wall makes a great contrast. Would you mind if I make a quick portrait of you?”
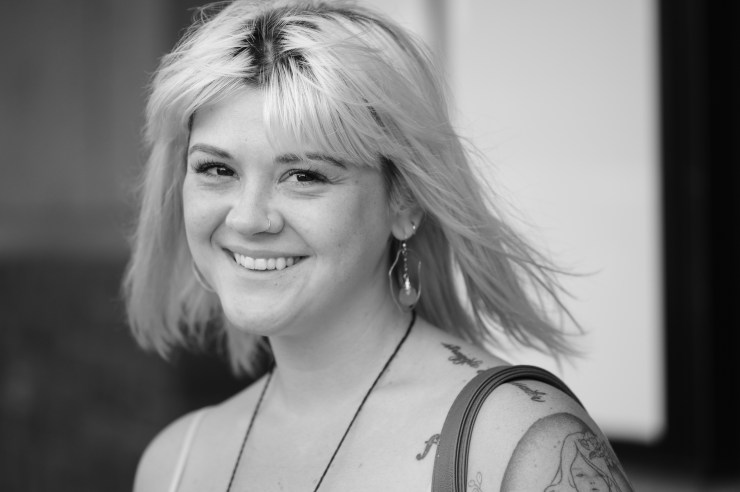
Or maybe you could try this one: “Hi, I don’t mean to bug you, but your hair looks really great as it blows in the wind. I’m practicing photography, and I was wondering if I could make a picture of your hair?”
But this one is my favorite. “Howdy! There’s some really terrific light reflecting off that building and you’re standing in it and you look awesome. Could I make a portrait of you?”
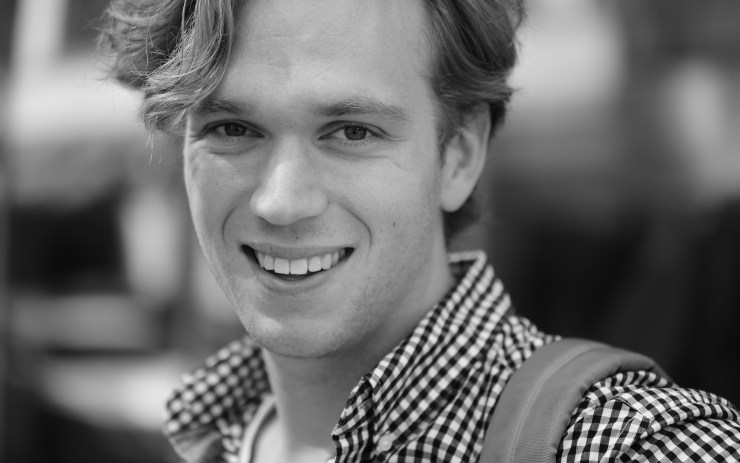
Next, I always say, “I’m Levi, what’s your name? What brings you downtown today?” I photographed a guy from out of town, a musician heading to her concert and a marketing student on his way home from class. You just never know who you’ll meet when you photograph people’s faces instead of their butts.
Take these three tips with you, and step out the door and see what adventure awaits. If you really want to have some fun, set your camera to JPEG, switch to monochrome with a colored filter like orange or red, and go to town.
Tell your story with the second annual Visual Storytelling Conference!
Experience four days of interactive, online training sessions featuring a range of educational content with experienced photographers and content creators. This free event kicks off with a series of technical boot camps to build essential skills, followed by live, online sessions on photography, video, business and social media. Join live from March 10-13, 2022!
