Often when using a large aperture like f/2.8, you get a small or narrow depth of field. A small horizontal slice of the image, rather than the whole image in focus.
This could be due to shooting in low light or wanting to keep your background in blur. The problem is what if you want more of your subject in focus? What if you could control that depth of field by using focus stacking?
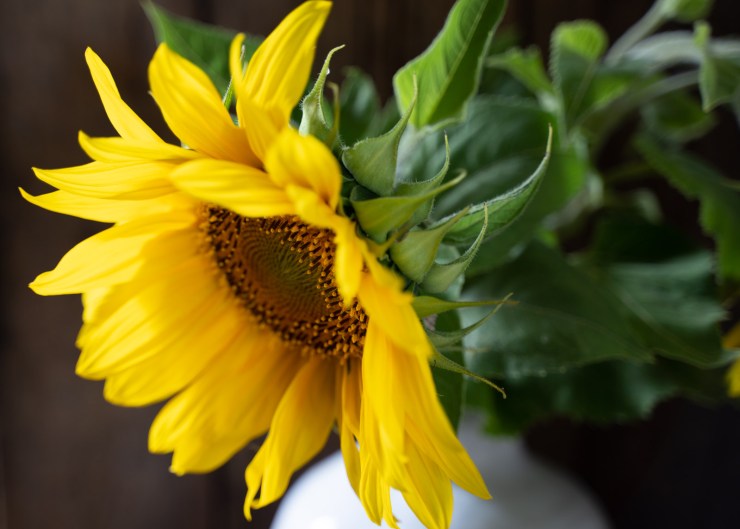
What is focus stacking?
Focus stacking is a technique that combines multiple images taken at different focus distances to give a resulting image with a greater depth of field (DOF) than any of the individual source images.
Focus stacking offers flexibility, as the finished result is usually generated in post-processing with software like Helicon Soft or Photoshop. You have control over the finished result in clarity and focus. Once combined you can have an image with a greater DOF than would be possible with many cameras* and a single shot.
Note: Some cameras these days have a built-in focus bracketing option or live composites such as those from Olympus and some Canons; sadly my Sony does not. Older DSLR usually do not have this function either.
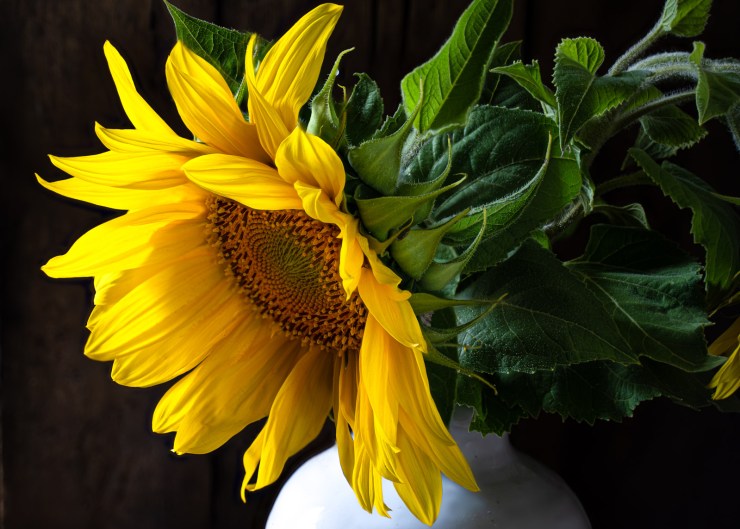
How can this be controlled?
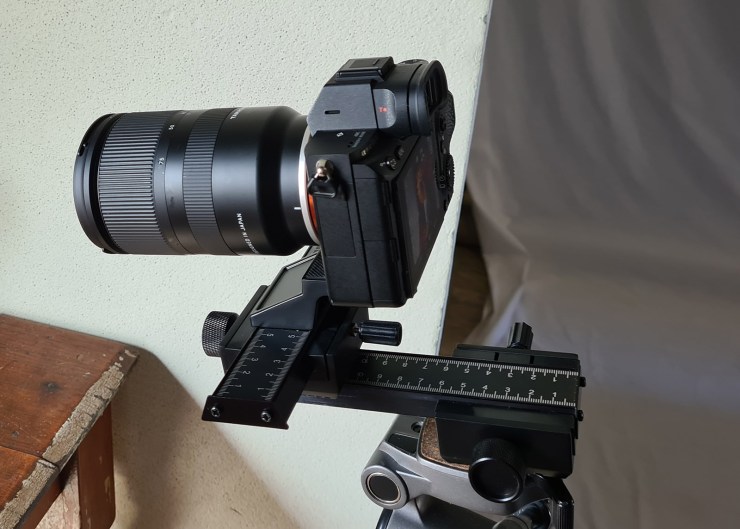
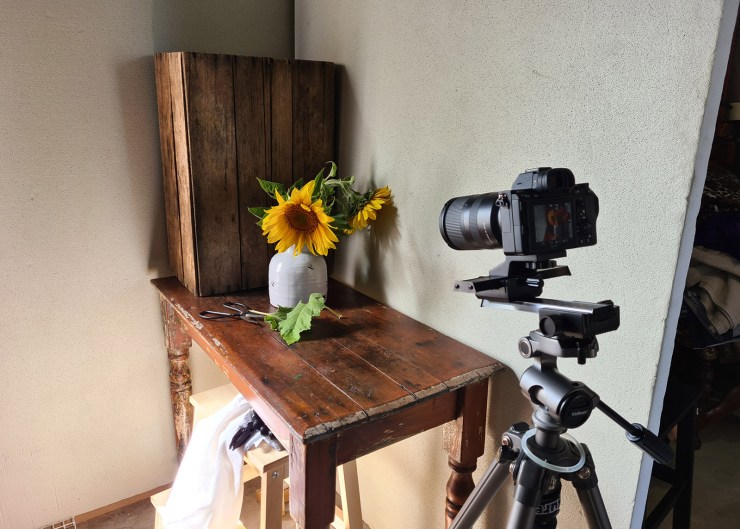
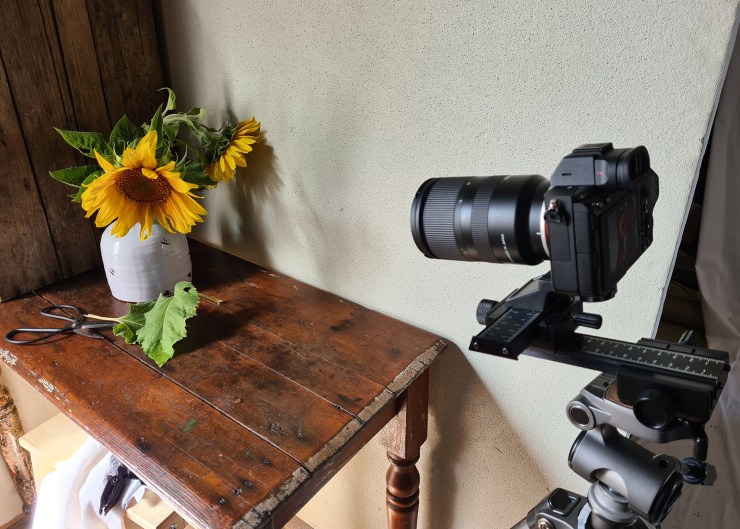
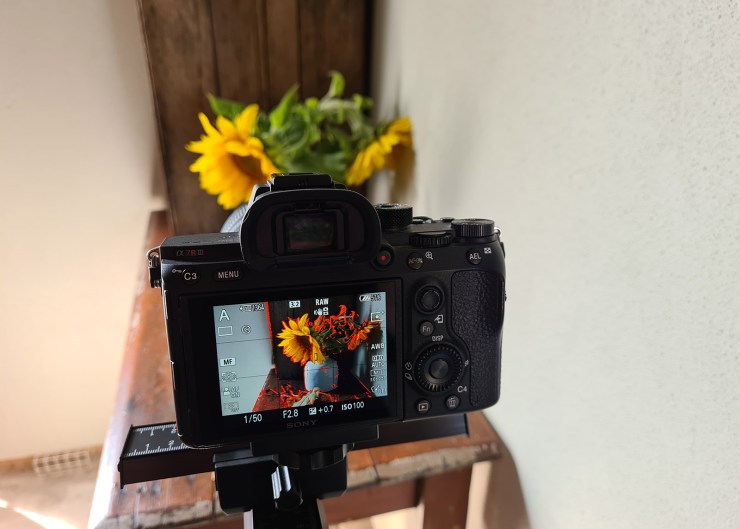
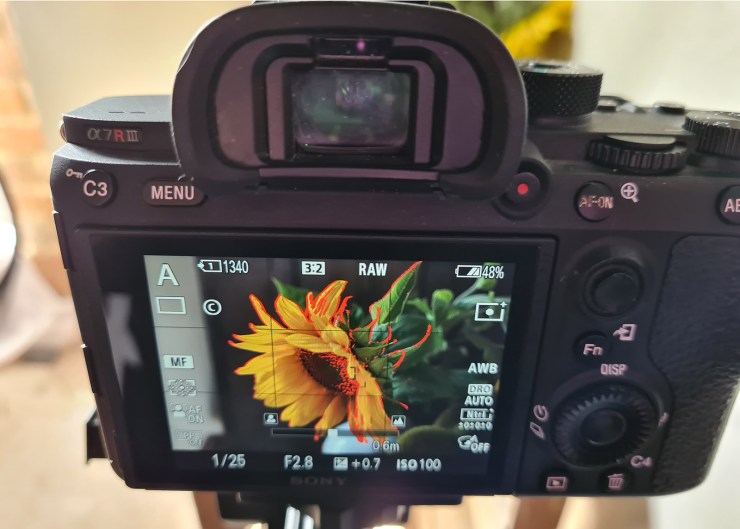
Once you have set your scene up, attach the camera to a macro rail. Starting from the back, slowly work your focus to the front of the scene taking multiple images as you move. Usually from back to front.
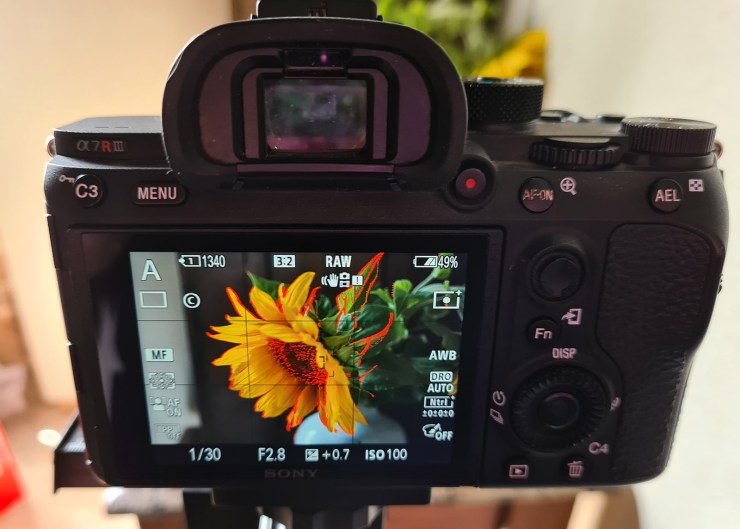
I used my Tamron 28-75mm lens on my Sony a7R III. I found using manual focus and peak meter (focus highlighted in red) was the easiest way to line up my images. My settings were f/2.8, 66mm, 1/30s and ISO 100.
.mgl-masonry { display: none; } #mgl-gallery-634ef703c79a7 { column-count: 3; margin: -5px; } #mgl-gallery-634ef703c79a7 .mgl-item { padding: 5px; } #mgl-gallery-634ef703c79a7 figcaption { padding: 5px; } @media screen and (max-width: 800px) { #mgl-gallery-634ef703c79a7 { column-count: 2; } } @media screen and (max-width: 600px) { #mgl-gallery-634ef703c79a7 { column-count: 1; } }
Putting it all together
You can use a variety of programs to put it all together. If you originally imported the images into Lightroom Classic, select Edit in > Open all layers in Photoshop. Once in Photoshop, go to Edit > Auto-Blend Layers.
Here, you can put your stacked images together. Note that there should be no real need to Auto-Align if using a tripod, but you can if you wish.
.mgl-masonry { display: none; } #mgl-gallery-634ef703c923b { column-count: 3; margin: -5px; } #mgl-gallery-634ef703c923b .mgl-item { padding: 5px; } #mgl-gallery-634ef703c923b figcaption { padding: 5px; } @media screen and (max-width: 800px) { #mgl-gallery-634ef703c923b { column-count: 2; } } @media screen and (max-width: 600px) { #mgl-gallery-634ef703c923b { column-count: 1; } }
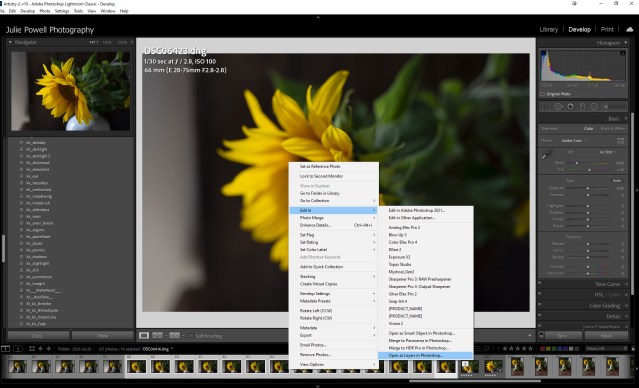
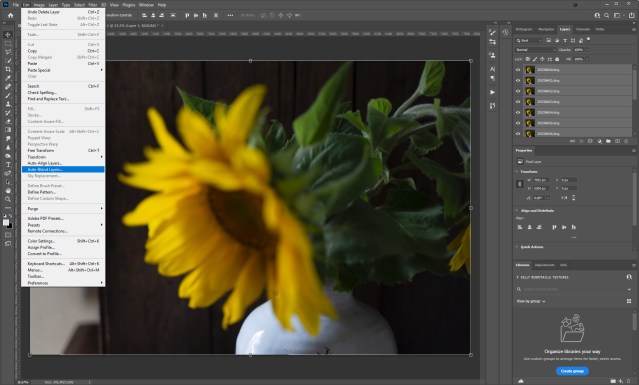
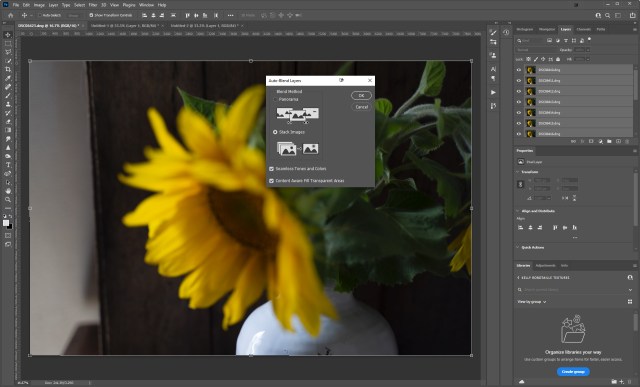
I did find that creating a composite in Photoshop was not 100% ideal. Sometimes some areas were a little messy.
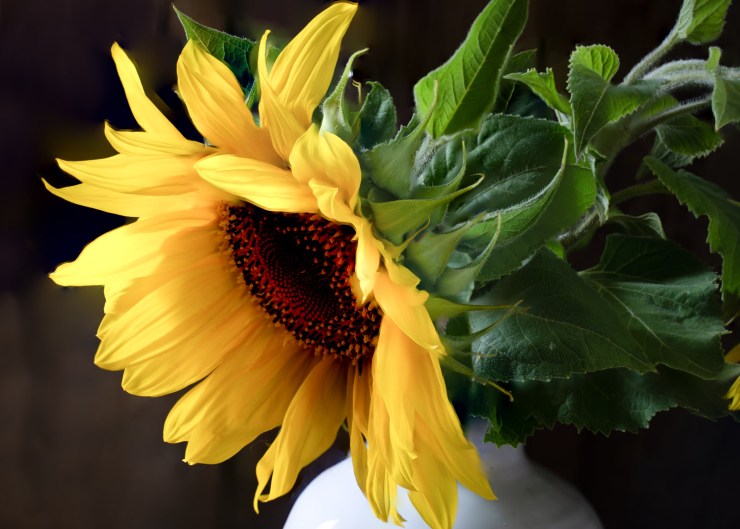
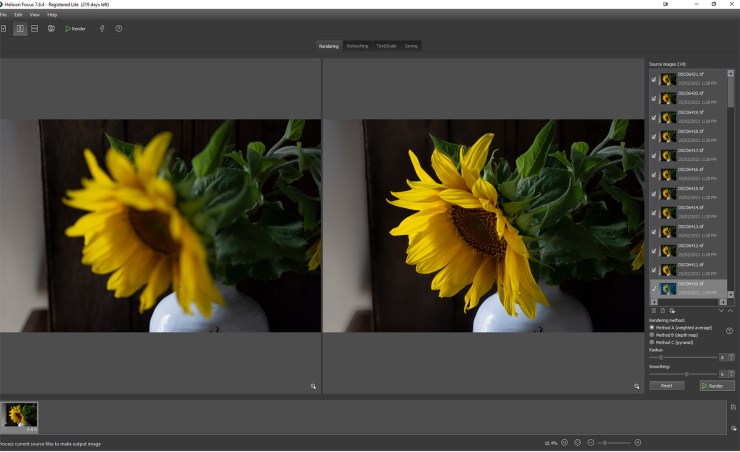
A little while ago I heard about a program called Helicon Soft and I have never looked back. You can even export images directly into Helicon from Lightroom.
Once all layers have been exported into Helicon, you can select different methods for stacking the images. There are three different methods and then, of course, you can adjust the settings. Once saved you can exit and a TIFF is saved back in Lightroom. You can edit your image as required and you’re done.
Tell your story with the second annual Visual Storytelling Conference!
Experience four days of interactive, online training sessions featuring a range of educational content with experienced photographers and content creators. This free event kicks off with a series of technical boot camps to build essential skills, followed by live, online sessions on photography, video, business and social media. Join live from March 10-13, 2022!
