Balancing natural light with flash isn’t complicated — once you know the recipe. The key ingredients are softening the natural light with a diffuser, exposing for the background, then adding the right amount of flash to expose the subject. Now that you know the ingredients, here’s the recipe to balance natural light with flash.
Use a diffuser to soften direct sunlight
Wouldn’t it be nice if we had a remote to control the sun? Sure, we could schedule our shoot early in the morning or late in the evening to avoid direct sunlight but that’s not always possible. When forced to shoot in direct sunlight, a simple diffuser can become your best friend.
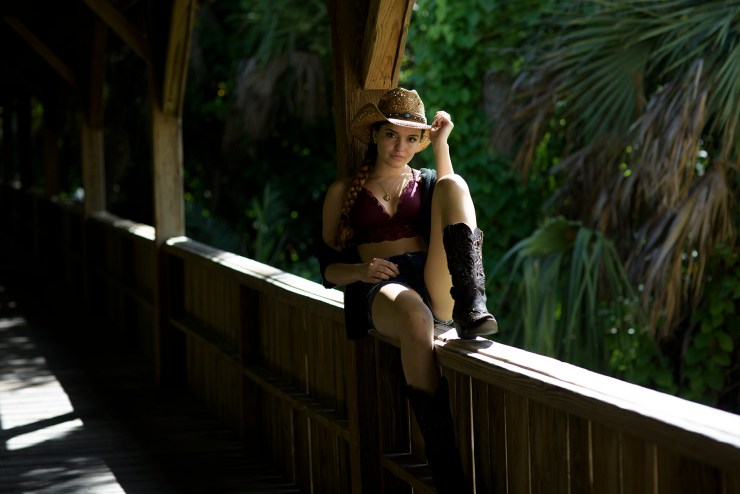
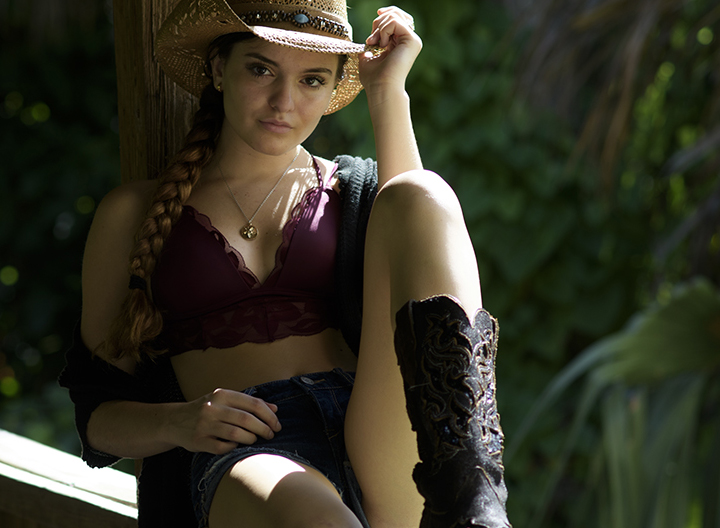
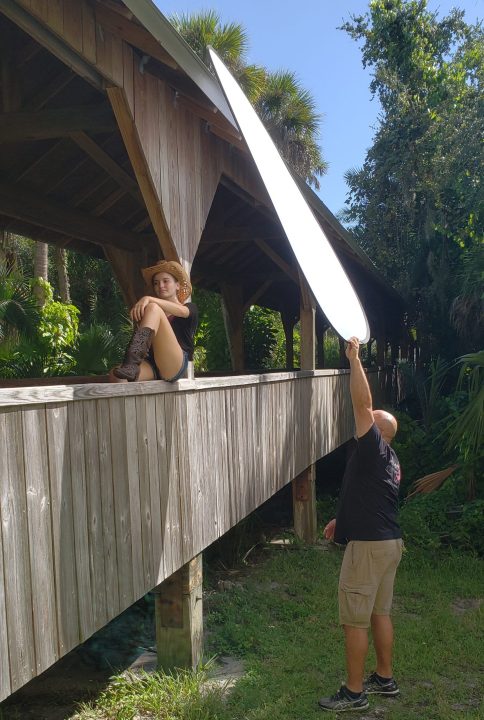
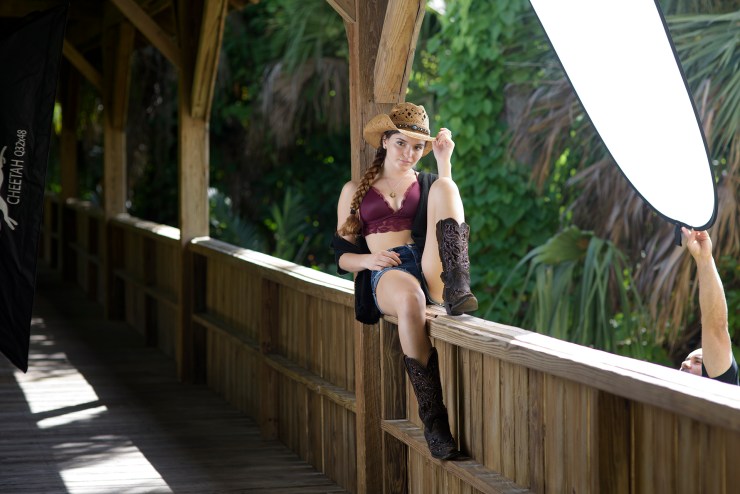
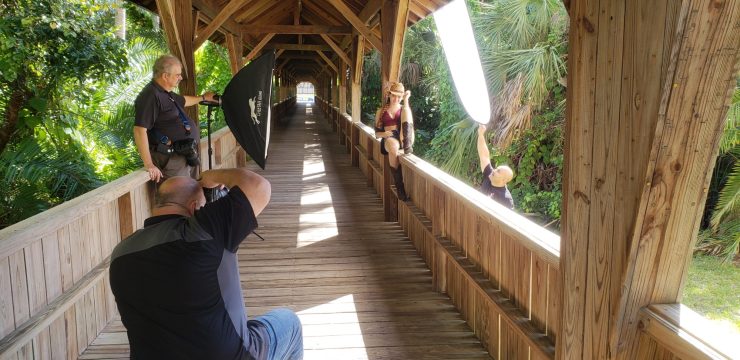
For this image on the bridge, I took several shots at different exposures to see the effect the sun had on the subject. No matter the exposure, the direct sunlight was too bright and it showed around the subject’s knee and leg. Sure, I could have moved the subject, but I really liked this location. A tall assistant and a large 4-by-8 foot diffuser was the solution. The thin translucent material cut a full stop of light off the subject and produced a nice natural, soft light. This was the first step in balancing the light.
.mgl-tiles { display: none; } #mgl-gallery-634ef7991136c { margin: -5px; width: calc(100% + 10px); } #mgl-gallery-634ef7991136c .mgl-box { padding: 5px; } @media screen and (max-width: 768px) { #mgl-gallery-634ef7991136c { margin: -5px; width: calc(100% + 10px); } #mgl-gallery-634ef7991136c .mgl-box { padding: 5px; } } @media screen and (max-width: 460px) { #mgl-gallery-634ef7991136c { margin: -5px; width: calc(100% + 10px); } #mgl-gallery-634ef7991136c .mgl-box { padding: 5px; } }
Expose for the background
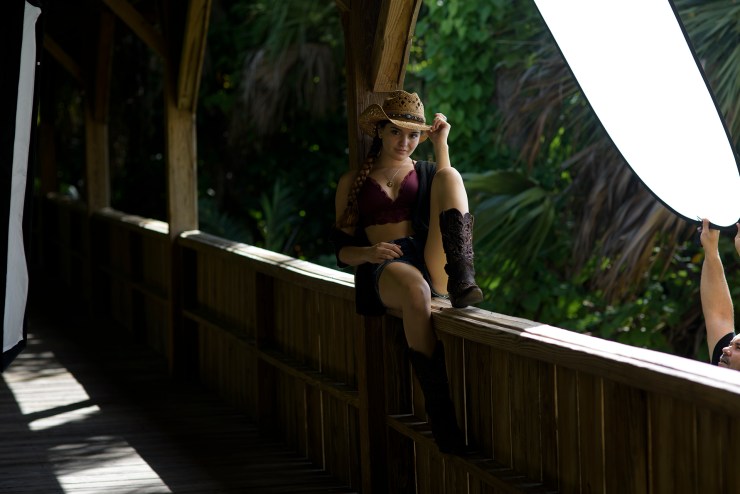
Before adding additional light, the easiest way to determine the camera settings is to use aperture priority. Set your camera to the desired aperture — I chose an aperture of f/2.8 — and let the camera figure out the shutter speed. If the shutter speed is less than 1/60s, increase the ISO so the shutter speed is between 1/125s and 1/160s. This will help avoid a blurry photo due to camera shake.
The background will look great, but the subject will appear too dark. Don’t worry, I’ll fix this in the next step.
Balance flash with natural light
Believe it or not, the hard part is over. The final step is to balance the power of the flash with the natural light. Look at the settings the camera suggested in the last shot. Change to manual mode and dial in these settings.
Now we are going to add flash to properly expose the subject. A flash with a TTL feature will eliminate the need to calculate the power and distance of the light. The flash intelligently analyzes the surroundings and the light-to-subject distance. It returns the proper power to produce a correct exposure.
I wanted more control so I decided to use the flash in manual mode starting with 1/8 power and positioned the light at a comfortable distance from the subject. I used a light meter to accurately determine the power of the flash. We adjusted the power of the flash based on the meter reading and spent the rest of the time thinking creatively instead of technically.
.mgl-tiles { display: none; } #mgl-gallery-634ef79911e83 { margin: -5px; width: calc(100% + 10px); } #mgl-gallery-634ef79911e83 .mgl-box { padding: 5px; } @media screen and (max-width: 768px) { #mgl-gallery-634ef79911e83 { margin: -5px; width: calc(100% + 10px); } #mgl-gallery-634ef79911e83 .mgl-box { padding: 5px; } } @media screen and (max-width: 460px) { #mgl-gallery-634ef79911e83 { margin: -5px; width: calc(100% + 10px); } #mgl-gallery-634ef79911e83 .mgl-box { padding: 5px; } }
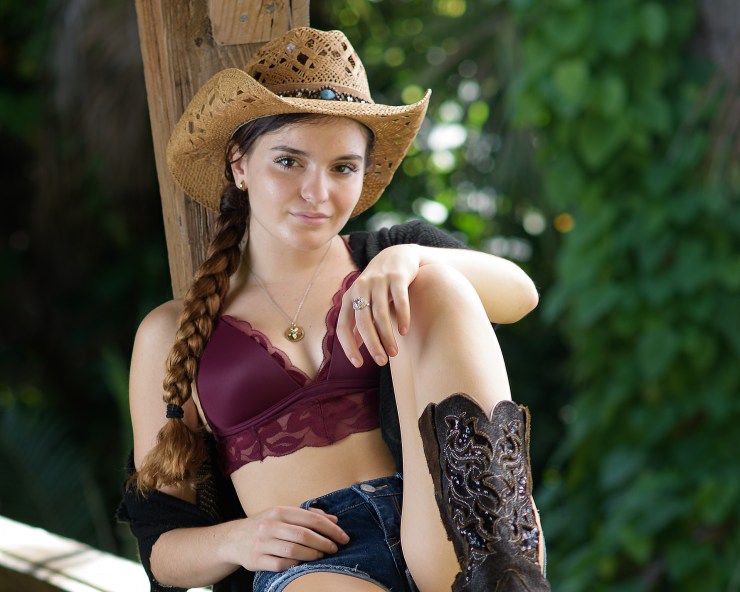
How simple was that?! Like all recipes, you start with a base and then add other ingredients to suit your taste. You can add additional lights or even color correct the lights with a CTO (Color Temperature Orange) gel. The possibilities are endless now that you know the ingredients and recipe.
Tell your story with the second annual Visual Storytelling Conference!
Experience four days of interactive, online training sessions featuring a range of educational content with experienced photographers and content creators. This free event kicks off with a series of technical boot camps to build essential skills, followed by live, online sessions on photography, video, business and social media. Join live from March 10-13, 2022!
