I thought I might share something a little different with you today. I was recently asked over on Photofocus Community to share more before and after images, so I thought I would create a video of my full edit (sped up slightly) and explain what I did and how I got the finished image.
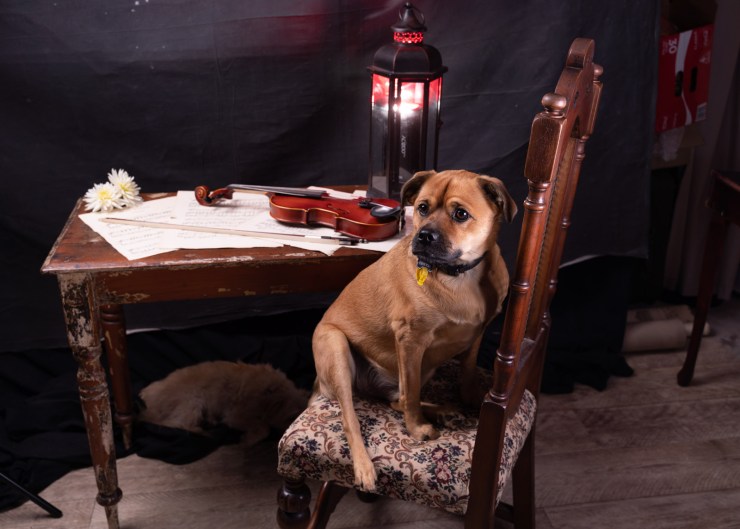
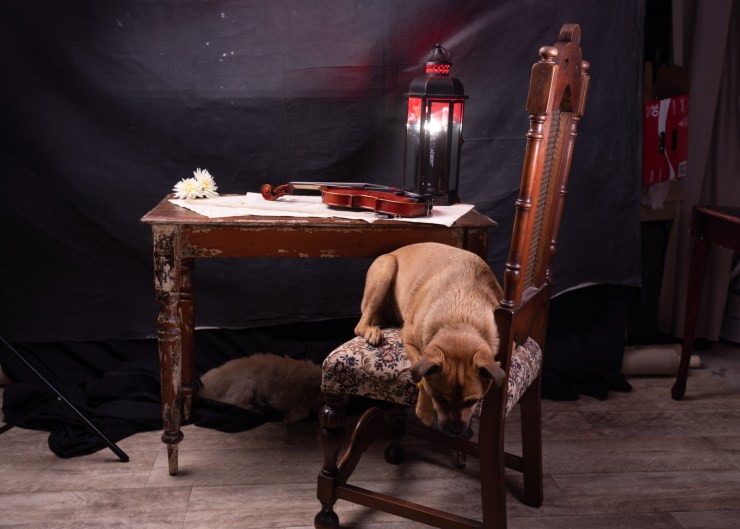
Step one was the original idea. I was actually photographing the violin for another series; I added the lamp and pulled out the chair. That’s when young Dexter got up on the chair … ready-made art.
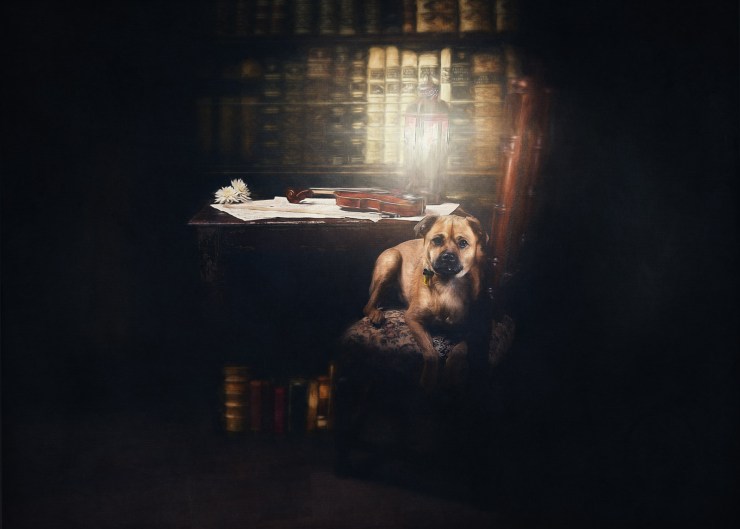
The Master’s Chair
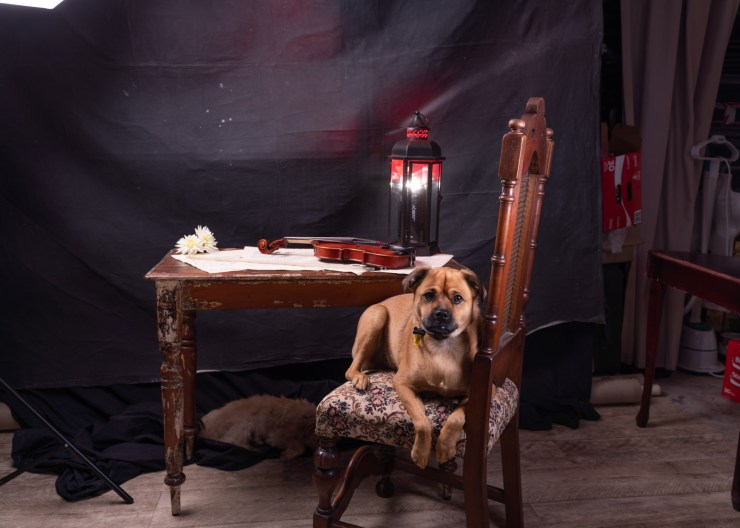
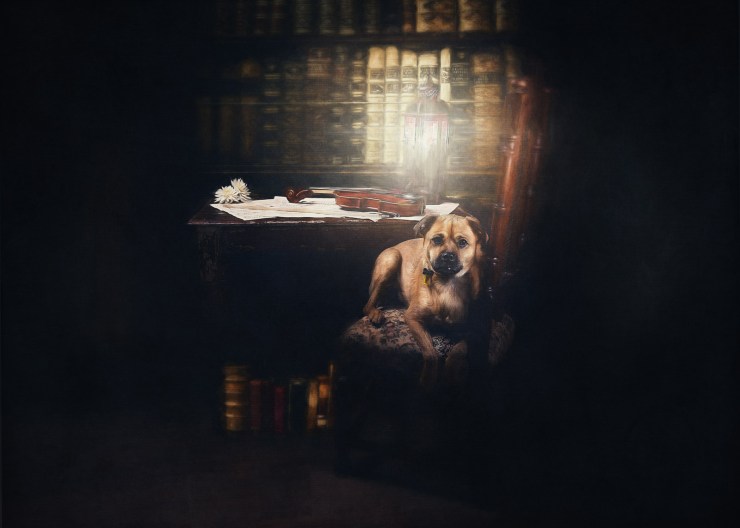
Here are the basic steps
I used two images to make up the base image, allowing me to get the perspective correct. I did a little bit of clean up. Then I masked out the background to reveal some books on a shelf behind (on a separate image).
From there I added curves to the dog to bring out some details, placed textures on the walls and gave some lighting effects to the lamp. I added an overall texture to grunge it up a bit.
I ran a couple of tweaked Fine Art actions (Twilight and Black Gold), and used some Lookup Tables (Futuristic Bleak and Teal Orange Contrast) at a lower capacity. I added a few curve layers to darken and brighten various images.
Then I made a merged copy (Ctrl + Shift + Alt + E) and brought it into Topaz Impression for a Monet render. I dropped the opacity to 50%, and masked it off the dog’s face. Finally, I added a final texture.
Check out the video below for a step-by-step on how I created this image.
Lighting
I used a Godox AD400 with a 36″ Octobox (camera Left) set 1/32 power and a Godox AD200Pro Speedlight in the lamp on the table with a red gel at 1/128 power.
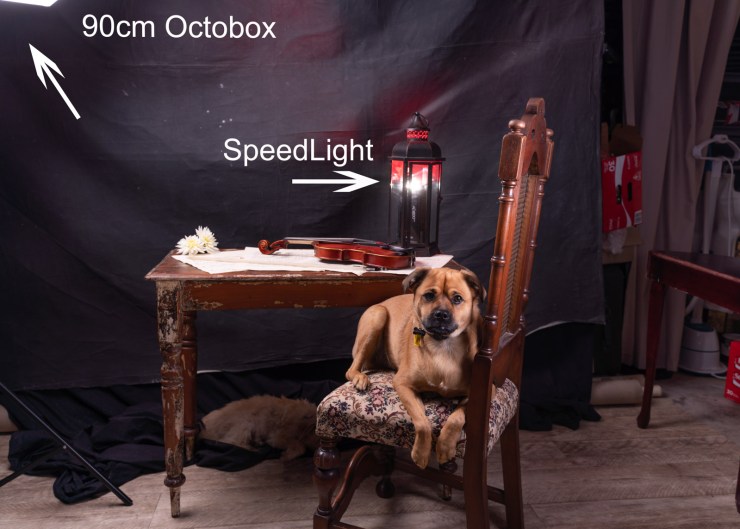
Camera settings
I was shooting with a Sony a7R III and a Tamron 28-75mm lens, Godox X1 trigger. My settings were f/5.6, 1/160s, 28mm and ISO 100.
Behind the scenes
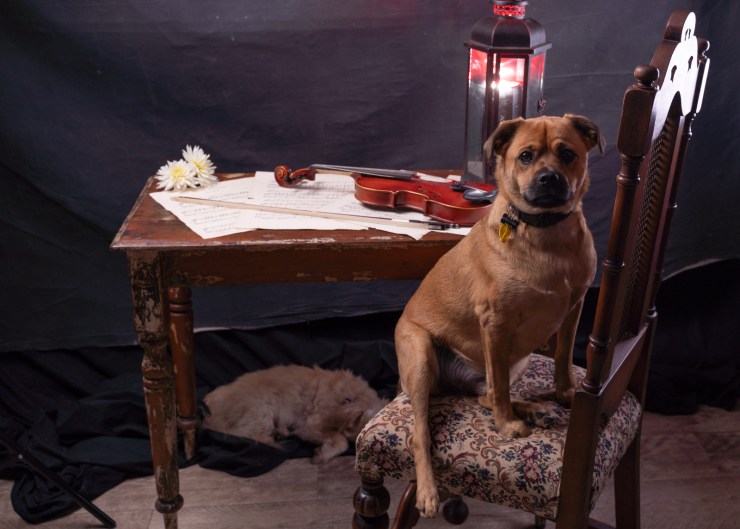
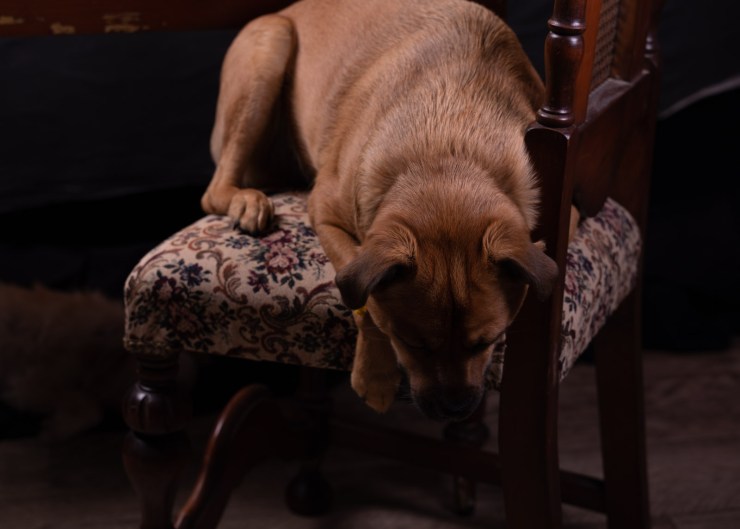
If you look closely my other dog is actually asleep on the floor under the table, but young Dexter has been posing on chairs in the studio since he was six months old, so getting him on the chair is no issue. It did take a couple of takes to get the light and the pose how I wanted them, then he got a treat and hopped off the chair to find a stick to chew (his usual past time in the studio).
.mgl-tiles { display: none; } #mgl-gallery-634ef91958b2d { margin: -5px; width: calc(100% + 10px); } #mgl-gallery-634ef91958b2d .mgl-box { padding: 5px; } @media screen and (max-width: 768px) { #mgl-gallery-634ef91958b2d { margin: -5px; width: calc(100% + 10px); } #mgl-gallery-634ef91958b2d .mgl-box { padding: 5px; } } @media screen and (max-width: 460px) { #mgl-gallery-634ef91958b2d { margin: -5px; width: calc(100% + 10px); } #mgl-gallery-634ef91958b2d .mgl-box { padding: 5px; } }
Tell your story with the second annual Visual Storytelling Conference!
Experience four days of interactive, online training sessions featuring a range of educational content with experienced photographers and content creators. This free event kicks off with a series of technical boot camps to build essential skills, followed by live, online sessions on photography, video, business and social media. Join live from March 10-13, 2022!
