The following is an excerpt from Xpozer’s “Photo Editing for the Perfect Wall Print” eBook. Check out their Picture-Perfect Print Pack and get your copy today!
You like to click with your subject, Your camera snapping up what you want to remember, Turning moments into timeless images to share with family and friends. You breathe photography, Just like us.
We choose to discover when others choose the beaten path. We capture life with our cameras and hold it close. We shoot real photos to share with real people. Photos that show who we are and what we love. That’s why likes and shares are not enough. That’s why photos don’t belong in our computers, But in our lives. And that is why we created Xpozer. The magic happens when a digital image is printed. Like when Pinocchio becomes a real boy by the touch of a fairy, that’s when your photo’s story comes to life and becomes real.
Introduction
 Real photos belong on the wall, Where their energy inspires us every day. Big and visible, In our homes and in our lives. Experience your photos anew. Not just big, but in an oversized, super-huge way. We are Xpozer and we believe in real photos, the bigger the better. Every one of your photos captures a unique experience with its own story. Of course, you want to bring these stories to life in a perfect photo print. With Xpozer you can display your stories on the wall so that family and friends can also share in the experience.
This series from Xpozer, Making perfect wall prints, is your guide to everything you’ll need to make your photographs works of art hanging on your walls. It explains how you can expertly edit each photo and transform your best shots into stunning wall prints. Soon you will be able to take your family and friends along on the unique journey of your latest photo story.
The team at Xpozer has optimized thousands of photos. They are experts in photo enlargement. They know the specific requirements that a beautiful photo should meet and how to prepare a photo for perfect enlargement. Xpozer wants to share their knowledge so that you too can get the most out of your photos. Soon, your beautifully displayed photo enlargement will allow you to share the passion behind your photo stories with family and friends.
Before editing
Your memory card is filled to bursting with breathtaking images of landscapes, beautiful animals, lovely portraits and fascinating cultures. Each photo is better than the one before — and you can make them even more exceptional by editing them in Photoshop or Lightroom. Before you begin, here are a few tips that will help ensure that your images are edited flawlessly and that your photo enlargement will be perfect.
Calibrate your monitor
The first thing before editing is to calibrate your monitor. An image on your screen can actually look very different when it is printed. This partly because digital screens are often set too bright. By calibrating your monitor in advance you prevent large color deviations between the image you see on your screen and the printed photo.
The colors you see on your screen can vary from one moment to the next. You need to take into account the amount of ambient light in the room, color warmth, vision deviations and even your emotional state at the time. Once you have calibrated your monitor you know for certain that the colors of your photo will match those on your screen. Ambient light plays a role in determining how you perceive colors. So make sure your monitor is not too close to places where the light varies greatly throughout the course of the day.

Tools and tips
Today, all kinds of simple software programs are available that allow you to calibrate your screen easily and professionally — X-Rite’s i1Display Studio Colorimeter, i1Display Pro Plus Colorimeter or Dataolor’s SpyderX Pro Colorimeter.
It is important to let your monitor warm-up for 10–15 minutes before you start calibrating it. You can then start your calibration software and proceed to make the necessary settings choices. First, you need to set the screen contrast. PCs and Macs are set to a standard gamma value of 2.2. This is fine and you do not need to change it. There are more choices involved where color temperature is concerned. It’s often said that you should calibrate at D50 (5000K) for prepress and preferably at D65 (6500K) for measuring colors. D50 actually makes your screen look slightly more yellowish than necessary. You can best work with a brightness level of 100-150 cd/m2. However, this depends on the ambient light. Note that it’s better if your screen is slightly too dark rather than too bright. Most screens are actually set too bright.

Manual calibration
The image above shows a strip with a gradient that consists of 21 color segments. It is important that you can clearly see on your screen the transition between each color segment. If you cannot clearly see the transition to the white segment, the brightness level of your screen is too high. Your screen is too dark if you cannot see the transition to the black segment. You can change this in the screen settings of your computer. When you can clearly see each color segment you know that your screen is calibrated correctly. The colors on your screen will therefore match the colors of your actual print.
Save and backup your photos
Your photos are memories of wonderful moments that you don’t want to lose. Unfortunately, your computer might crash or your camera may be stolen. And if that happens, your photos are gone forever. To avoid such a loss, we recommend that you always make a backup of your photos. While you’re traveling, the easiest way to do this is via your camera’s Wi-Fi connection or a wireless SD card. In addition, we also recommend that you save your photos to at least three different locations — your laptop, an external hard drive and the cloud, for example. Dropbox is an example of a simple online tool you can use to store your photos and to access them from anywhere in the world.
Select your favorite photos
Since the arrival of the digital camera, people are taking more photos than ever before. Having so many photos means that it is vitally important to keep them well organized so that you can find your favorites easily. You might, for example, store them by year and create a separate folder for each individual event. Before deciding exactly which photo you want to enlarge, you should first make a selection of your favorites. If you find “photo fails” among your shots (photos that you will never choose to print for whatever reason), we advise you to delete them immediately. This will prevent your folders from becoming so cluttered with poor images that you cannot find the best shots. Even after deleting any failed photos, you will undoubtedly still have hundreds of photos left. You can easily make a selection from these in Lightroom or other similar organizing/editing software. First, import all your photos into the software — don’t forget to include the photos on your camera. Create a catalog of all your photos and then award them one by one a rating of 0–5 stars. This will probably not be your final selection but it’s an easy way to start deciding which photos are good enough to continue working on.

Choice is good
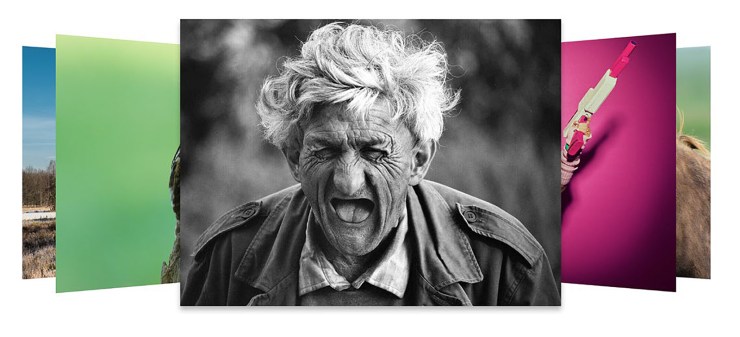
Selecting your best photo can be very difficult. With Xpozer you can easily switch one photo for another. Use the Xchange frame to regularly display a new photo print. Easy and affordable!
Tell your story with the second annual Visual Storytelling Conference!
Experience four days of interactive, online training sessions featuring a range of educational content with experienced photographers and content creators. This free event kicks off with a series of technical boot camps to build essential skills, followed by live, online sessions on photography, video, business and social media. Join live from March 10-13, 2022!
