
If you like flexibility in when you shoot, but love golden hour lighting, then this setup could be a good one to add to your mental kit!
In this walkthrough I’ll show you how I simulated a hazy golden hour look with a simple off-camera flash kit.
What you’ll need
- Camera and portrait lens (I used my Canon EOS 7D Mk II and my Tamron 24-70mm f/2.8). For most of my shots the focal length was around 50mm, which on the 7D Mark II crop sensor, gives a full-frame field of view of 75mm.
- Two tripods or lighting stands (I used a Vanguard tripod for the key light flash and a boom lighting stand for the sun flash, for the height and to get the flash close to the couple without seeing the stand).
- Two flashes (I used my Canon Speedlight 580EX II for the sun flash and Canon Speedlight 430EX II for the key light flash.)
- Soft box or shoot-through umbrella for the key light flash (I used my Rogue Photographic Design FlashBender XL Pro).
- Off-camera radio trigger system for each flash (I used my Godox system: an X1T transmitter on the camera and an X1R receiver on each flash).
- Photography smoke in a can (I use Atmosphere Aerosol: it’s safer and easier than smoke bombs).
- Orange gel for the sun flash (I use the Rogue Photographic Design Gels).
- Optional: External power pack for one or both flashes, to allow rapid firing without waiting for the flashes to recharge (I used my Godox Propac Power Pack for the sun flash, but just the normal AA batteries for the key light flash because the 430EX II I was using doesn’t have an external power pack jack).
Setting up the scene
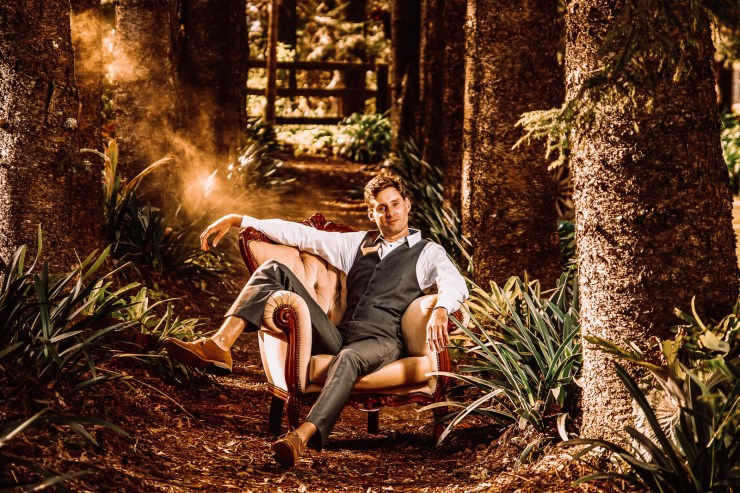
My goal was to capture the couple in this amazing aisle of pine trees at the beautiful Sunshine Coast wedding venue, Montville Country Cabins. We were shooting mid-afternoon in summer, but I wanted to simulate the golden glow of sunset without waiting three or more hours to get it! Even if I had waited, the trees were in the wrong spot for good golden hour lighting, so I tried out this setup to simulate it instead.
I set up one flash to act as the “sun,” on a tall lighting stand hidden between two trees on the left side (see diagram further down). I put an orange gel on the flash to give it that sunset glow, and used photography smoke to catch the light of the sun flash (this as sprayed into the air around the couple before each shot). I did try the flash bare as well, but it didn’t give me the colour I was looking for.
On the right side, also hidden behind a tree, I put my key light, with a Rogue FlashBender XL Pro as soft box to diffuse the light.
The sun flash was behind the couple (pointing in from behind tree 1 in diagram below), and the key light flash was in front of the couple (pointing at them from the side, from between trees 5 and 6).

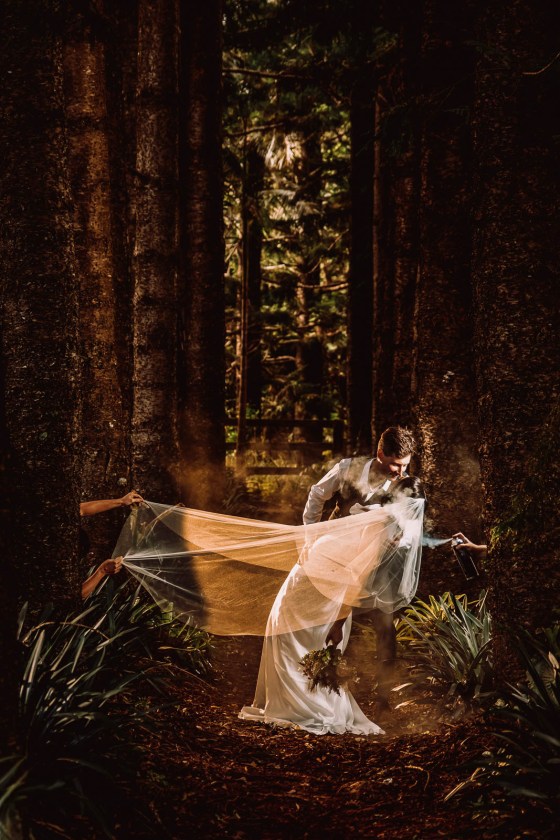
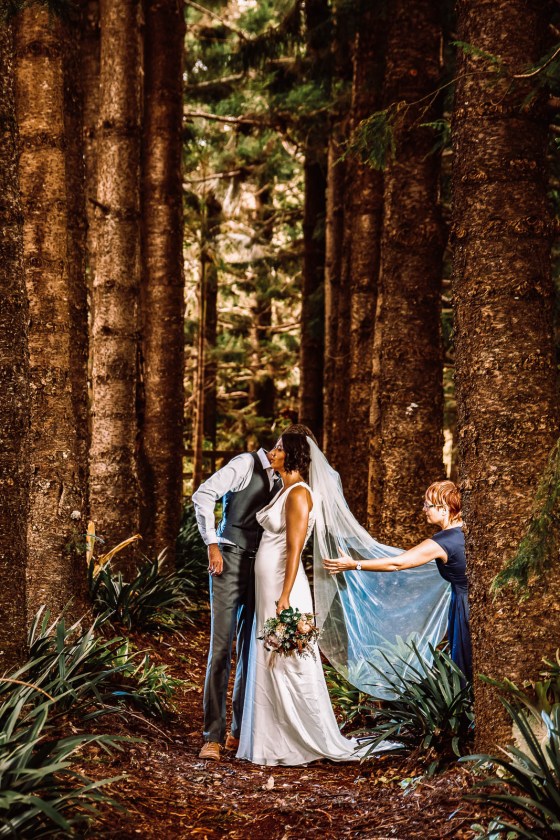
Next to the couple, on the left, I had one assistant lift the veil, and on the other side (next to the key light), another assistant sprayed photography smoke into the scene. Take note of how the wind blows the smoke around for your shot, and move your smoke assistant as needed!
Camera and flash settings to use for this shot
This is a straightforward setup (compared to this long exposure with flash night portrait): I had my camera on ISO 160, f/2.8 and a 1/200s exposure, to expose the forest. Both flashes were left on TTL (auto) which took care of the exposure on the couple. Too easy!
How to get the shot
For each shot, I got the couple ready to go (ready to dip, lift, kiss, etc.) and then the veil assistant lifted the veil up.
My smoke assistant sprayed the scene full of smoke, the veil was dropped, and the couple did their thing while I shot off a few photos. Rinse, reset and repeat!
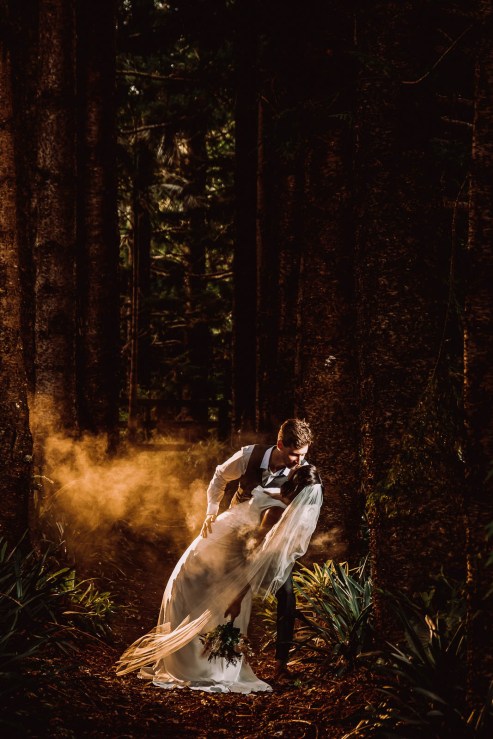
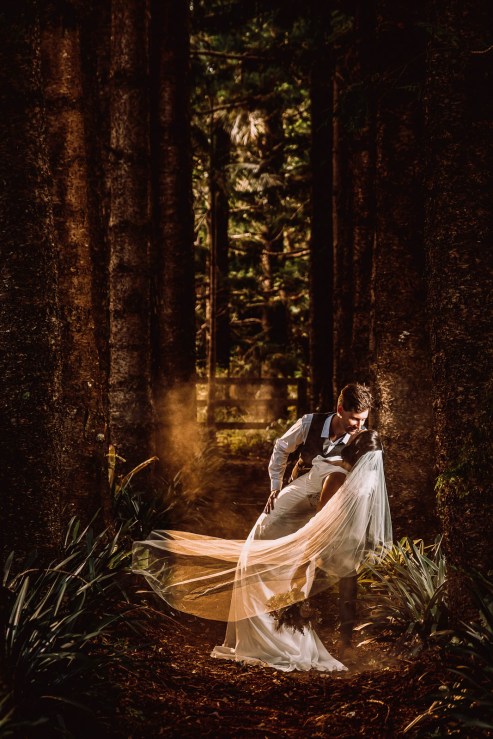
I chose my final favorites by looking at how the veil was falling, how the smoke looked, and whether the pose was what I wanted. Getting all three to be perfect in every shot is tricky when you have wind interfering: for example, in the shot on the right below, I love the smoke and pose, but the veil isn’t quite right.
.mgl-tiles { display: none; } #mgl-gallery-634efc6cb9fff { margin: -5px; width: calc(100% + 10px); } #mgl-gallery-634efc6cb9fff .mgl-box { padding: 5px; } @media screen and (max-width: 768px) { #mgl-gallery-634efc6cb9fff { margin: -5px; width: calc(100% + 10px); } #mgl-gallery-634efc6cb9fff .mgl-box { padding: 5px; } } @media screen and (max-width: 460px) { #mgl-gallery-634efc6cb9fff { margin: -5px; width: calc(100% + 10px); } #mgl-gallery-634efc6cb9fff .mgl-box { padding: 5px; } }
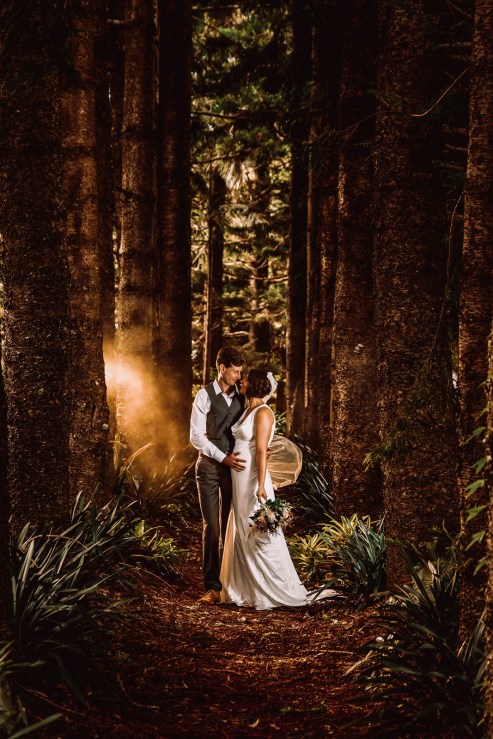
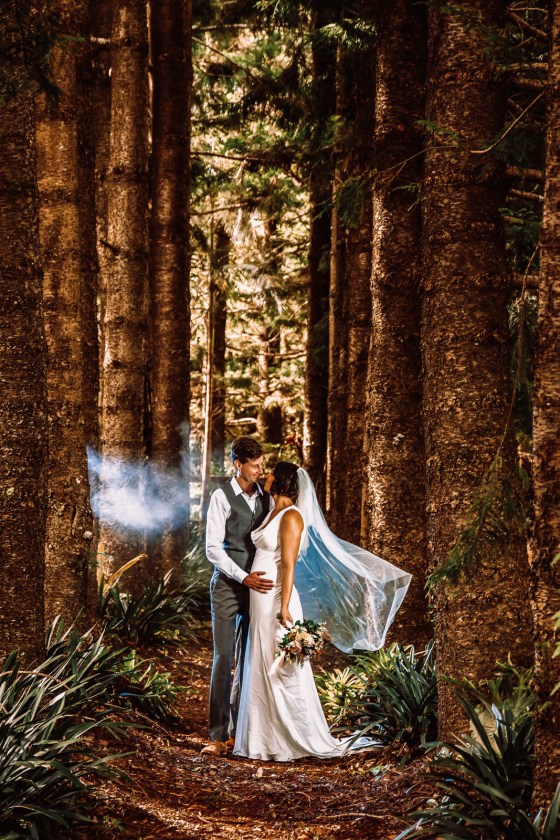
These are the two I liked the best from the whole setup.
.mgl-tiles { display: none; } #mgl-gallery-634efc6cbac05 { margin: -5px; width: calc(100% + 10px); } #mgl-gallery-634efc6cbac05 .mgl-box { padding: 5px; } @media screen and (max-width: 768px) { #mgl-gallery-634efc6cbac05 { margin: -5px; width: calc(100% + 10px); } #mgl-gallery-634efc6cbac05 .mgl-box { padding: 5px; } } @media screen and (max-width: 460px) { #mgl-gallery-634efc6cbac05 { margin: -5px; width: calc(100% + 10px); } #mgl-gallery-634efc6cbac05 .mgl-box { padding: 5px; } }
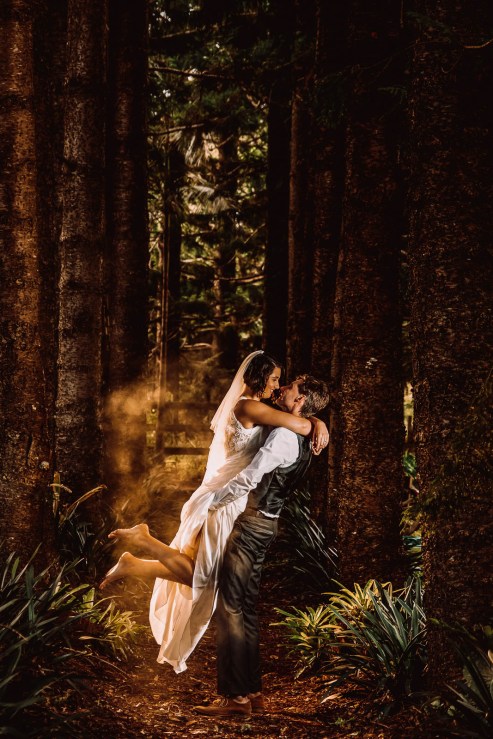
The pose is great, the veil works, and the smoke gives that subtle golden glow I was hoping to achieve. With this basic off-camera flash setup, you can make your own golden hour at any time of day.
Tell your story with the second annual Visual Storytelling Conference!
Experience four days of interactive, online training sessions featuring a range of educational content with experienced photographers and content creators. This free event kicks off with a series of technical boot camps to build essential skills, followed by live, online sessions on photography, video, business and social media. Join live from March 10-13, 2022!