When you buy a fast lens with a bright aperture, like f/1.8, you go crazy making photos with a super-shallow depth of field. You photograph flowers where only one stamen is in focus, and you shoot people with super blurry backgrounds, and it’s lots of fun using the thin slice of focus.
However, there are many times when that thin slice just doesn’t cut it. Sometimes you just need everything in focus, and even if you stop down to the lens’s smallest aperture you still may not be able to get everything in sharp focus. That’s where focus stacking comes in.
What is focus stacking?
Focus stacking is the process of making several pictures of a scene while changing the focus between shots and then combining them in software to get a sharp photo of the whole scene. It’s often used in close-up photography because when you focus close to a subject the depth of field is very shallow even if you use a small aperture.
This is an exaggerated example, but it demonstrates the point. My kids and I made pictures of their toy cars. This is what the image looks like when it’s shot at f/1.2 with a very shallow slice of focus.
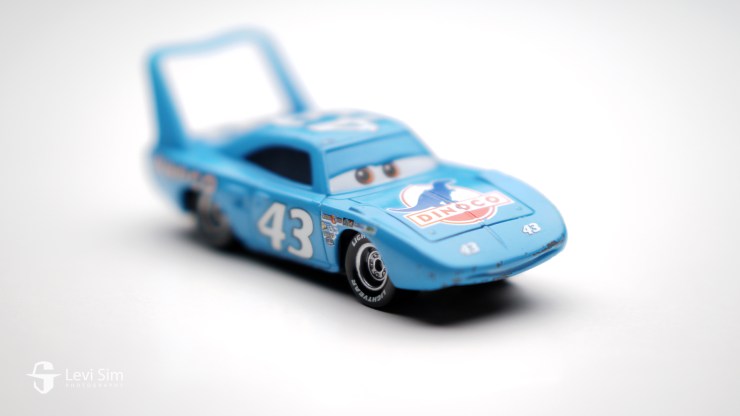
It’s cool, but it’s not what you see when you look at a toy car.
Shoot & shift, shoot & shift
Focus stacking requires a completely stable platform — if there’s any movement, the shots won’t line up well. I used a Platypod Ultra (B&H | Amazon) with Vanguard Veo ball head (B&H | Amazon) to hold my camera steady. I added the rubber pad that comes with the multi-accessory kit because the table was so smooth that the Platypod moved around each time I fired the shutter. The pad made the whole thing rock steady and immovable.
To make this picture all in focus, you should focus on the closest part of the car, then switch your camera to manual focus. Shoot a picture, then turn the focus ring on the lens a little bit to focus farther away and shoot again. Keep doing that until you’ve photographed the whole thing at every distance. This takes patience, but it’s a fun tool to keep in your kit.
.mgl-tiles { display: none; } #mgl-gallery-634efd77c6aa5 { margin: -5px; width: calc(100% + 10px); } #mgl-gallery-634efd77c6aa5 .mgl-box { padding: 5px; } @media screen and (max-width: 768px) { #mgl-gallery-634efd77c6aa5 { margin: -5px; width: calc(100% + 10px); } #mgl-gallery-634efd77c6aa5 .mgl-box { padding: 5px; } } @media screen and (max-width: 460px) { #mgl-gallery-634efd77c6aa5 { margin: -5px; width: calc(100% + 10px); } #mgl-gallery-634efd77c6aa5 .mgl-box { padding: 5px; } }

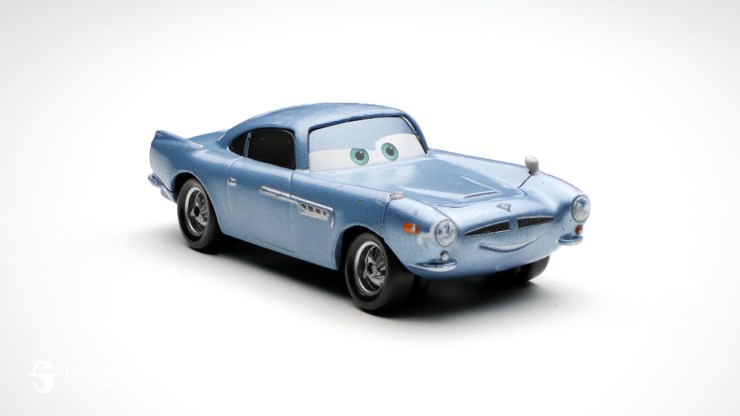
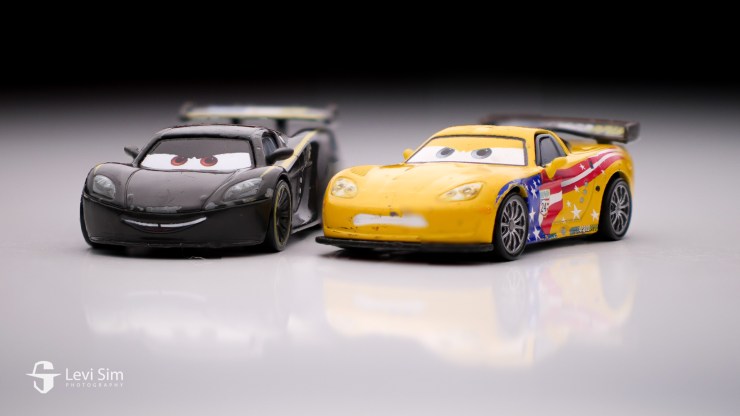
Lumix lets you cheat
I should admit that I cheated to make the picture above. Lumix cameras have a feature called Post Focus which shoots the focus stack for you automatically and even combines all the photos automatically in the camera. The shots above are all straight from my GH5 camera (B&H | Amazon), and it’s pretty good.
The camera automatically senses which areas of the frame need to be focused on and shoots a picture at every spot. It uses the 6K video capabilities to get it done, and it’s cool. Then you can choose to either combine all the images together or choose a handful of them to combine. It doesn’t always look this good — it may have some hinky spots of blurry focus, but it’s an amazing tool and really fun to use. I’ll show you how simple it is to do in Photoshop down below.
Behind the scenes
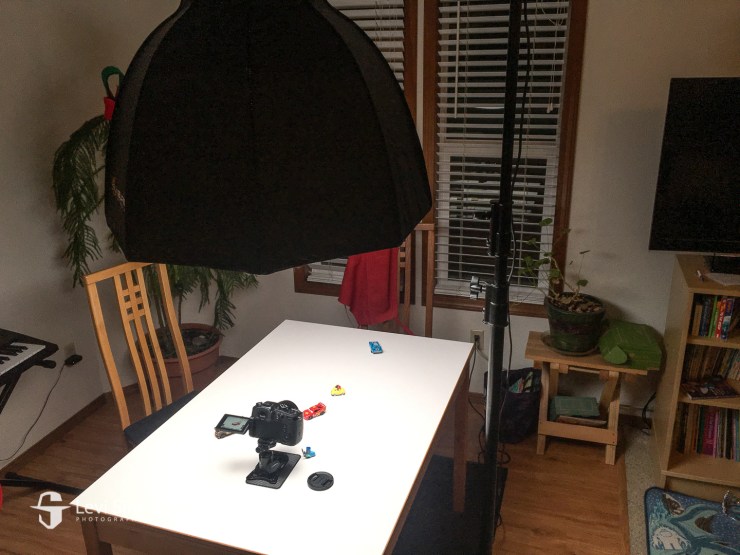
For these pictures, the cars and camera are sitting on the kitchen table. I positioned a softbox with a continuous light (B&H | Amazon) directly over the cars. Moving the light up and down makes it more or less contrasty. When it’s down very close to the table, the background behind the cars that isn’t lit becomes black, which is a fun effect.
What’s more, this is the kind of thing kids can participate in. Since I used a continuous light instead of a speedlight or other flash, my daughter could see exactly what the picture looked like before shooting which helped her pose the cars in exactly the right spots.
.mgl-tiles { display: none; } #mgl-gallery-634efd77c792b { margin: -5px; width: calc(100% + 10px); } #mgl-gallery-634efd77c792b .mgl-box { padding: 5px; } @media screen and (max-width: 768px) { #mgl-gallery-634efd77c792b { margin: -5px; width: calc(100% + 10px); } #mgl-gallery-634efd77c792b .mgl-box { padding: 5px; } } @media screen and (max-width: 460px) { #mgl-gallery-634efd77c792b { margin: -5px; width: calc(100% + 10px); } #mgl-gallery-634efd77c792b .mgl-box { padding: 5px; } }
The rubber Platypod pad kept the camera from sliding on the table.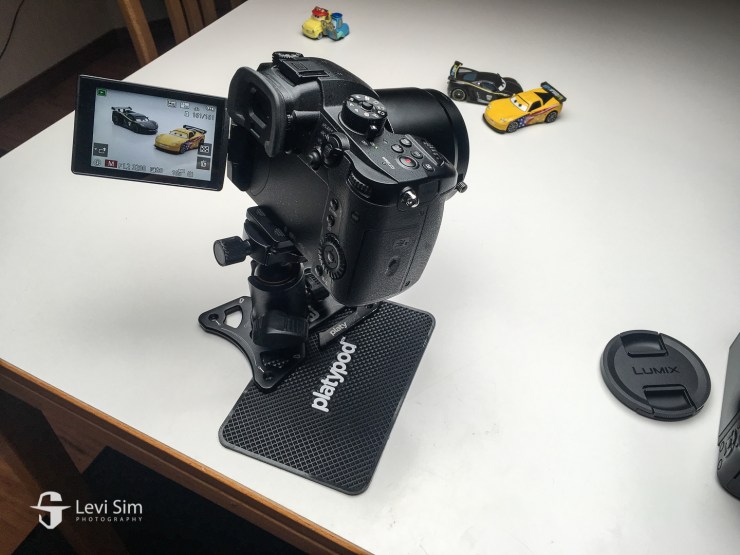
When the light is very close, the shadows become darker.
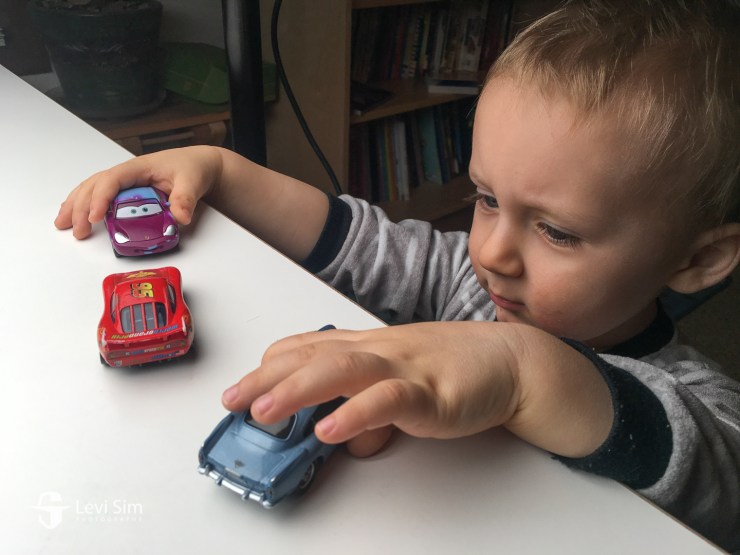
The kids had a good time doing this, too.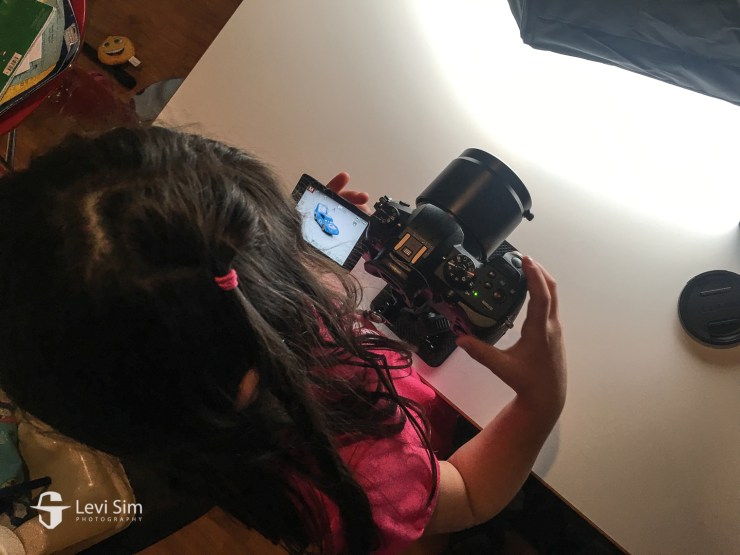
Stack in Photoshop
Stacking the photos together in Photoshop is really simple because Photoshop automates the process. There are other tools out there that do focus stacking better than Photoshop, but I have Photoshop so that’s what I’m using. To get started, open all the photos from your stack as layers in a single Photoshop document.
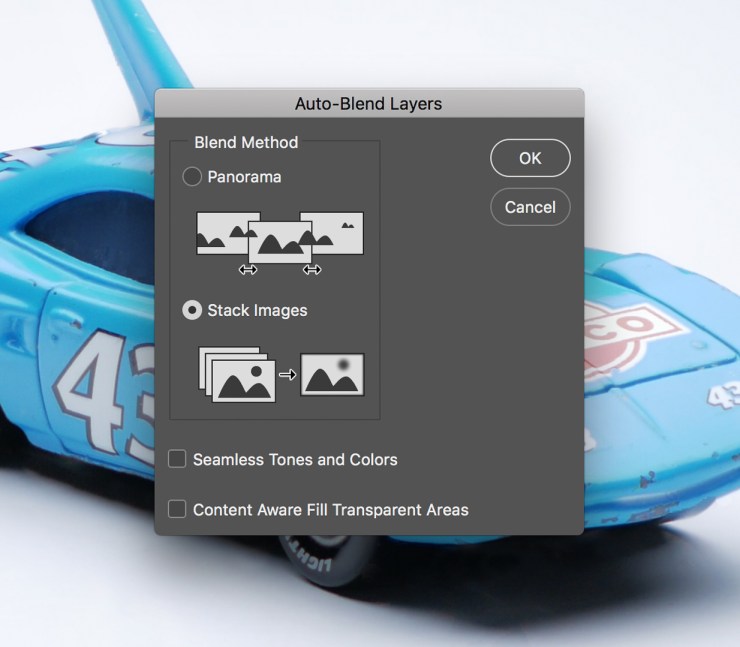
Next, select all the layers and go to the Edit menu and choose Auto-Blend Layers. The select the Stack Images option and press OK. Now just wait a few minutes. Photoshop will blend it all together. If you need to make adjustments, you can use a black and white paintbrush to work on blending the Adjustment Layers a little better.
Here’s the result from Photoshop.

I’m not an expert at focus stacking, but I do dabble in it. I think if you give it a try you’ll find lots of times when it would be a useful tool. My personal challenge is to use it for stuff that’s not close-up. I could use this to photograph a landscape using a wider and sharper aperture and then combine the images to get deep focus. I’ll let you know how it goes.
Tell your story with the second annual Visual Storytelling Conference!
Experience four days of interactive, online training sessions featuring a range of educational content with experienced photographers and content creators. This free event kicks off with a series of technical boot camps to build essential skills, followed by live, online sessions on photography, video, business and social media. Join live from March 10-13, 2022!
