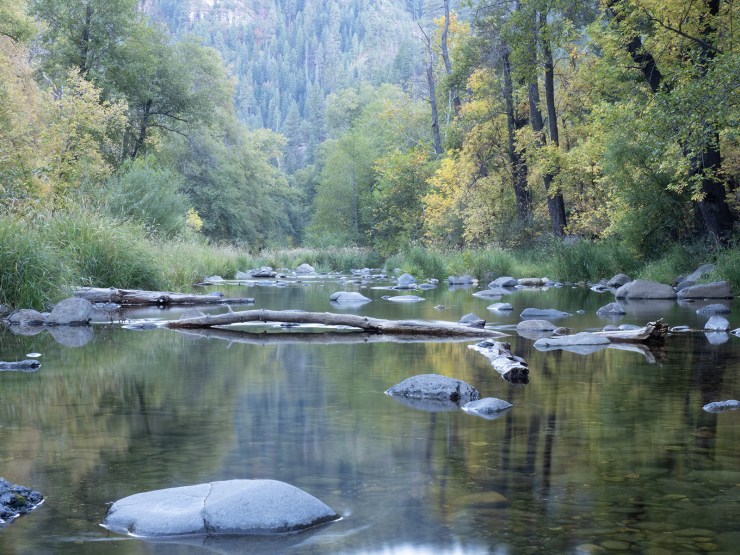
In part one, I shared some ideas on capturing and processing a file. In this post, I’m going to expand on some of those ideas to take an image to the next level.
A different view
When I processed the first photo I was happy, but it didn’t take full advantage of Live ND.
This image was taken from a different vantage point. Why did it make a difference? The water flow was stronger. In addition, the camera was in the stream verses shooting across the creek. I enjoy the smoother rendition of the water in this photo. This is the same 25-second exposure (ultimately two minutes blended together because of the ND processing).
Additional processing
Photoshop gives us the ability to tweak images using layers. As I spent a little more time working this image I discovered a couple things that I feel made it stronger.
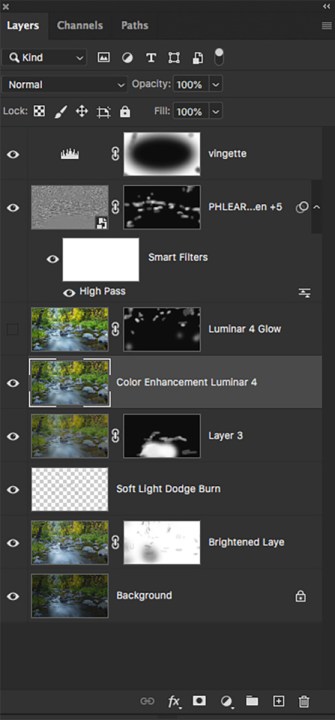
I added a sharpening layer and a separate glow layer from Luminar 4. I masked these layers filling them with black. Painting the masks with white at a low opacity from these two layers helped me control eye movements through the scene. Your eyes will tend to move around in an image with areas of higher contrast or sharpness.
Here’s the previous photo from part one, alongside the second photo.
.mgl-tiles { display: none; } #mgl-gallery-634effaa57780 { margin: -5px; width: calc(100% + 10px); } #mgl-gallery-634effaa57780 .mgl-box { padding: 5px; } @media screen and (max-width: 768px) { #mgl-gallery-634effaa57780 { margin: -5px; width: calc(100% + 10px); } #mgl-gallery-634effaa57780 .mgl-box { padding: 5px; } } @media screen and (max-width: 460px) { #mgl-gallery-634effaa57780 { margin: -5px; width: calc(100% + 10px); } #mgl-gallery-634effaa57780 .mgl-box { padding: 5px; } }
Previous image from part one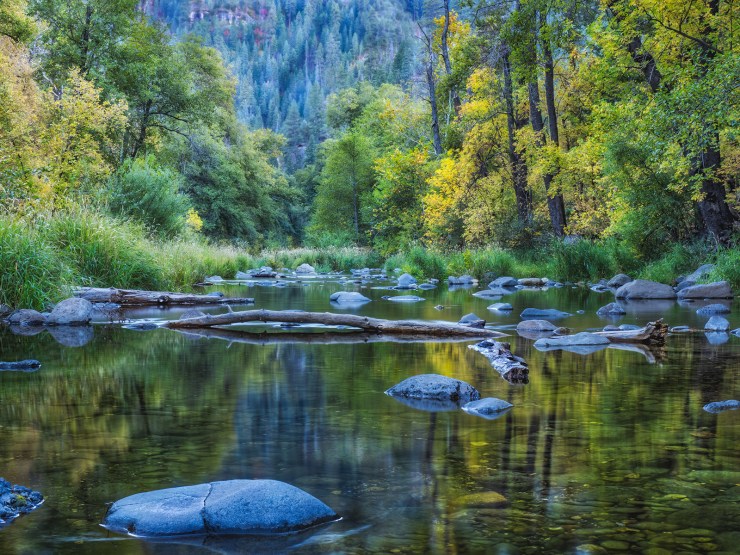
Final image with extra sharpening and glow layers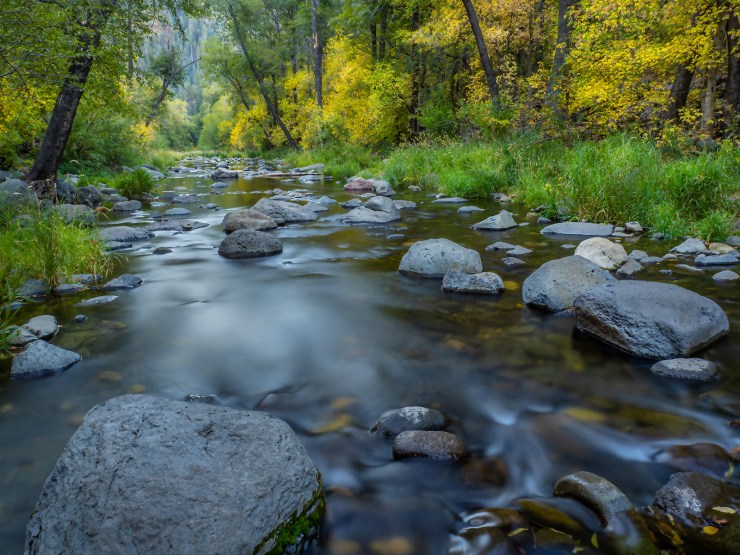
Camera gear
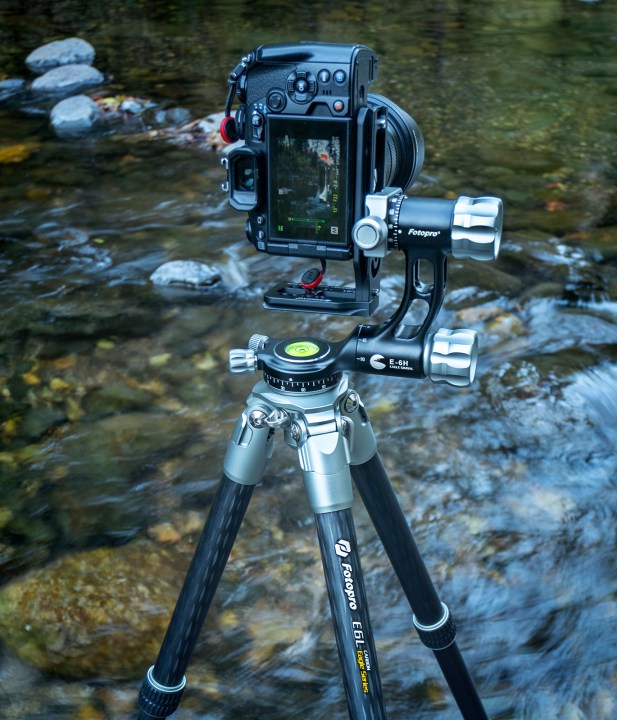
For the second shot, I used the same gear as before — the Olympus OM-D E-M1 Mark III with the M.Zukio 12-100mm f/4 lens mounted on the Fotopro E6L tripod. If your camera doesn’t have an in-camera ND filter like Live ND, you might want to check out some variable ND filters.
Yours in Creative Photography, Bob
Tell your story with the second annual Visual Storytelling Conference!
Experience four days of interactive, online training sessions featuring a range of educational content with experienced photographers and content creators. This free event kicks off with a series of technical boot camps to build essential skills, followed by live, online sessions on photography, video, business and social media. Join live from March 10-13, 2022!
