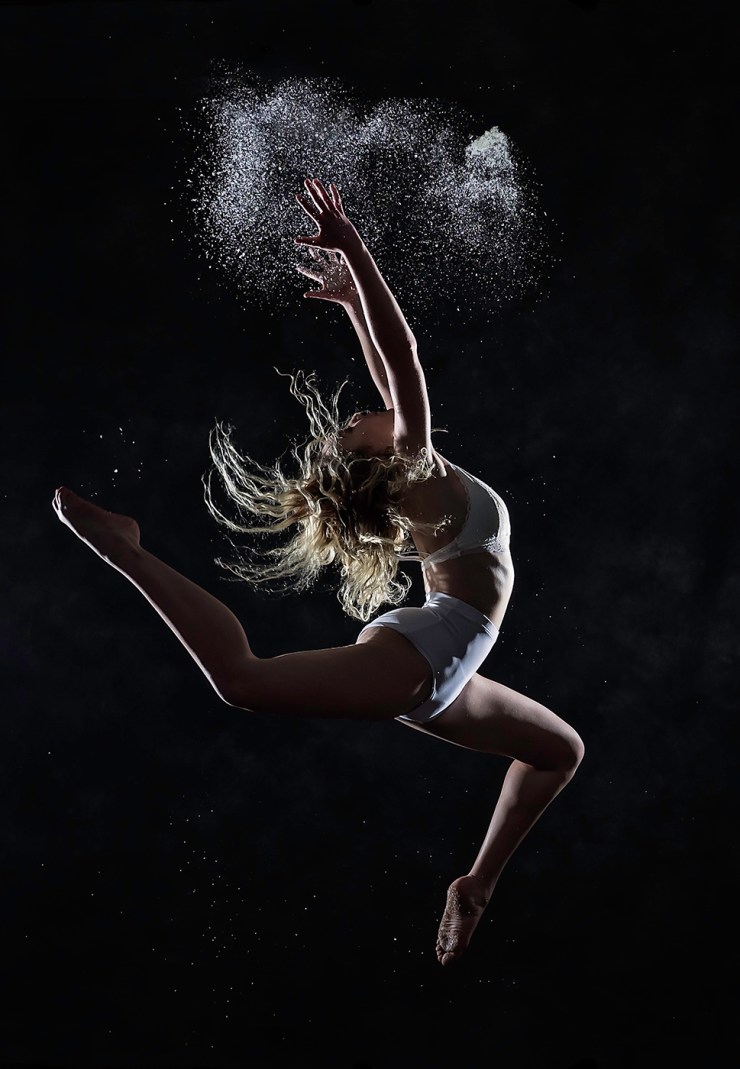
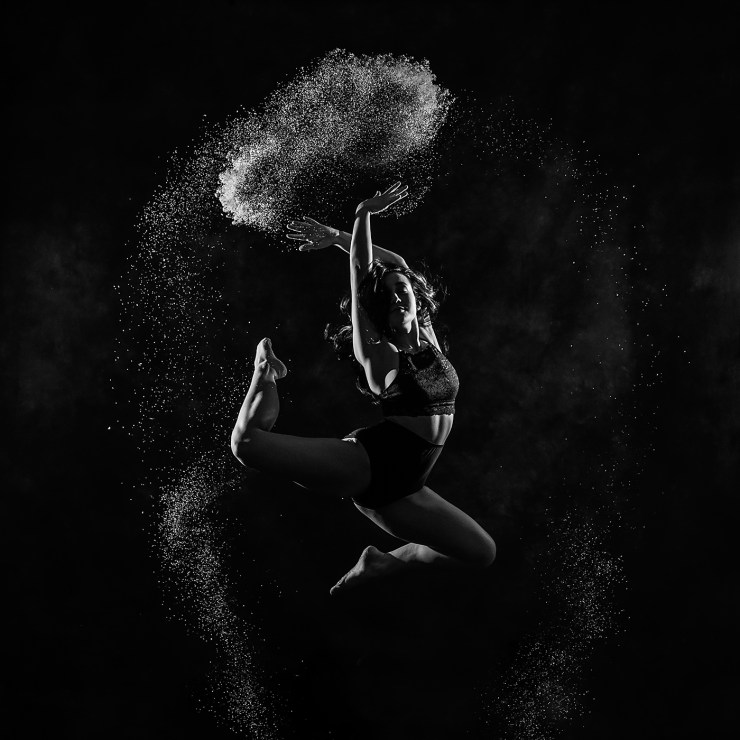
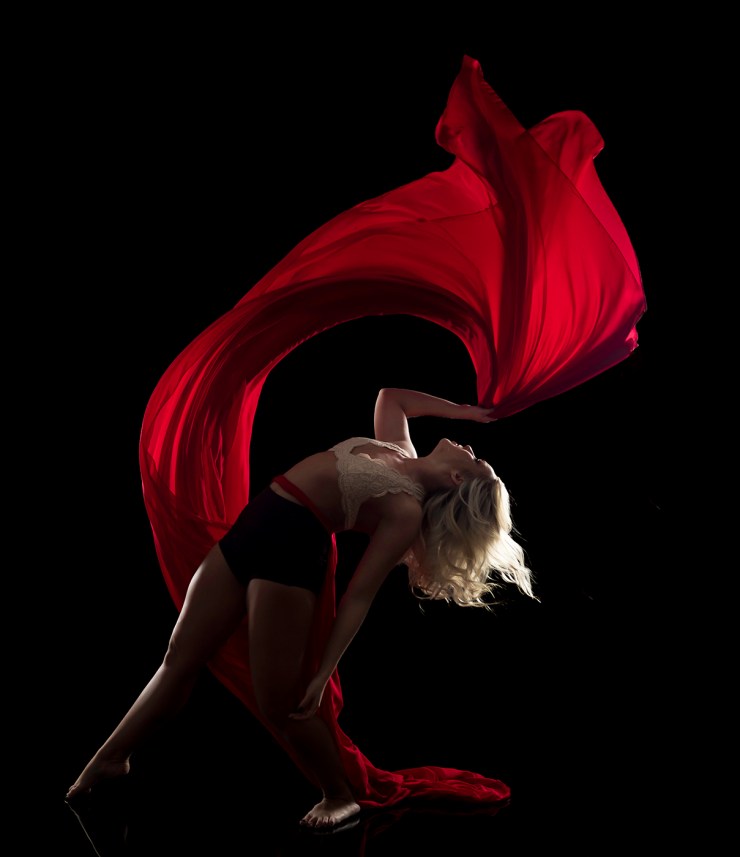
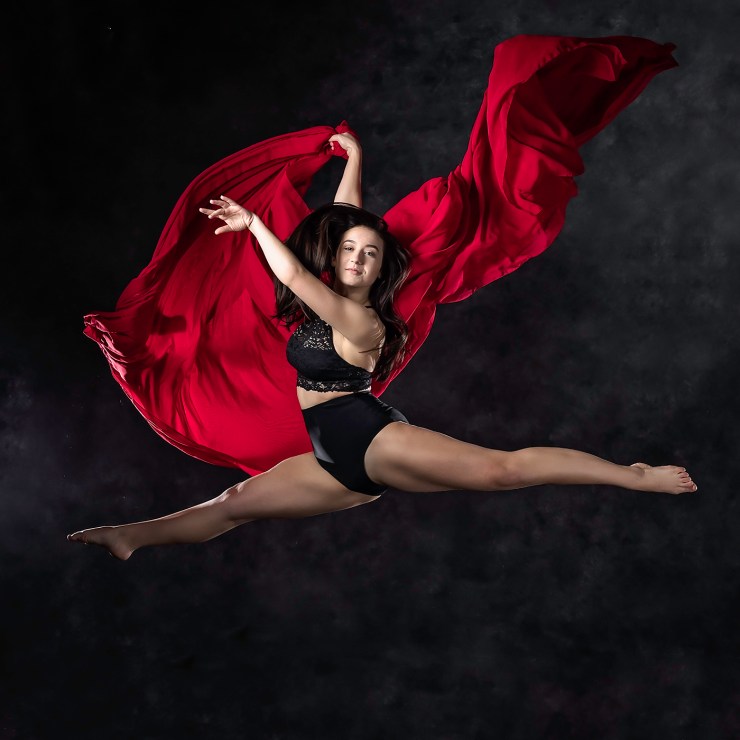
Freezing motion with light is a fun way to create a sense of movement and expression. Having a concept in mind is foremost in every session created in my studio. All jokes aside about the hatred photographers have toward Pinterest, I’ve found it to be an awesome resource for storyboarding and creating themes for shoots.
Steps to freezing motion

The first step is making sure you have the right talent in place — it’s important that the subjects can create movement with style and grace. Most dancers are incredibly graceful and can make the most amazing shapes with their bodies.
Secondly, space to safely execute jumps and motion cannot be understated. Most often you’ll need space for running starts and safe landing space. I had about 20 x 20 feet of space in the studio that was opened up for this shoot.

Lighting is one of the most important parts of this equation since you’ll be freezing the motion with light. Make sure you have enough power to throw enough light to freeze the motion. For this shoot, I used the Profoto B-2 location kit in “freeze mode.” But the technique can be done with speed lights, too — simply set them to manual and 1/4 power.
Choosing the right lighting modifiers is also crucial here, specifically if you’re trying to keep light from spreading everywhere. I chose to grid my lighting so that we didn’t experience too much spill onto the background. This is a great time to break out your MagMod MagGrid to control the spread of light.
Styling the shoot

Don’t forget the importance of styling. Having plenty of flowing material, and any other elements that will contribute to the interest of the images is key to making a visual impact.
In this shoot we used dried potato flakes as an alternative to flour, which can tend to be super messy, being hard on the eyes and often sticking to the skin. Using potato flakes over flour was also an easy choice because my studio has incredibly sensitive smoke detectors, too! Any sort of flour, smoke, dried ice, or even canned atmosphere can set them off.
I chose low-speed sequential shooting on my Olympus OM-D EM-1 Mark II, offering us 10fps. I chose this over other silent shooting modes — like Pro-Capture mode — as silent modes do not allow for strobes to be triggered. For lens selection, I went with the Olympus M.Zuiko 12-100mm Pro f/4 because of its amazing ability to focus so quickly.

Remember, as always, that for every image you see finished and as close to perfect as we are able to get them. There are dozens that are not even close to what we’re looking to create. Using photoshoots as an opportunity to learn new techniques and staying open to failure is a key ingredient to success a philosophy we treasure!
Tell your story with the second annual Visual Storytelling Conference!
Experience four days of interactive, online training sessions featuring a range of educational content with experienced photographers and content creators. This free event kicks off with a series of technical boot camps to build essential skills, followed by live, online sessions on photography, video, business and social media. Join live from March 10-13, 2022!
