So you’ve got a new DSLR. Welcome to a wonderful world of creative control over your images! If you’re wondering how to get started with your new DSLR camera, you’re in the right place.
When you first crack open the box on a new DSLR, it can be overwhelming how much control you’ve suddenly got in your hands. Buttons and dials that you’ve never had to deal with on a compact camera: What do they all mean? Let’s dive in!
Understanding your new DSLR camera
A disclaimer before we begin: I shoot with Canon cameras, so some of the settings we’ll discuss here may have different names on other brands. I assure you, though, they all have the same basic functions. You might need to check your manual if you can’t find the setting I’m talking about on your particular camera model.
Also, you can get all the info in this article (and more!) on a handy one-page printable PDF cheat sheet in my Ko-Fi shop. Tuck it into your camera bag and you’ll have the information you need to get out of auto and into manual.
First of all, like a compact camera, DSLRs come with a range of built-in modes.
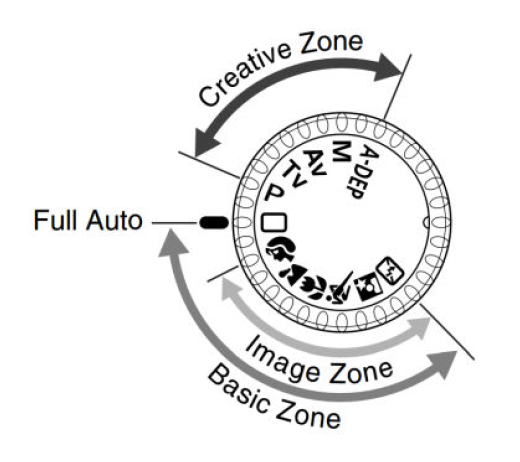
There are automatic modes (the Basic Zone), semi-auto modes and full manual (the Creative Zone). The Basic Zone usually has a range of preset conditions, such as prioritizing wide aperture for portraits or fast shutter speed for action. The camera chooses the settings for you in the Basic Zone.
That’s about all I’ll say about the Basic Zone. We’re here to learn how to control the camera ourselves, not let it decide for us!
Crash course: Get started with DSLR exposure
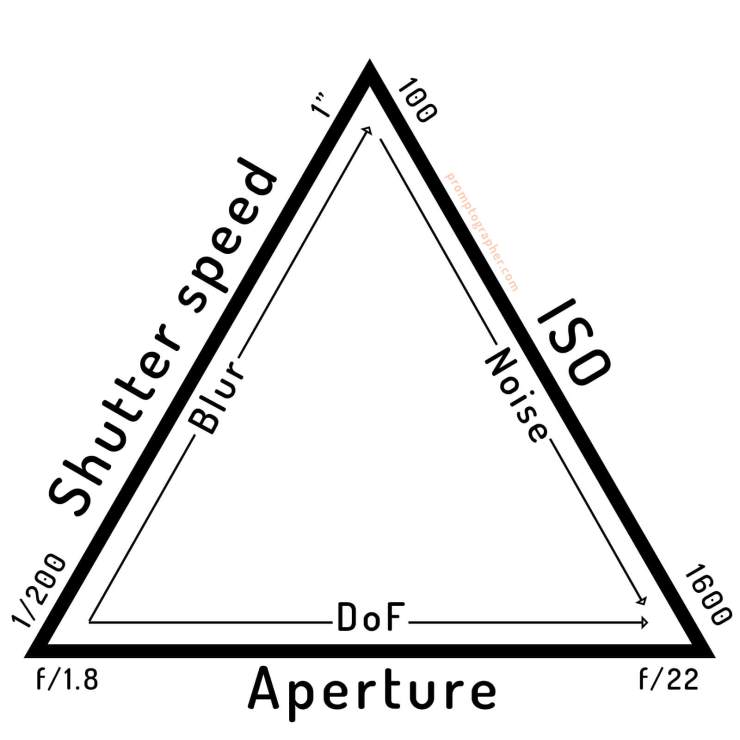
Before we proceed, there’s one (or maybe it’s three?) things you need to know: Correct exposure is a balance between the camera’s shutter speed, aperture and ISO. These three things form what’s commonly known as the Exposure Triangle.
What is shutter speed?
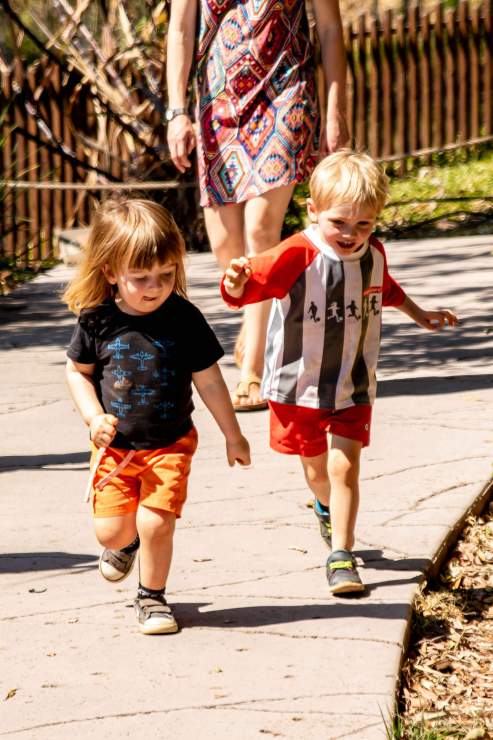
Shutter speed is how long the shutter is open for. It’s measured in seconds, e.g. 1/200 means the shutter is open for one two-hundredth of a second; 5” means it’s open for 5 seconds. Long shutter speeds let in more light, but allows moving objects to blur across the frame. Short shutter speeds let in less light, but freeze moving objects in the frame.
What is aperture?
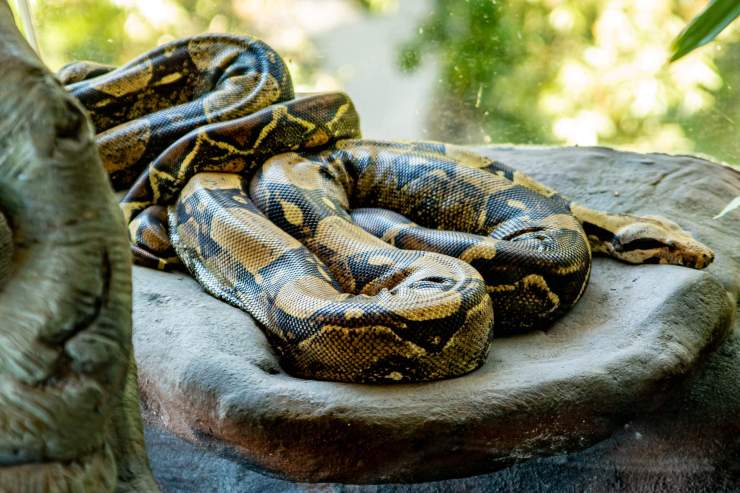
Aperture is how wide the lens opens to let in light. It’s measured in f-stops. A smaller number (like f/1.8) means the lens is open wider. A wide aperture lets in more light, and creates a shallow depth of field (DoF). This means a thin plane of the image is in focus and the rest is blurred. For example, you would use a wide aperture to take a portrait of a person where they are in focus and the background is blurred. A narrow aperture lets in less light, and creates a deep depth of field: The foreground to the background will all be sharp.
What does ISO mean?
ISO is the sensitivity of the camera sensor to light. A high ISO captures more light, but creates more noise (electronic fluctuations that show up as grainy colored speckles on the image). A low ISO captures less light, but produces a cleaner image. (You might remember having to choose the right speed film for your film camera, once upon a time. ISO is the same concept in a DSLR.)
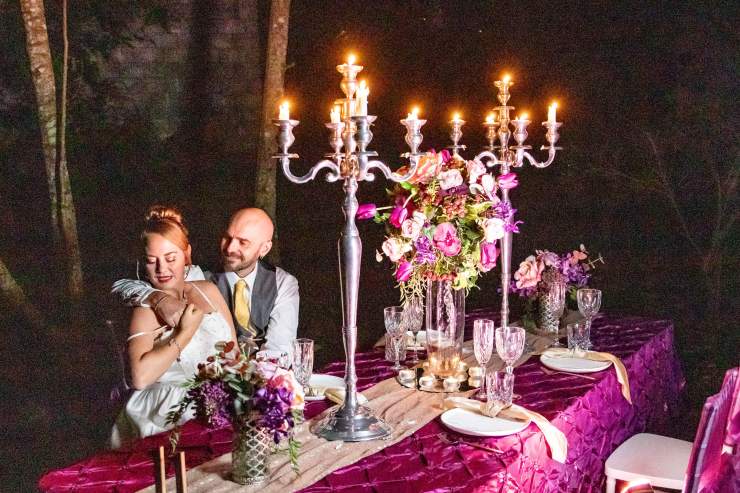
These three settings need to be balanced to correctly expose the image. If you choose a faster shutter speed, you might have to increase your ISO to capture enough light. If you want a shallow DoF and so choose f/1.8 for your aperture, you need to speed up your shutter speed, and/or drop your ISO, to avoid overexposing the photo.
Get started with DSLR creative zone
Now that we know how aperture, shutter speed and ISO work, let’s move on to the Creative Zone of your new camera’s modes.
The Creative Zone gives you control of an increasing combination of settings. First, programmed auto (P on Canon and Nikon) lets you change some settings like ISO while leaving the camera in charge of correct exposure with shutter and aperture.
Shutter priority (TV on Canon and S on Nikon) gives you control over the shutter speed and ISO, while the camera sets the aperture. This is a great way to play with the different effects that shutter speed has. For example, freezing the motion of a waterfall, versus letting the water blur into a beautiful glossy stream, or letting the movement of dancers at a wedding create a fun atmosphere.
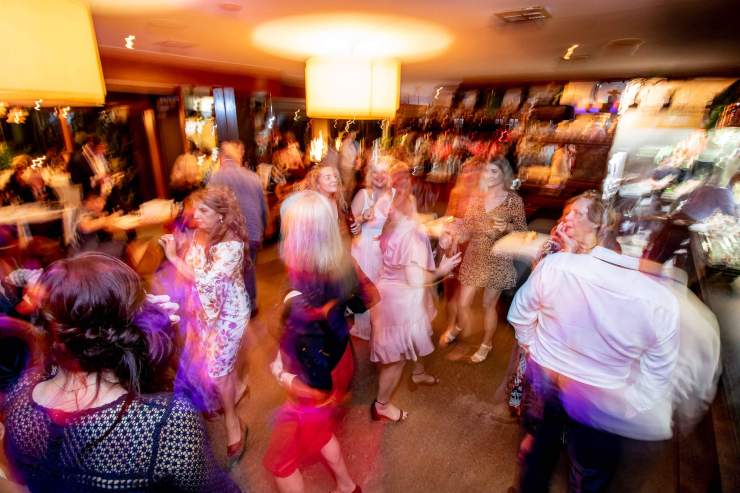
Finally, aperture priority (Av on Canon and A on Nikon) lets you choose the aperture and ISO, and the camera sets the appropriate shutter speed to capture enough light. This is the place to play with DoF: Try out a low aperture like f/1.8 to blur out the background in a portrait.
How do I learn to use Manual on my new DSLR camera?
Manual (M on both Nikon and Canon) is not a scary as it seems, I promise. You are simply balancing aperture, shutter speed and ISO to capture the light that’s available.
Start by practicing in the shutter priority and aperture priority modes. You can set ISO to auto, if you want to focus on learning about one ingredient of the exposure triangle at a time.
Get started with DSLR by practicing your settings in pairs
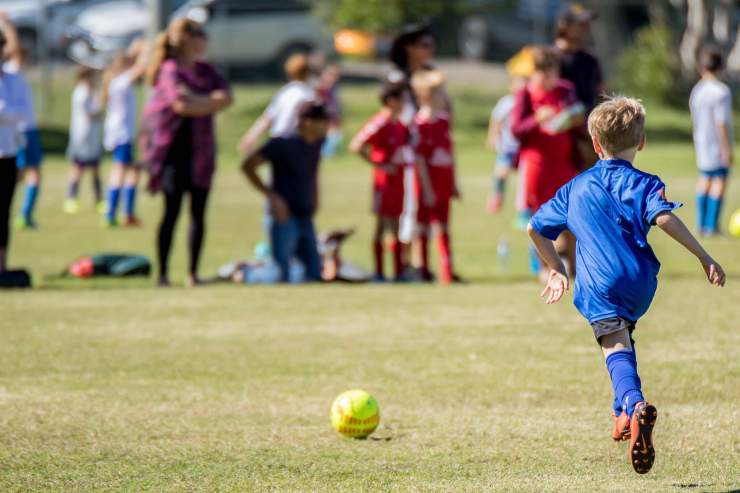
Then add ISO to your repertoire, paired with shutter speed. Choose your shutter speed first: Do you want to freeze motion? Choose a shorter shutter speed, 1/200 or more depending on how fast the object is moving. You’ll also need to consider how bright it is. Outside in the sunshine, you may need to shoot at 1/1000 or more to avoid overexposing. Find your camera’s light meter (it’ll be in the viewfinder somewhere, and is generally on the back screen too). Dial in the right ISO to get the light meter centered on zero.
Once you have that under control, it’s time to pair up ISO with aperture. Choose your aperture first: Do you want a blurred background? Choose a wide aperture, like f/3.5. Now dial in the ISO to get the light meter centered. The wider your aperture, the less sensitive you can go with ISO. You will have to turn your ISO up higher the darker it gets.
Spin the dial to M and put it all together
Once you have that under your belt, it’s time to spin the dial to M. You’re allowed to put ISO back on auto to get started. Now you’re pairing up shutter speed and aperture. I generally start with aperture, then choose a shutter speed to freeze motion. Because I photograph people, I’m more interested in the creative effect of depth of field.
Finally, once you’ve got some speed and confidence at choosing the right aperture and shutter speed for different subjects, add ISO back into the mix. Remember, you’re always trying to balance the light meter in the center, and trading off between:
- Deep or shallow depth of field (aperture).
- Frozen or blurred motion (shutter speed).
- More or less noise/grain in your image (ISO).
Get started with DSLR lenses: What do the numbers on my new lens mean?
If this is your first DSLR, you might have bought one that included a kit lens. Likely to be a 18-55mm f/3.5-f/5.6 lens, this is a great little lens that gives you room to learn the features of your new camera.
A kit lens like the 18-55mm f/3.5-f/5.6 is a zoom lens. It can change focal length from 18mm to 55mm. At 18mm this is a wide field of view, and at 55mm this is a narrow, zoomed-in field of view.
The f-stop numbers refer to the widest f-stop available to the lens: In this case, the f/3.5 means at 18mm, you can open the lens to a maximum of f/3.5. And similarly, at the 55mm end of the zoom, you can open it to f/5.6.
Better quality lenses will have an f-stop that is available across the whole zoom range, for example, a 70-200mm f/2.8 lens can open to f/2.8 at every focal length.
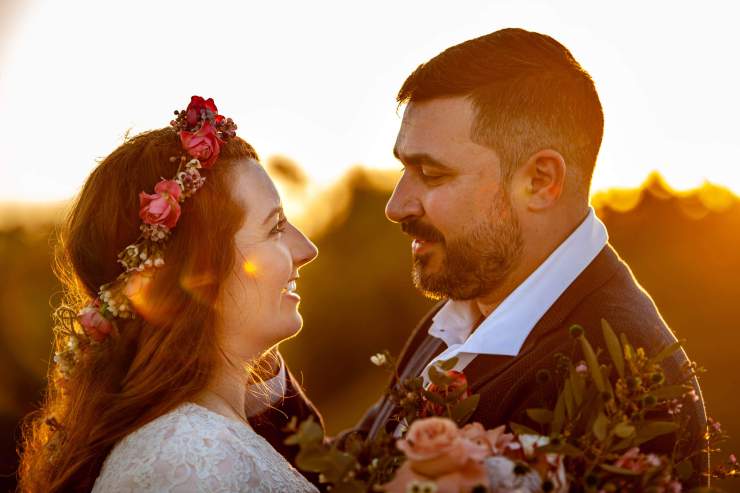
You can also get a fixed lens for your camera, which doesn’t allow you to zoom in. For example, the “nifty fifty” 50mm f/1.8 lens. It’s inexpensive in both Nikon and Canon, and gives you access to the glory of f/1.8. This is a beautiful wide aperture for stunning portraits and a huge range of creative effects.
Don’t be afraid to experiment with your new DSLR
I shot in aperture priority for years because I just thought manual was way too complicated. Once I forced myself to learn, I was shocked at how quickly I got a feel for it. Honestly, 90% of the time I use a shutter speed of 1/200, an aperture of f/2.8 (I love, love, LOVE shallow DoF), and whatever ISO I need to, to get the light meter in the middle. The other 10% is tweaking the triangle depending on what’s in front of me and what effect I want. That’s all there is to getting started with DSLR photography!
Remember, you can grab all the info in this article (and more) on my handy one-page printable PDF cheat sheet. It’s a perfect quick field reference to get to know your new camera. And check out this article to avoid the five mistakes I made as a beginner!
Tell your story with the second annual Visual Storytelling Conference!
Experience four days of interactive, online training sessions featuring a range of educational content with experienced photographers and content creators. This free event kicks off with a series of technical boot camps to build essential skills, followed by live, online sessions on photography, video, business and social media. Join live from March 10-13, 2022!
