Creating bokeh to add a Christmas feel to your images is a great way to add interest and bring the holiday spirit to life! It can be done in-camera with some simple LED lights held in front of the lens.
In-camera bokeh
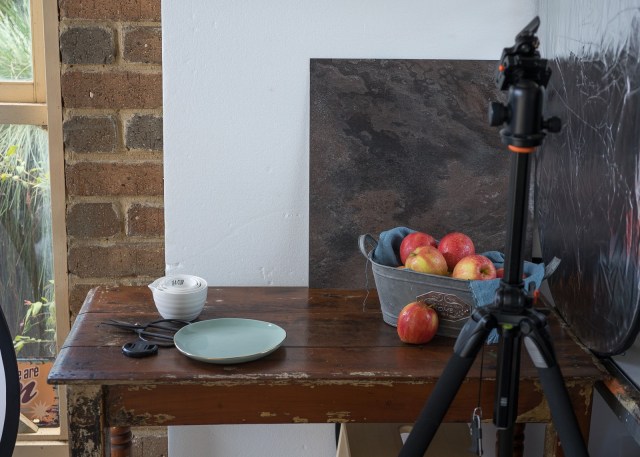
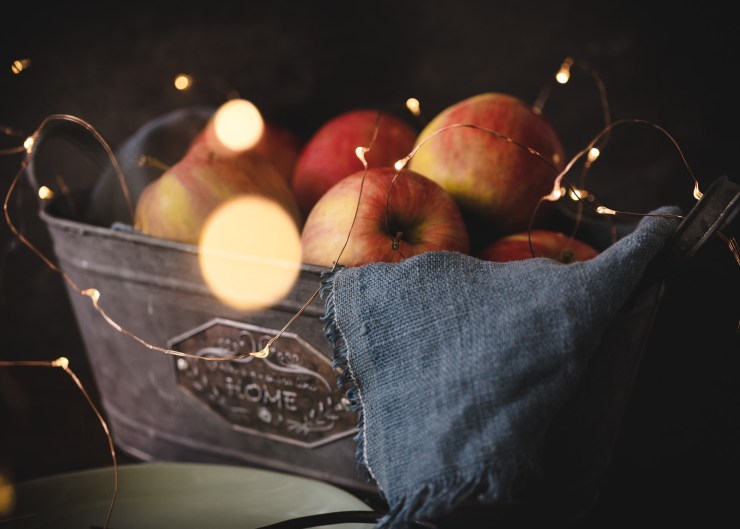
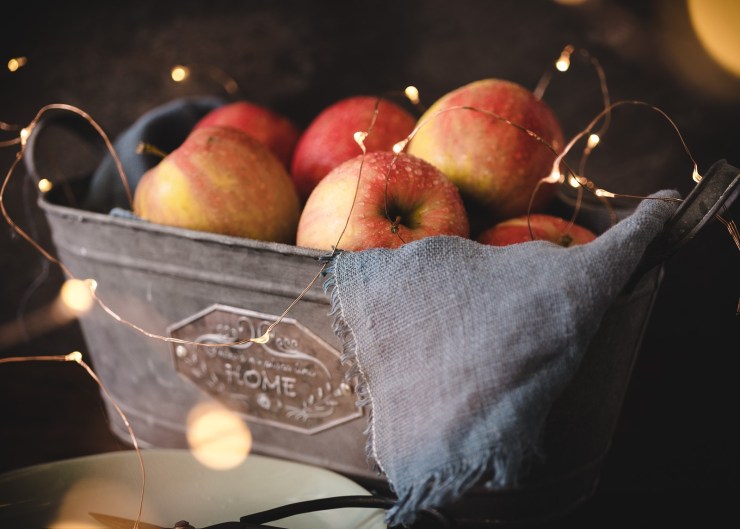
There are a few different ways to achieve a similar result. Set your scene; it could be food, still life or even a portrait. Set your camera up on a tripod to free your hands. I like to place some LEDs lights on a copper wire around my scene while leaving enough free to play with. I generally hold the battery pack in my hand and bring the copper wire up in front of the lens. By moving it around, close in and then slighter further away you can create some lovely bokeh effects.
.mgl-tiles { display: none; } #mgl-gallery-639c79440d2c6 { margin: -2.5px; width: calc(100% + 5px); } #mgl-gallery-639c79440d2c6 .mgl-box { padding: 2.5px; } @media screen and (max-width: 768px) { #mgl-gallery-639c79440d2c6 { margin: -2.5px; width: calc(100% + 5px); } #mgl-gallery-639c79440d2c6 .mgl-box { padding: 2.5px; } } @media screen and (max-width: 460px) { #mgl-gallery-639c79440d2c6 { margin: -2.5px; width: calc(100% + 5px); } #mgl-gallery-639c79440d2c6 .mgl-box { padding: 2.5px; } }
Creating soft bokeh images
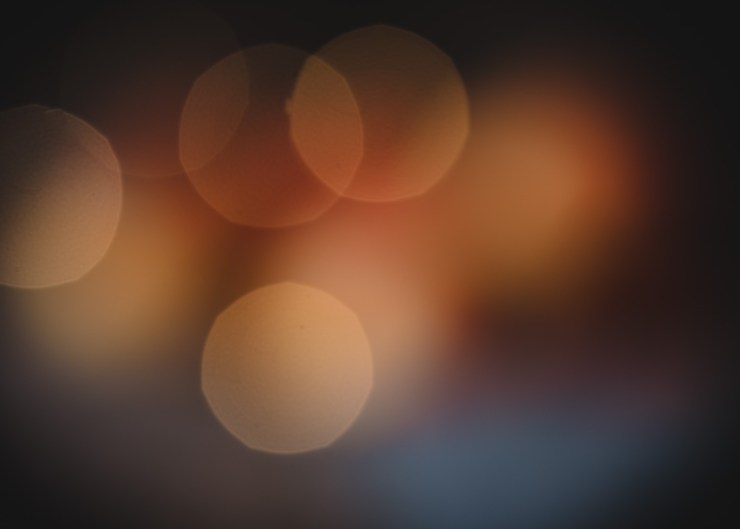
If you want to add some pretty soft bokeh in post-production, that is fun to create as well. Again set your scene and your camera on a tripod. I still like to use LEDs on copper wire and place them randomly around your scene. Now intentionally make your images blurry. Try for a few different amounts of blur to create the look you wish to achieve. The colors in your scene can make a big difference to the bokeh you create. Think Christmas colors; red and green, silver and blue, green and gold, etc.
.mgl-tiles { display: none; } #mgl-gallery-639c79440dfa8 { margin: -2.5px; width: calc(100% + 5px); } #mgl-gallery-639c79440dfa8 .mgl-box { padding: 2.5px; } @media screen and (max-width: 768px) { #mgl-gallery-639c79440dfa8 { margin: -2.5px; width: calc(100% + 5px); } #mgl-gallery-639c79440dfa8 .mgl-box { padding: 2.5px; } } @media screen and (max-width: 460px) { #mgl-gallery-639c79440dfa8 { margin: -2.5px; width: calc(100% + 5px); } #mgl-gallery-639c79440dfa8 .mgl-box { padding: 2.5px; } }

Adding bokeh images in post-processing
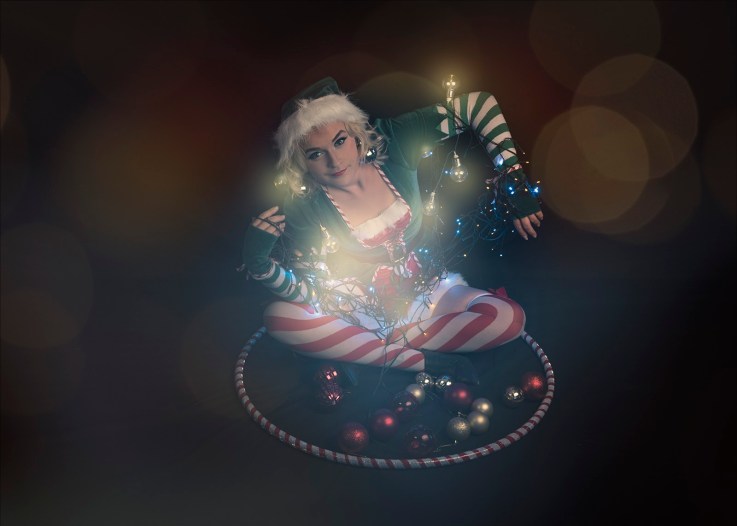
Open an image in Adobe Photoshop and then drag over a previously created bokeh image as a new layer. Set the blending mode to Screen (or try any of the other modes). You can add a layer mask to remove over areas not required and drop the opacity if required.
.mgl-tiles { display: none; } #mgl-gallery-639c79440e9fd { margin: -2.5px; width: calc(100% + 5px); } #mgl-gallery-639c79440e9fd .mgl-box { padding: 2.5px; } @media screen and (max-width: 768px) { #mgl-gallery-639c79440e9fd { margin: -2.5px; width: calc(100% + 5px); } #mgl-gallery-639c79440e9fd .mgl-box { padding: 2.5px; } } @media screen and (max-width: 460px) { #mgl-gallery-639c79440e9fd { margin: -2.5px; width: calc(100% + 5px); } #mgl-gallery-639c79440e9fd .mgl-box { padding: 2.5px; } }
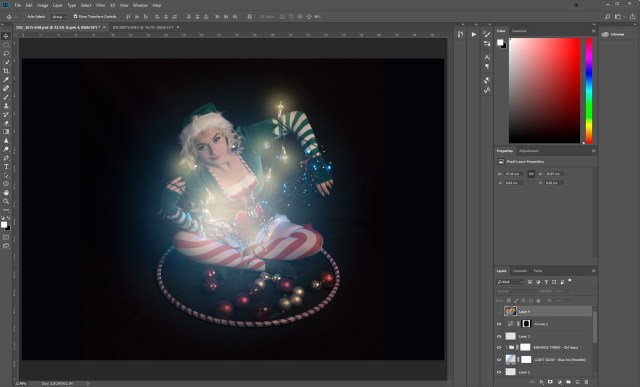
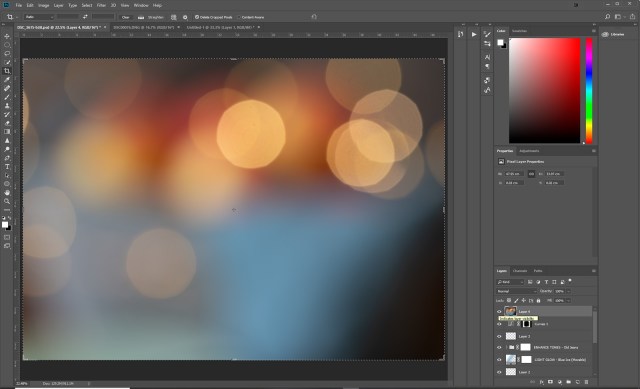
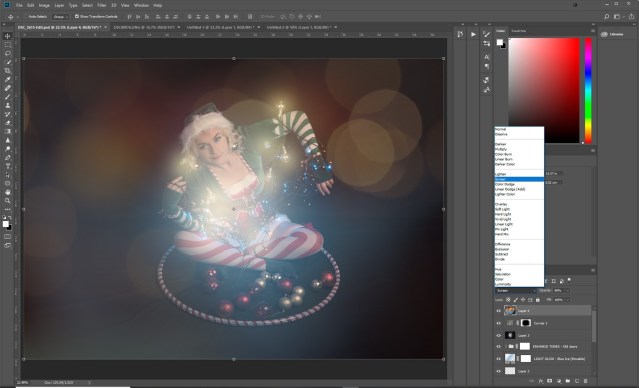
This is a great effect on just about anything, whether it is still life or portraits. Add a little sparkle to Christmas decoration images as well!
Tell your story with the second annual Visual Storytelling Conference!
Experience four days of interactive, online training sessions featuring a range of educational content with experienced photographers and content creators. This free event kicks off with a series of technical boot camps to build essential skills, followed by live, online sessions on photography, video, business and social media. Join live from March 10-13, 2022!
