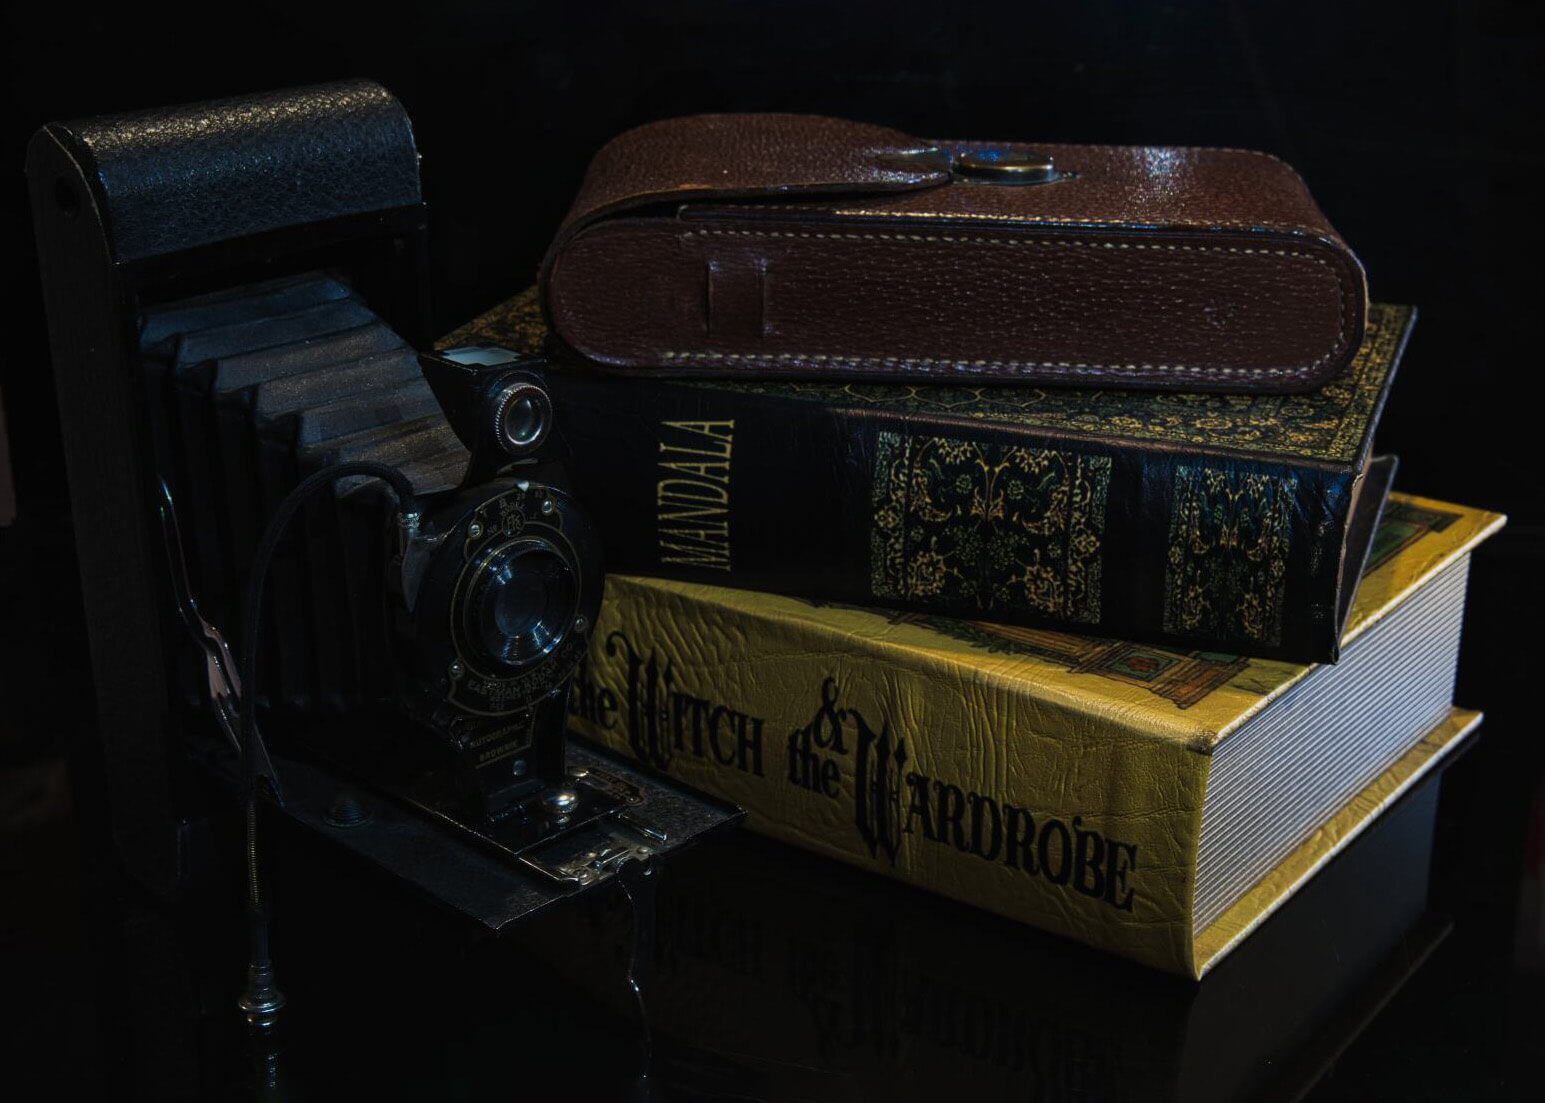
Product shots with reflections can be a little tricky, but with a little bit of patience, you can get some amazing shots. Here’s how I got the shot with the vintage Kodak camera.
Props and Background
.mgl-tiles { display: none; } #mgl-gallery-639c790ec20da { margin: -2.5px; width: calc(100% + 5px); } #mgl-gallery-639c790ec20da .mgl-box { padding: 2.5px; } @media screen and (max-width: 768px) { #mgl-gallery-639c790ec20da { margin: -2.5px; width: calc(100% + 5px); } #mgl-gallery-639c790ec20da .mgl-box { padding: 2.5px; } } @media screen and (max-width: 460px) { #mgl-gallery-639c790ec20da { margin: -2.5px; width: calc(100% + 5px); } #mgl-gallery-639c790ec20da .mgl-box { padding: 2.5px; } }
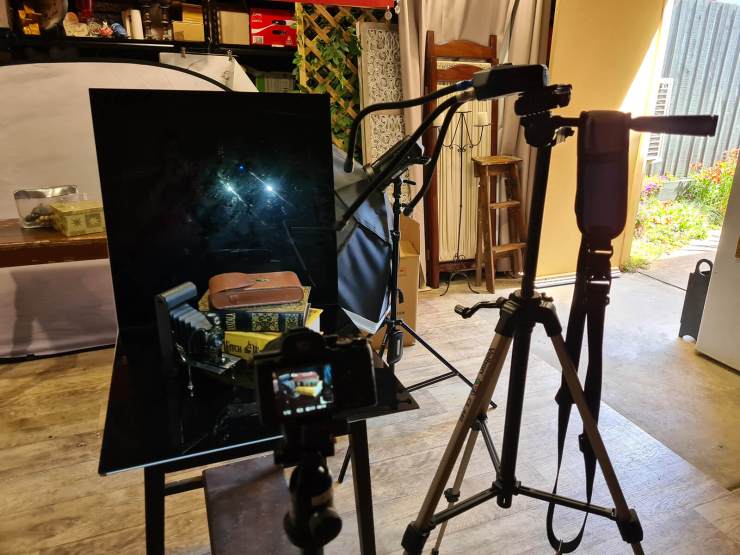
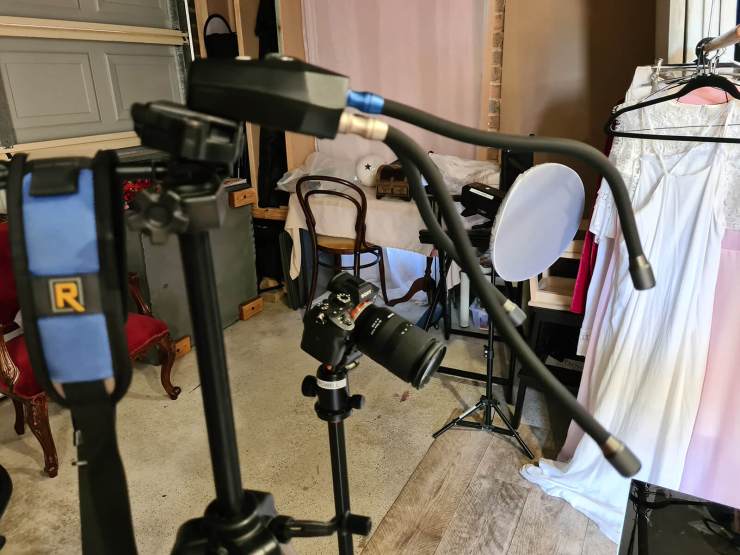
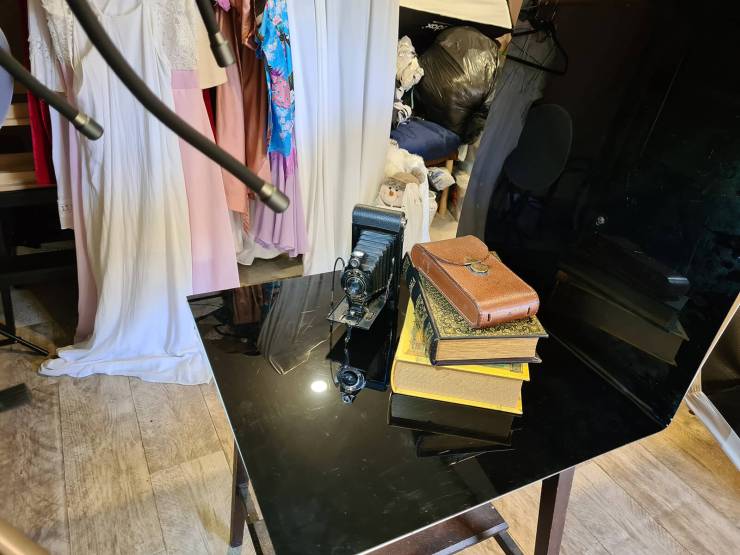
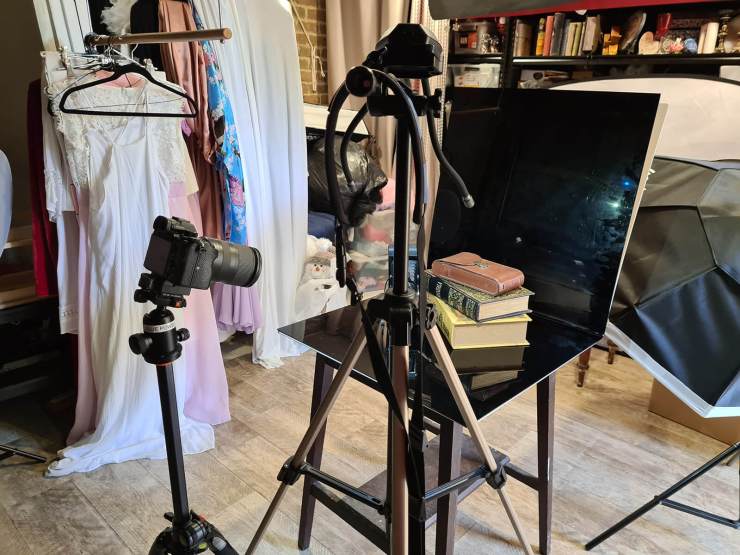
- Black acrylic (perspex) sheet, but you could use black project paper & a mirror, or even a bed sheet (but that won’t give you reflections)
- Vintage Kodak Camera and old books, but you could use just about anything.
(Please excuse the mess in the background, currently telling myself I AM cleaning and sorting things out while the studio is shut for the holidays – but truth be told it’s just a big old mess!)
Camera and lighting gear
- Sony a7RIII
- Tamron 28-75mm lens
- Adaptalux Control Pod and 2 x white and 1 x blue lighting arms. I liked adding the blue light, giving it a little moodiness in the shadows, and adding some small specular highlights on the camera case and the lens.
Settings
Camera — Aperture Priority mode, f/2.8, ISO100, 1/13 seconds, Auto White Balance, an adjustable focus for focus stacking. I had my Adaptalux light arms on full power.
Post-processing
.mgl-tiles { display: none; } #mgl-gallery-639c790ec35db { margin: -2.5px; width: calc(100% + 5px); } #mgl-gallery-639c790ec35db .mgl-box { padding: 2.5px; } @media screen and (max-width: 768px) { #mgl-gallery-639c790ec35db { margin: -2.5px; width: calc(100% + 5px); } #mgl-gallery-639c790ec35db .mgl-box { padding: 2.5px; } } @media screen and (max-width: 460px) { #mgl-gallery-639c790ec35db { margin: -2.5px; width: calc(100% + 5px); } #mgl-gallery-639c790ec35db .mgl-box { padding: 2.5px; } }
Focus Stacking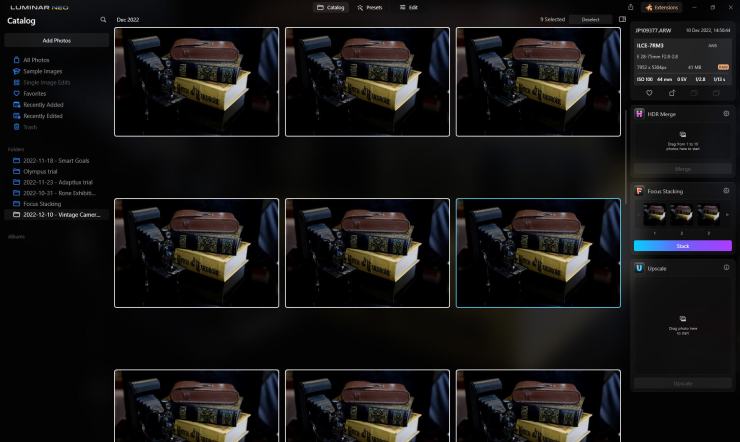
Light edit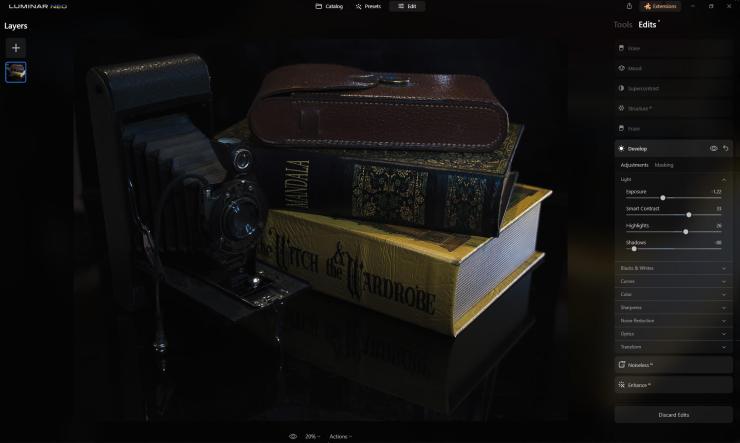
I actually focus stacked this shot, taking 13 shots of the same image slightly moving my focus point from the front of the scene to the back. Then taking all my images into Luminar Neo and used the new Focus Stack extension.
Why focus stack my images? As the acrylic throws a lot of specular highlights around, there are lots of reflections (and dust) I wanted to keep the aperture to f/2.8
I added a little Structure, Mood (1960s), ran it through Noiseless AI (on low), and popped in a bit of EnhanceAI. Dropped the shadows and increased the Smart Contrast in the Develop panel. There was also some dust and specs on my acrylic (always seems to attract dust) so I ran the Erase over a few spots too. A final crop and voila all done.
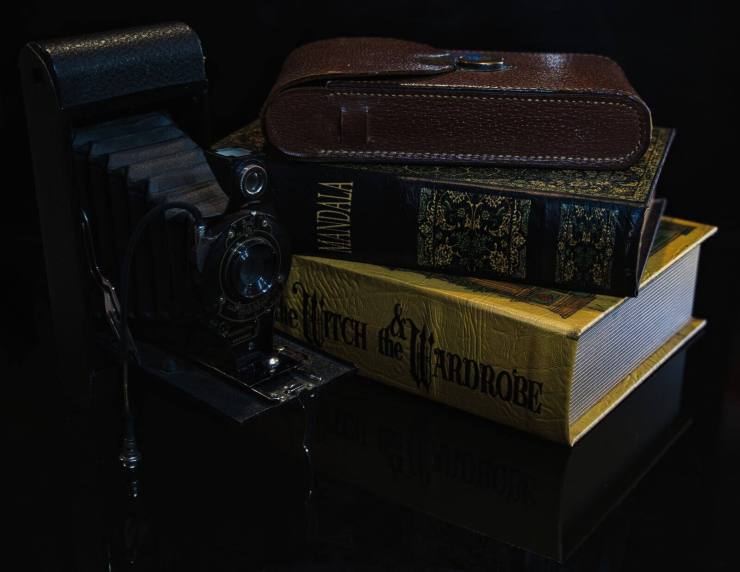
TIP: Sometimes catching the lights in your reflection can be a bit tricky. Either move the arms until they are just out of shot. Or away from your subject so they can be erased or cloned out.
Image comparison
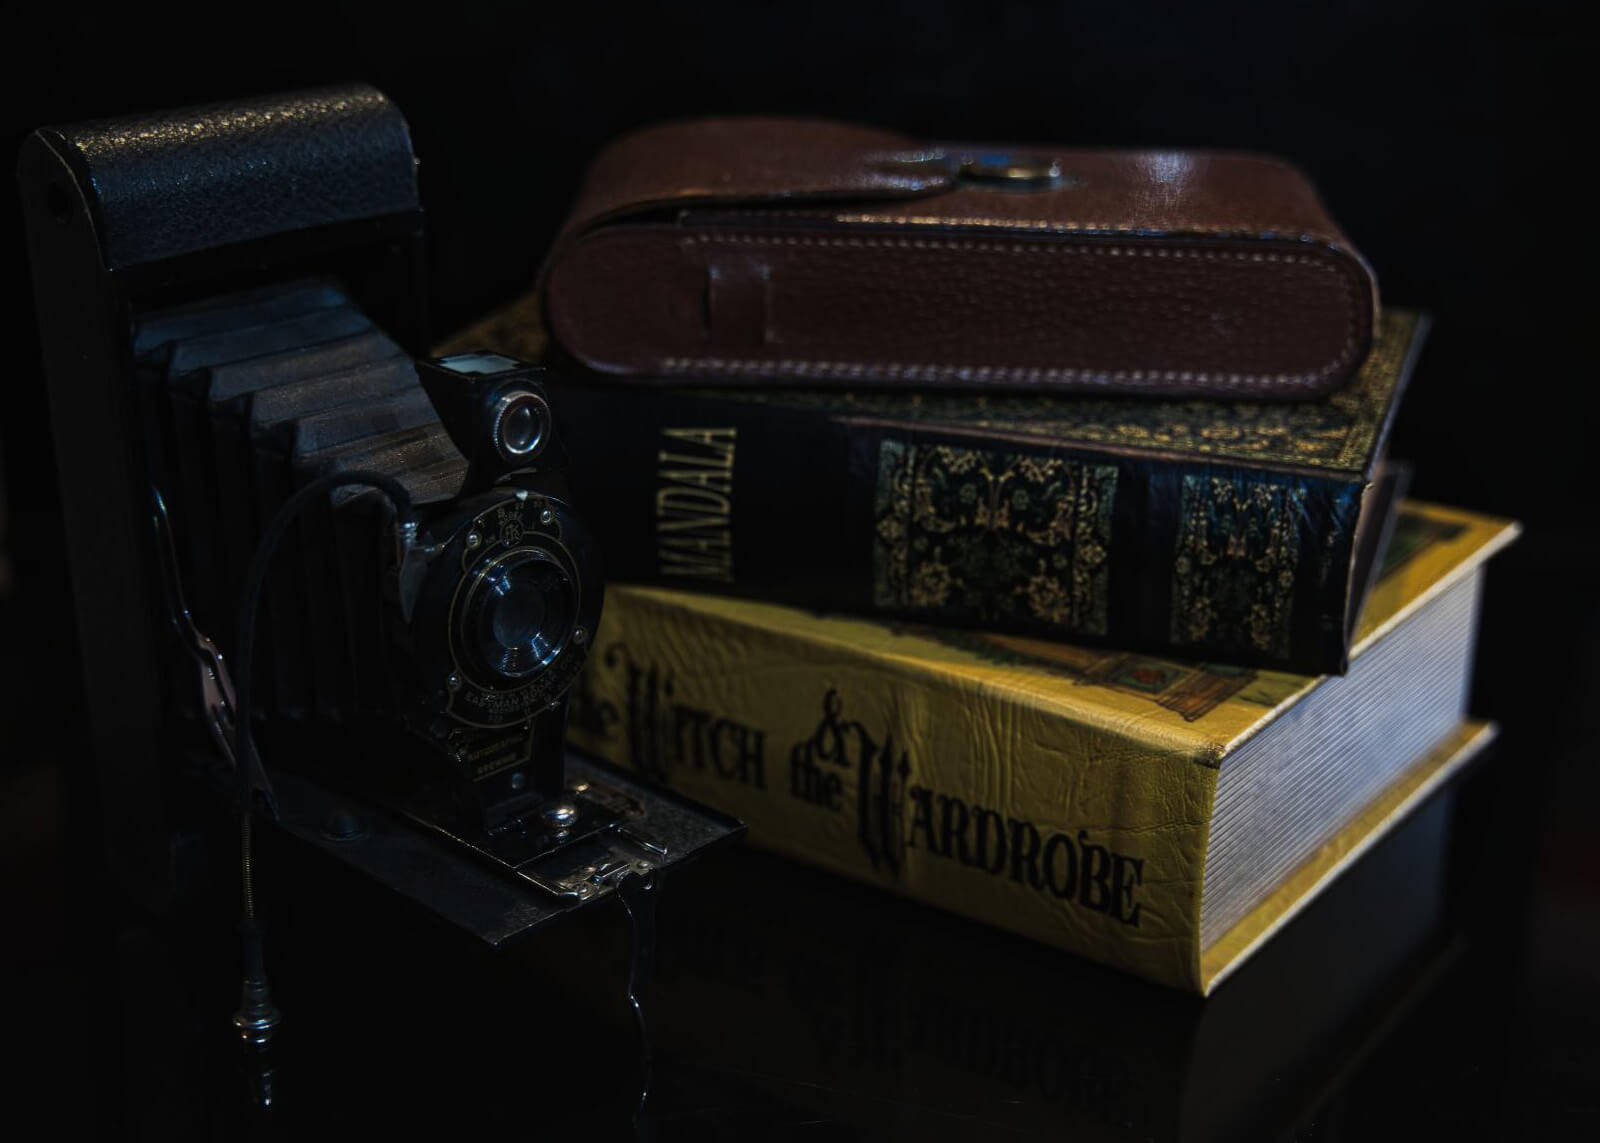
I took the same image at f/2.8 and focused only on the edge of the lens, and then the same shot at f/11, see below. As you can see there is quite a difference. Normally, I shoot for the blur. But when I want all the details, focus stacking gives me the best of both worlds.
Tell your story with the second annual Visual Storytelling Conference!
Experience four days of interactive, online training sessions featuring a range of educational content with experienced photographers and content creators. This free event kicks off with a series of technical boot camps to build essential skills, followed by live, online sessions on photography, video, business and social media. Join live from March 10-13, 2022!
