
So you were one of the lucky ones this year who got a new camera for Christmas. Now what? One look at that several hundred-page manual in front of you can be enough to send you to the loony bin. Where do you start?
Below are a few things that really helped me when I got my first DSLR. These are the basic principles of using your camera; understanding things like exposure, composition and more.
The exposure triangle
Aperture, shutter speed and ISO come together to form what is called the exposure triangle. But what do these three things mean?
Aperture
If you were to look at the lens while changing this setting, you would see that the hole of the lens shrinks or gets larger. This refers to the aperture. This does a number of different things, but in this instance, it’s increasing or decreasing the amount of light that is allowed to reach your sensor. At a lower number, like f/2.8, the lens opens up, bringing in more light. At a higher number, like f/22, the lens is nearly closed, decreasing the amount of light.
Why would you want to change your aperture and bring in less light? It all depends on your use case. If you’re photographing a single individual, shooting at an f/2.8 aperture is great. But if you’re photographing a small group, you’ll need to bump up to something like f/5.6. Why? Aperture also plays a role in determining the depth of field of your photograph. At a wider aperture like f/2.8, you’ll achieve a narrow depth of field. This will help to blur the background, making your subject stand on his or her own. In a sense, it lessens the area that is in focus. At a more narrow aperture like f/11 or f/22, you get a wider depth of field. This is great for landscapes because it allows your entire scene to be in focus.
.mgl-tiles { display: none; } #mgl-gallery-639c7932147e7 { margin: -2.5px; width: calc(100% + 5px); } #mgl-gallery-639c7932147e7 .mgl-box { padding: 2.5px; } @media screen and (max-width: 768px) { #mgl-gallery-639c7932147e7 { margin: -2.5px; width: calc(100% + 5px); } #mgl-gallery-639c7932147e7 .mgl-box { padding: 2.5px; } } @media screen and (max-width: 460px) { #mgl-gallery-639c7932147e7 { margin: -2.5px; width: calc(100% + 5px); } #mgl-gallery-639c7932147e7 .mgl-box { padding: 2.5px; } }
Taken at f/4, creating a narrow depth of field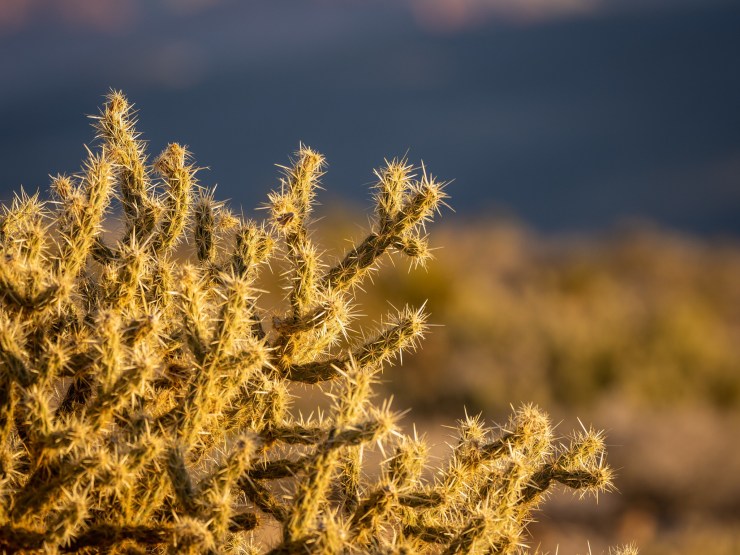
f/11, creating a wider depth of field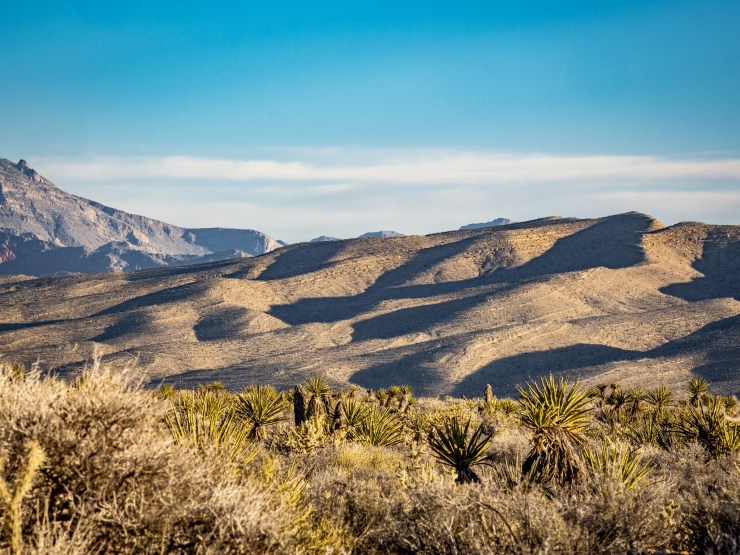
Shutter speed
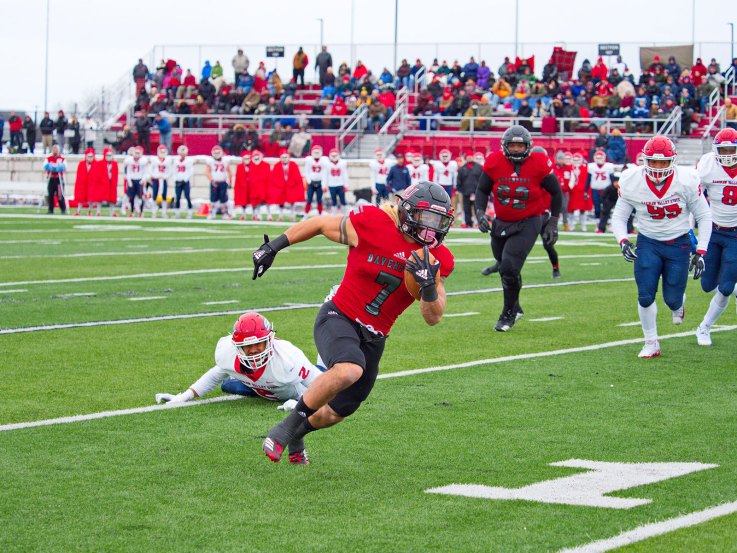
Shutter speed also plays a role in the exposure triangle, as it determines how long your shutter is open to receive light. With a faster shutter speed like 1/500s, which is great for fast-moving action, you’re giving your camera less time to collect light. This means for a darker photograph, but one that’s sharper, having no motion blur. With faster shutter speeds you can more easily freeze motion.
With a slower shutter speed, you’re expanding the time your camera can receive light, which leads to a brighter exposure. But while this is great for a brighter exposure, it’s not so great for fast-moving subjects, as they can often be blurred.
ISO
ISO comes from back in the film days, when you would purchase a kind of film that had a specific ISO. Today, we do this right on our cameras. We’re able to change ISO on-the-fly. In the film days, ISO told the camera’s light meter how much light the film needed. In a digital camera, ISO controls the sensitivity of the sensor to light. Increasing your ISO brightens up your image, which essentially lets you work with lower light conditions. On the other side of the spectrum, you might want to lower your ISO if you’re in a very bright room, or outside, as you don’t need as much light present.

There are a few caveats when using ISO. First and foremost, bumping up your ISO can result in noise (a grainy, texture) being more prevalent in your image. It can also result in a loss of detail and sharpness, depending on how high you go. Personally, I try to stay under ISO 3200, but that decision is largely based on the type of camera you have.
Use cases
If you have a static, single subject that you want to emphasize, you might want to go with a wider aperture like f/2.8. This also means you’d be able to go with a faster shutter speed and/or lower ISO and isolating the subject by blurring the background. If you have multiple subjects, but still static, you might want to take your aperture to f/5.6 or f/8 so everything’s in focus front to back. You would then have to compensate for this by lowering your shutter speed and/or boosting your ISO.
If you’re photographing a high-action sport like football, hockey or swimming, you’ll want your shutter speed to be higher, typically around 1/500s or higher. Outside this typically isn’t a problem, but indoors you’ll need to open up your aperture and/or boost your ISO, depending on the situation.
Whatever setting you decide is primarily based on two things. One, your subject(s). How many are there? Are they moving or are they static? Two, your environment. Is it dark out? Do you need to separate your subject(s) from the background? Are you able to use an accessory like a speedlight to help bring more light into the space?
Shooting modes
Every camera comes with four modes that you can choose from when you take a picture. Your camera might’ve also come with an Auto mode, but let’s be honest — you didn’t get a new camera for Christmas to keep your camera on Auto!
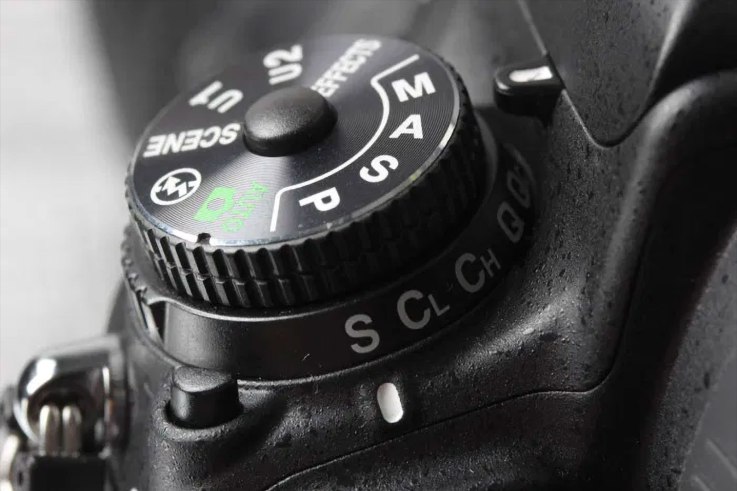
Here’s a roundup of what each mode does:
Program mode (P)
Think of this as a glorified Auto mode. Program mode sets your aperture and shutter speed, but gives you control over ISO, exposure compensation and white balance.
Aperture priority (A or AV)
Aperture priority lets you put your focus on the depth of field of your camera. This allows you to set the aperture and ISO, while the shutter speed is calculated automatically. This is the setting I recommend for new DSLR users, as it really lets you learn about your camera without having to worry about something complex like your shutter speed. A word of caution: Slow shutter speeds often cause blurry results especially when hand-holding the camera.
Shutter priority (S or TV)
Shutter priority lets you control the shutter speed of your camera, while it automatically picks an aperture setting. This is a great setting if you’re photographing sports or any type of fast action.
Manual mode (M)
This is where everything comes together. You have control over literally every setting in the camera, meaning you can set the aperture, ISO, shutter speed and more. Exposure compensation typically doesn’t work in Manual mode, as you can control the exposure completely with the other settings.
In part two of this series, we’ll dive into focusing modes, white balance, composition and how to achieve that fuzzy, blurred background look. Stay tuned!
Lead photo by Jay Wennington on Unsplash
Tell your story with the second annual Visual Storytelling Conference!
Experience four days of interactive, online training sessions featuring a range of educational content with experienced photographers and content creators. This free event kicks off with a series of technical boot camps to build essential skills, followed by live, online sessions on photography, video, business and social media. Join live from March 10-13, 2022!