Wide-angle lenses typically aren’t the first that comes to mind for shooting portraits. But those of us who are yet to try it are missing out on some interesting results. At least, that’s what I thought when I saw a recent portrait shoot challenge done by Manny Ortiz and Pierre Lambert. Insane is how they described what went down, and I totally agree!
In the video above, we see the two photographers take on the task of shooting awesome portraits using the new Sony 12-24mm f/2.8 lens (B&H | Amazon). Now, maybe 24mm doesn’t seem that strange of a focal length for portraits — especially if you’re doing environmental portraits, covering events or shooting in a nice outdoor location. But with the lens featured in this challenge, they had to go even wider, resulting in some really fun and cool photos.
Experiment with different wide-angle angles
.mgl-tiles { display: none; } #mgl-gallery-63de63d4342cf { margin: -2.5px; width: calc(100% + 5px); } #mgl-gallery-63de63d4342cf .mgl-box { padding: 2.5px; } @media screen and (max-width: 768px) { #mgl-gallery-63de63d4342cf { margin: -2.5px; width: calc(100% + 5px); } #mgl-gallery-63de63d4342cf .mgl-box { padding: 2.5px; } } @media screen and (max-width: 460px) { #mgl-gallery-63de63d4342cf { margin: -2.5px; width: calc(100% + 5px); } #mgl-gallery-63de63d4342cf .mgl-box { padding: 2.5px; } }
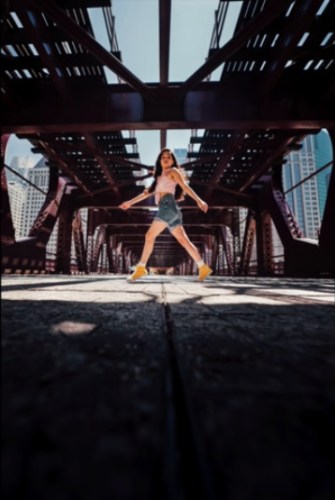
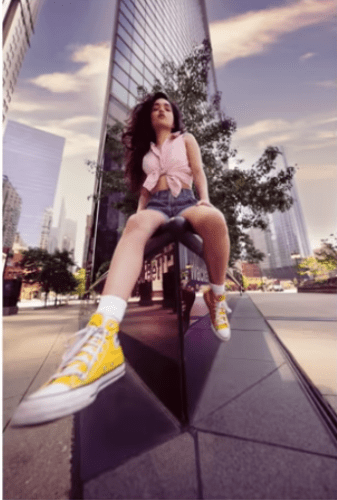
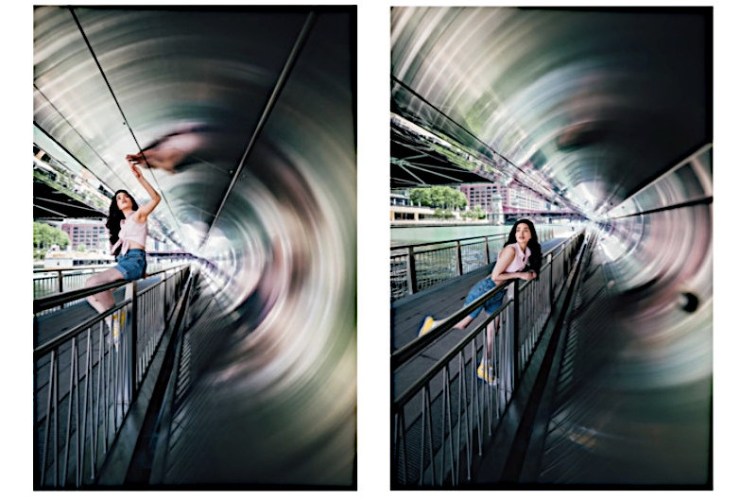
Photo by Pierre Lambert
Photo by Manny Ortiz
The first thing to note when shooting with ultra wide-angle focal lengths is that they produce extreme distortions when you have a subject up close. However, you can also use this feature to get extra creative with your portraits.
Both Manny and Pierre used the distortions to their advantage by shooting from different angles. Shooting from below to elongate the subject and make them more imposing proved especially powerful for both photographers!
Play with distance and perspectives
Another way to use the distortion is to play with distance and the perspective it creates around your subject. A great example of this is shooting under the bridge with the subject at the center of your frame to make all the surrounding lines converge and lead toward the central point.
You can also use symmetry to experiment with perspective and create the illusion of distance or a more striking setting.
Use foreground elements to add interest

Pierre was the master of this technique as the video showed, and I have to agree with Manny that we can all learn a thing or two from his examples.
Urban locations are never short of foreground elements to incorporate in your shots — even people walking into your frame could produce some unique and interesting results! You can also try using the foreground elements to frame your subject or as leading lines to draw the eyes better.
Try the slow shutter technique
Last but not the least, experiment with slow shutter speeds to create the impression of a dynamic scene around your subject. Since your model will stay still and hold their pose, everything else that moves will be captured as motion blur in your shot. With the right timing, pose and blurry elements, this can produce some powerful portraits.
Extra tip: Try this technique when shooting along a busy street at night!
Want more cool videos like this? Don’t forget to check out Manny Ortiz’s YouTube channel for more of his photography tips and tricks.
Tell your story with the second annual Visual Storytelling Conference!
Experience four days of interactive, online training sessions featuring a range of educational content with experienced photographers and content creators. This free event kicks off with a series of technical boot camps to build essential skills, followed by live, online sessions on photography, video, business and social media. Join live from March 10-13, 2022!
