Here’s a step-by-step guide to using a light meter for measuring and balancing studio light for perfect studio portraits.
Yes, I still use a light meter for studio portraits. This may seem a little redundant on the surface, considering the built-in meters in modern cameras. But when it comes to using your camera’s built-in meter with studio flash/strobe, it’s just not that accurate.
Light metering for studio flash
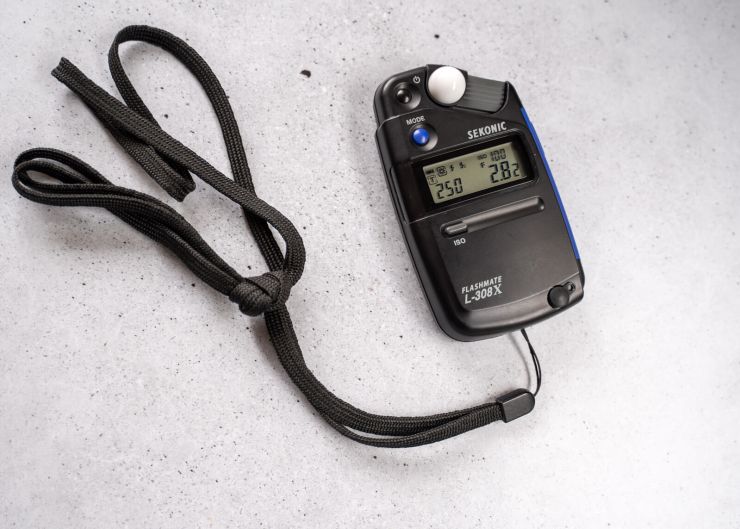
One of the best reasons for using a light meter is when using studio flash. When using studio flash, your in-camera meter is not only pretty useless, it can actually be misleading. This is because the camera meter has no idea how much light will be there will be when the flash fires. Your camera will base its settings on the ambient light; this of course, will result in overexposed images.
How do light meters work?
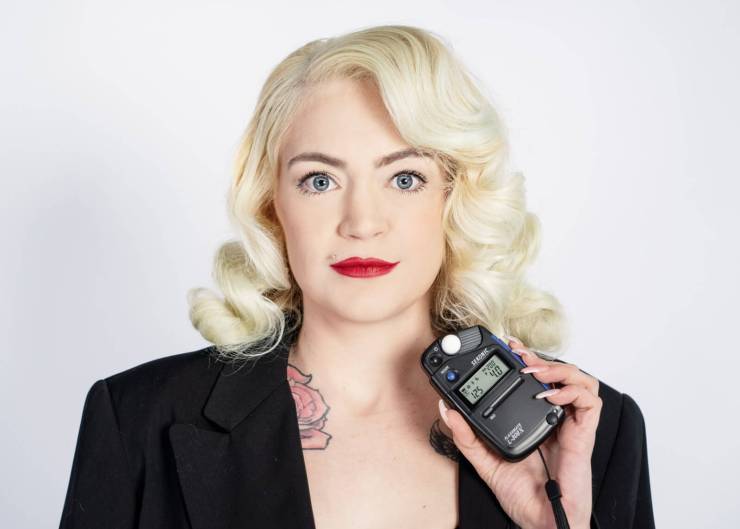
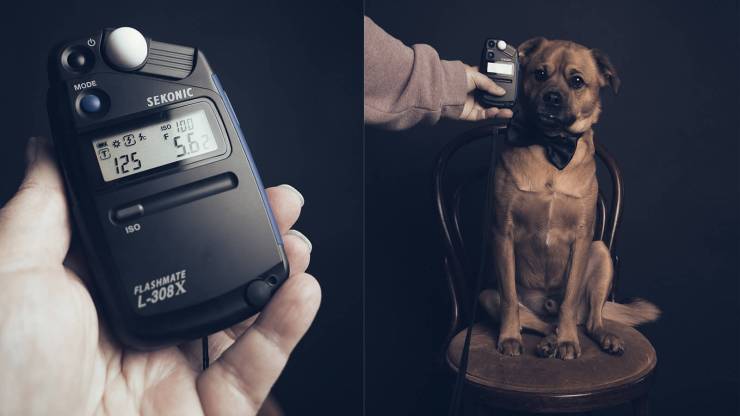
Most light meters, like my Sekonic L308X use Incident metering. This is measured by the amount of light falling on your subject from the light source, i.e., studio flash. To take an incident reading, place the white meter diffuser right at the subject (above) and have it pointing toward the camera position. In the case of metering for flash, it helps to have a remote trigger you can have with you so you can fire the flash while at the subject position with the meter. Assistants are also very handy for this or ask your subject to hold the light meter. Some meters use reflective metering, which means they determine the correct exposure based on light reflected off the subject.
How to use an incident light meter
.mgl-tiles { display: none; } #mgl-gallery-63e106bc0c075 { margin: -2.5px; width: calc(100% + 5px); } #mgl-gallery-63e106bc0c075 .mgl-box { padding: 2.5px; } @media screen and (max-width: 768px) { #mgl-gallery-63e106bc0c075 { margin: -2.5px; width: calc(100% + 5px); } #mgl-gallery-63e106bc0c075 .mgl-box { padding: 2.5px; } } @media screen and (max-width: 460px) { #mgl-gallery-63e106bc0c075 { margin: -2.5px; width: calc(100% + 5px); } #mgl-gallery-63e106bc0c075 .mgl-box { padding: 2.5px; } }
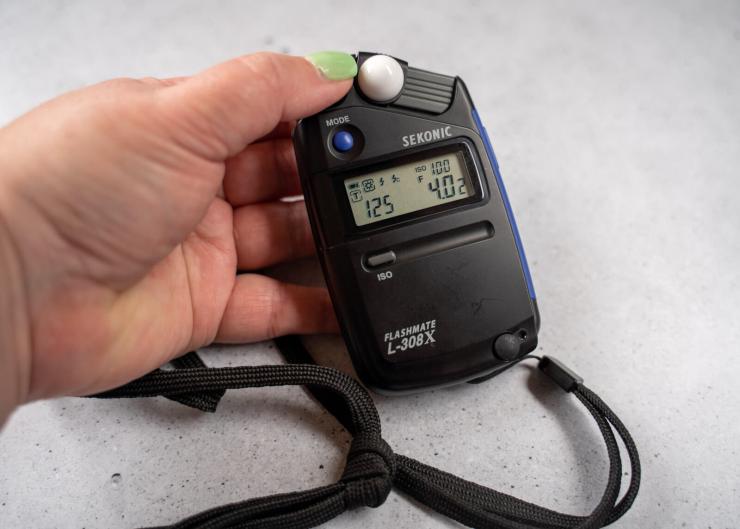
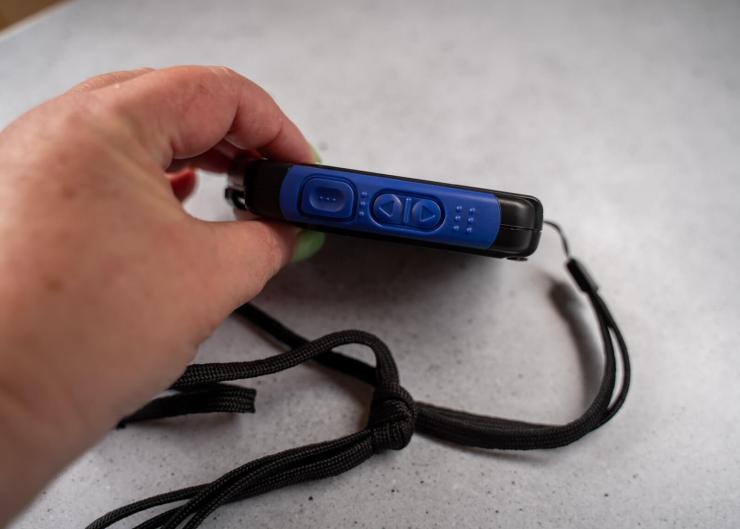
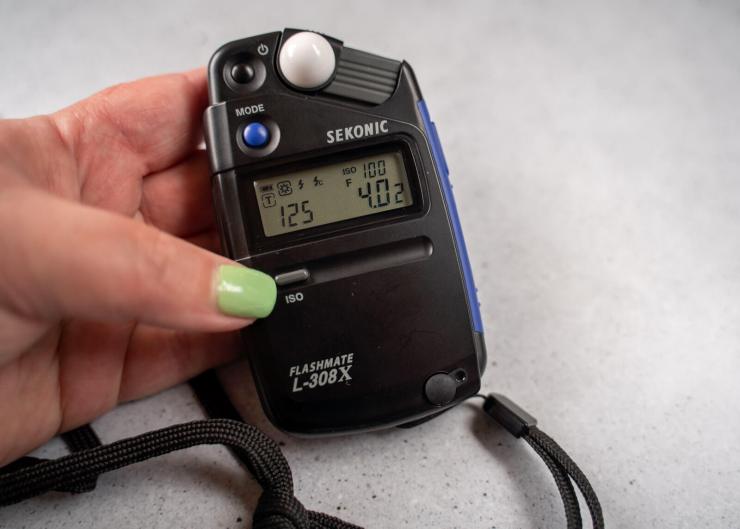
Here’s a step-by-step guide to using an incident meter for Shutter Speed. I suggest having your flash on midlevel power (1/32), you can also dial it up or down depending on the reading from the meter.
- Choose camera settings. Set your camera to manual mode and select your preferred ISO, aperture, or shutter speed.
- Match meter settings: Align the settings on your meter with those on your camera; ISO, shutter speed.
- Prepare for reading: Turn on the meter, and expose the white dome (lumisphere).
- Select the correct mode: Ensure the meter is set to the correct mode for ambient light or flash metering (mine was set to ambient for the photo, change to the little lightning bolt for flash).
- Take a light reading: Hold the meter in front of the subject with the lumisphere facing the camera. Press the metering button (on the side) to measure the ambient light. For flash metering, trigger the flash during the reading.
- Use calculated settings: The meter will provide an optimal aperture and/or shutter speed based on the light reading. Set your camera to these settings (in the above picture the ISO is 100, the shutter speed is 1/125s and the aperture is f/4.0.
- If you wish to use a particular f/stop, you can adjust the light/flash power and take another test shot.
Note: Refer to your light meter manual, as various brands and models may have different settings.
Can’t you work without a meter?
Of course, you can work without a meter, but you may need a few test shots to get it right. Back in the day of film, this really wasn’t an option. When I worked as an assistant for a photographer back in the 80s, we would use a meter and then take a Polaroid to test the settings, as we could see the film. It was still a costly procedure at approx. $1 per Polaroid back then. These days you can afford to waste several images to get it right. Digital is cheap. I rarely use a meter out of the studio, as my camera is pretty good at metering natural light; most cameras are.
Tell your story with the second annual Visual Storytelling Conference!
Experience four days of interactive, online training sessions featuring a range of educational content with experienced photographers and content creators. This free event kicks off with a series of technical boot camps to build essential skills, followed by live, online sessions on photography, video, business and social media. Join live from March 10-13, 2022!
