Let’s take a look at different types of lighting for portrait photography. The key is to know what type of portraits you want to photograph. The type of portrait, the mood and the requirement of the photo all play important roles in determining the best lighting setup for a portrait photoshoot.
Why choosing the right lighting is important
Choosing the right lighting is important in portrait photography because it has a significant impact on the final results. Light helps define the shape and outline of the subject. It sets the mood and atmosphere, and can even affect the emotional impact of the image.
Poor lighting can result in flat, boring photos. While good lighting can bring out the best in a subject and create a stunning portrait. By carefully choosing and setting up the lights, photographers can control the direction, quality, and amount of light to achieve the desired result.
Therefore, choosing the right light is crucial, as it can make the difference between a good and a great photo.
Single-light setup
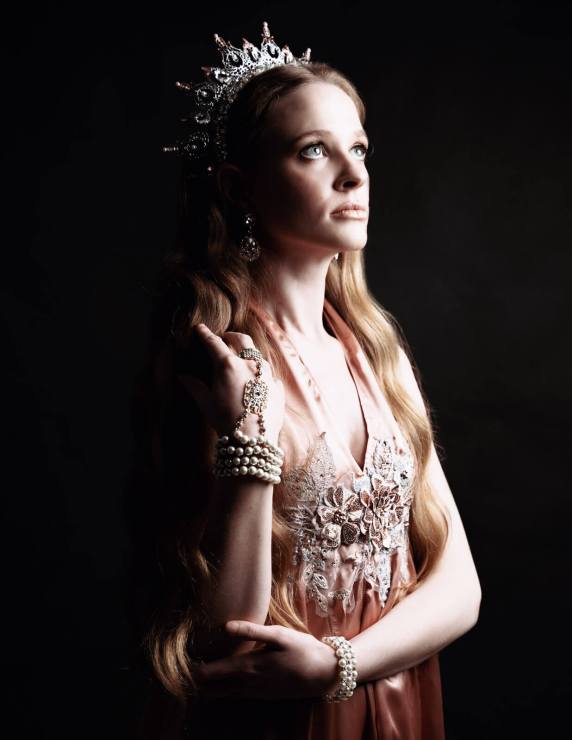
A single-light setup refers to a portrait photography lighting technique where only one light source is used to illuminate the subject. This type of lighting setup can produce dramatic, high-contrast images, but can also be challenging to master. Factors such as the position, power, and quality of the light source, as well as the distance between the subject and the light, all play important roles in determining the final result. Single-light setups are often used for studio portraits or even on-location photoshoots and can be achieved using a variety of lighting equipment, such as speedlights, monolights or continuous lights. Check out this article on single-light setups.
Two-light setup
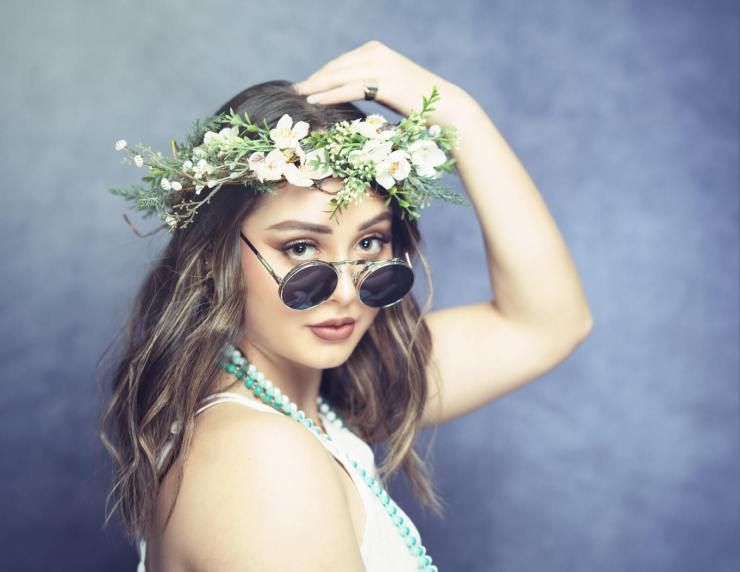
A two-light setup is a lighting technique that involves using two separate light sources to illuminate the subject. This type of lighting setup provides greater control and versatility compared to a single-light setup. The two lights can be used to create different lighting effects, such as accent lighting, fill lighting, or rim lighting. The lights can be positioned in a variety of ways, such as a key light and a fill light, a backlight and hair light, or any other combination that suits the desired outcome. This could be clamshell or cross lighting and can be used with a variety of lighting equipment as well. Check out this article on two-light setups.
Three-light setup
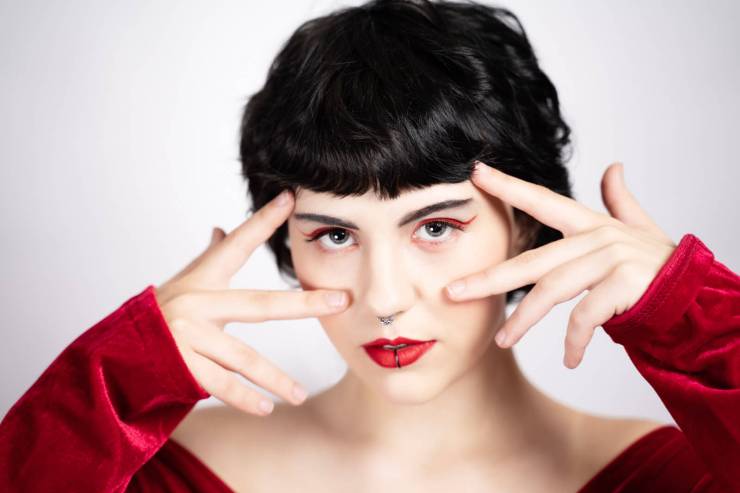
A three-light setup is a lighting technique that involves using three separate light sources to illuminate the subject. This type of lighting setup provides even greater control and versatility compared to a single-light or two-light setup. The three lights can be used to create a wide range of lighting effects and moods. A common example of a three-light setup is a key light, fill light and rim light. The key light provides the main source of illumination. The fill light softens any shadows, and the rim light adds separation between the subject and the background. Obviously, this requires more equipment and more often than not relegated to a studio setup.
Is using a light meter a good idea?
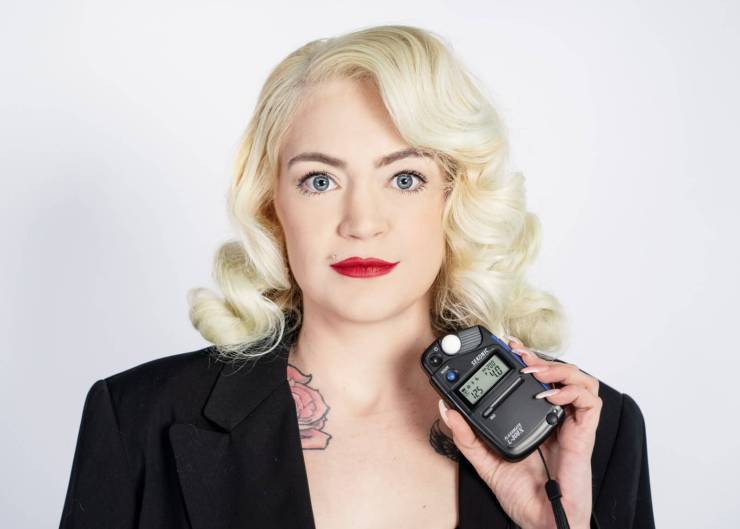
Using a light meter can be a good idea in portrait photography as it helps to accurately measure the amount of light in a scene. A light meter measures the amount of light that is reflected off the subject and can determine the correct exposure settings for the camera. This can be particularly useful in studio portrait photography, where the lighting conditions are controlled and predictable.
By using a light meter, photographers can ensure that they are producing a well-exposed image. They can achieve this even without relying on the camera’s built-in light meter. It can save time and increase the accuracy of the final result, especially in challenging lighting situations.
However, it is important to note that light meters are not necessary for all photographers. Some prefer to rely on their experience and intuition to determine the exposure settings. Ultimately, the decision to use a light meter is a personal choice.
Is using a gray card a good idea?
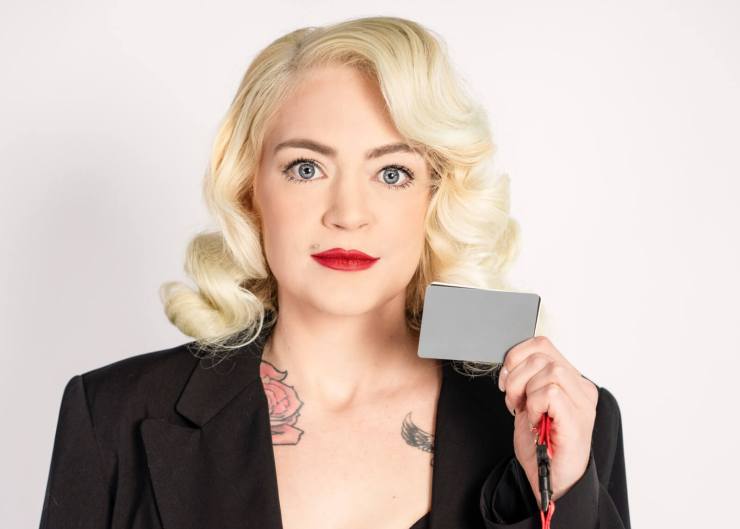
Using a gray card can be a good idea as it provides a neutral reference point for determining the correct white balance and exposure. It’s a small flat card with a neutral gray color that reflects a consistent amount of light, regardless of lighting conditions.
Take a photo of the gray card and use it as a reference in post-production. This will allow you to accurately adjust the white balance and exposure of images to ensure that the colors are accurate and the image is correctly exposed. It can be particularly useful in challenging lighting situations, where the light may have a strong color cast or the exposure is difficult to determine accurately.
Using a gray card can save time and improve the consistency of the final results. It’s especially helpful when working with multiple images taken in different lighting conditions. Not all photographers use a gray card. Some prefer to rely on other methods, such as custom white balance, to achieve accurate colors.
What about light modifiers?
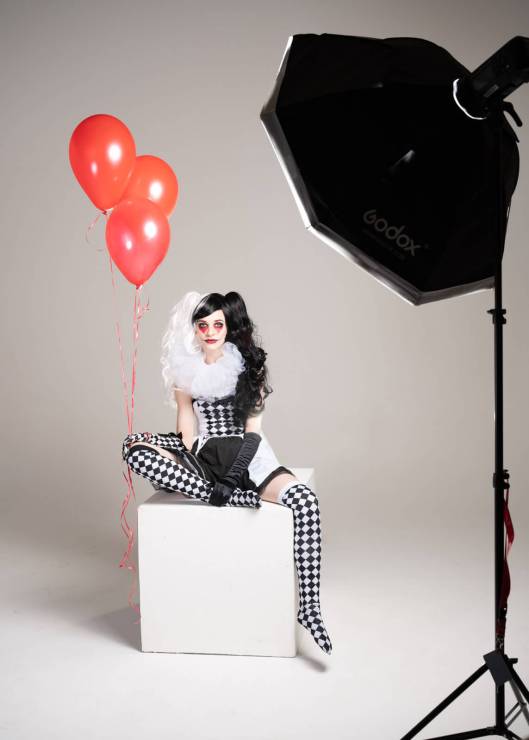
Light modifiers are devices that control the quality or direction of light. Use them to shape light, such as softening harsh light, controlling the spread of light or creating specific shadows.
Common types of light modifiers used in portrait photography include softboxes, umbrellas, beauty dishes, snoots, barn doors and grids. Each type of light modifier has its own unique properties and effects, and can be used to achieve different lighting outcomes.
Using light modifiers can be an effective way to improve the quality of light in portrait photography, and can add creativity and versatility to a photoshoot. By carefully selecting and using the right light modifiers, photographers can control the direction, quality and intensity of the light to achieve the desired result.
Can you use more than three lights?
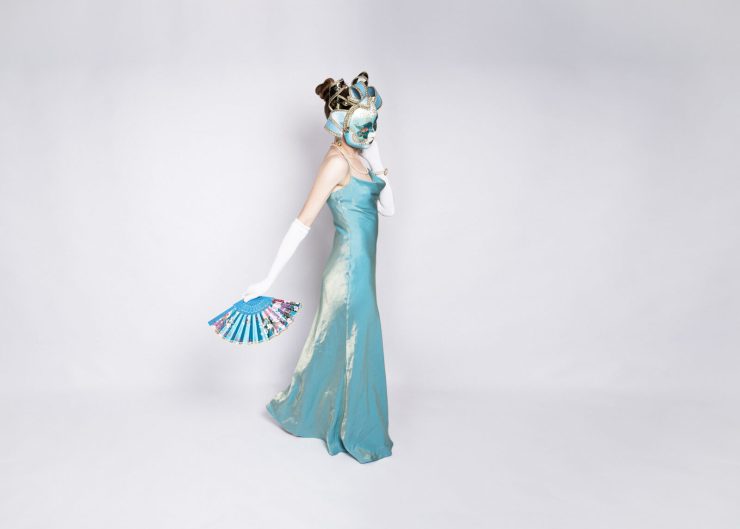
Yes, of course, it’s possible to use more than three lights in portrait photography. In fact, many professional portrait photographers use multiple lights to create complex lighting setups that add depth and dimension to their images. The number of lights is largely determined by the desired outcome and the complexity of the setup. Use more lights to add multiple points of light, create intricate lighting patterns or light multiple subjects or background elements.
However, it is important to note that using more lights also increases the complexity of the photoshoot. Requiring more time and equipment, and can be more challenging to set up and control. The number of lights used for a portrait is ultimately a personal choice. It depends on the photographer’s preferences, working style, and desired outcome. Not to mention the equipment available. I myself often use a three or four-light setup for a standard portrait session.
In conclusion
In conclusion, lighting is a critical component in portrait photography, as it has a significant impact on the final result of a photo. Using the right light, and knowing how to control and modify it, is essential in creating stunning portraits that accurately capture the subject and set the desired mood and atmosphere. Whether using a single light, multiple lights, or light modifiers, it is important to carefully consider the lighting setup and make adjustments as necessary to achieve the desired result. Take these top lighting tips for stunning Photos into consideration.
Would you like to learn more about basic lighting principles? Why not check out my self-paced online class “Capturing light for better photography.”
Tell your story with the second annual Visual Storytelling Conference!
Experience four days of interactive, online training sessions featuring a range of educational content with experienced photographers and content creators. This free event kicks off with a series of technical boot camps to build essential skills, followed by live, online sessions on photography, video, business and social media. Join live from March 10-13, 2022!
