I truly believe that these lighting techniques are important in portrait photography. They help to create different moods and emphasize different facial features. They allow the photographer to control the direction and quality of light falling on the subject. As such, they allow you to shape your subject’s appearance and create a desired visual impact. I personally use all three and even a combination of them in most of my studio portraits.
By getting a handle on these lighting techniques, photographers can step up their portrait game and express the mood or feeling they want through the lighting. Mastering these three techniques will greatly benefit even beginners in creating an impressive portfolio.
Rembrandt Lighting
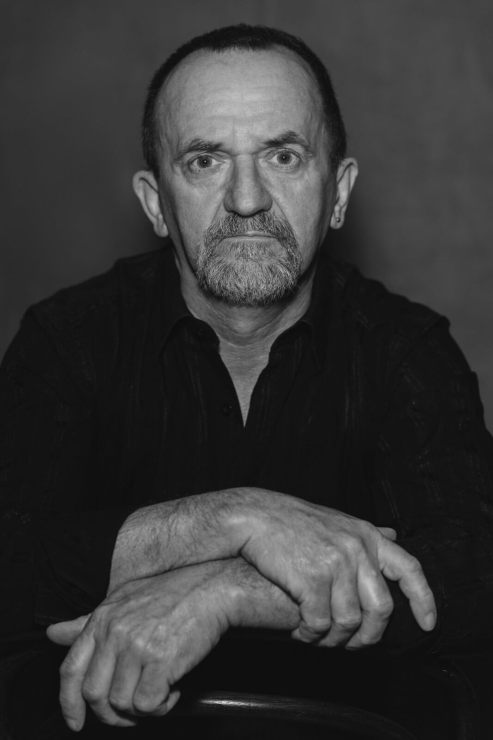
Rembrandt lighting creates a dramatic and emotional effect by adding shadows to the subject’s face, often creating a triangle of light under the eye.
.mgl-tiles { display: none; } #mgl-gallery-63e3a9bdb3197 { margin: -2.5px; width: calc(100% + 5px); } #mgl-gallery-63e3a9bdb3197 .mgl-box { padding: 2.5px; } @media screen and (max-width: 768px) { #mgl-gallery-63e3a9bdb3197 { margin: -2.5px; width: calc(100% + 5px); } #mgl-gallery-63e3a9bdb3197 .mgl-box { padding: 2.5px; } } @media screen and (max-width: 460px) { #mgl-gallery-63e3a9bdb3197 { margin: -2.5px; width: calc(100% + 5px); } #mgl-gallery-63e3a9bdb3197 .mgl-box { padding: 2.5px; } }
Rembrandt with reflector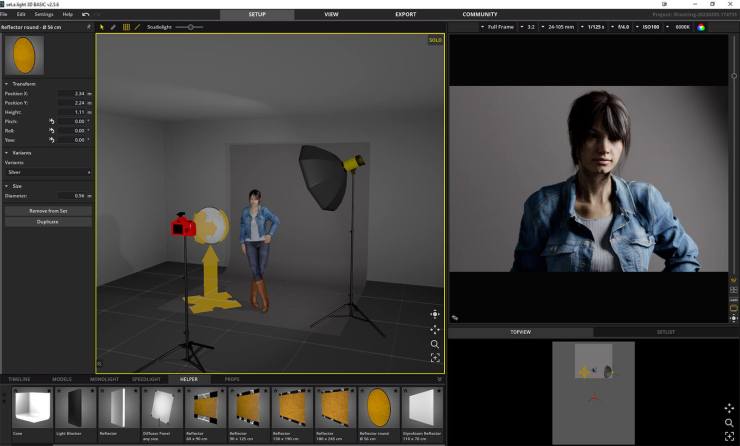
Rembrandt without reflector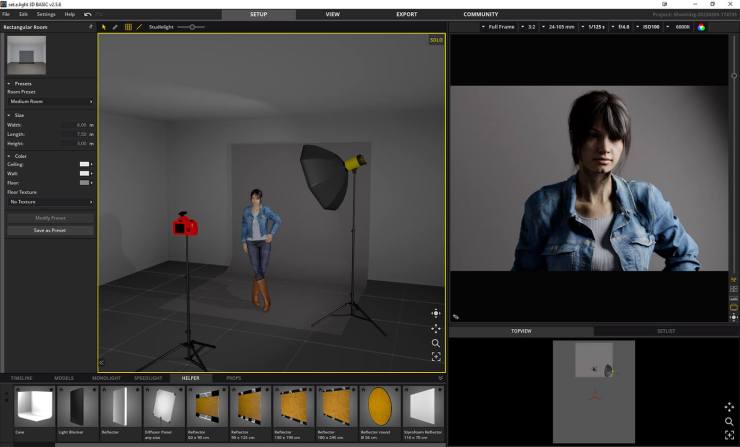
Rembrandt lighting is created by placing the main light source on one side of the subject. This creates a triangle of light under one eye and shadows on the other side of the face. Here’s how to create Rembrandt lighting:
- Set up your subject facing the camera and place the main light source to the side of the subject, about 45 degrees off center.
- Ensure that the light source is high enough so that the light falls on the face at a slight downward angle.
- Position the light so that it casts a shadow on the opposite cheek.
- Use a reflector or fill light to softly fill in any shadows on the opposite side of the face.
- Adjust the intensity and position of the lights as needed to achieve the desired effect.
It’s important to note that Rembrandt lighting can be adjusted to suit the subject and the mood desired. The triangle of light is made smaller or larger depending on the desired effect.
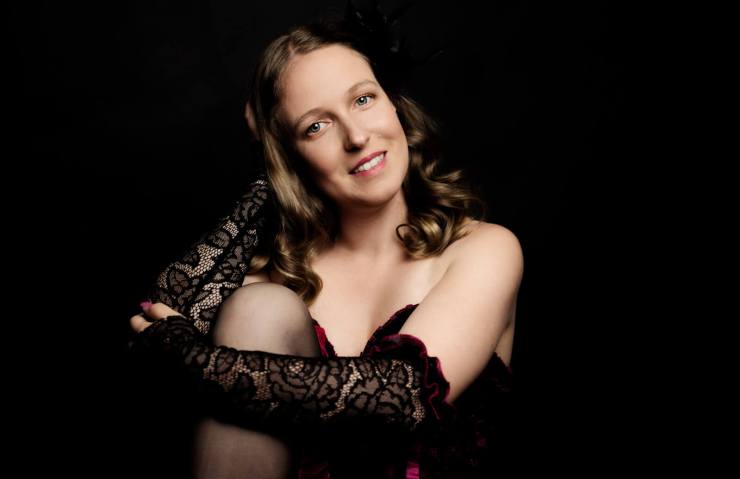
Butterfly lighting
Paramount or Butterfly lighting flatters the subject’s face by creating a soft, shadowless light on the face. It highlights the cheekbones and eyes.
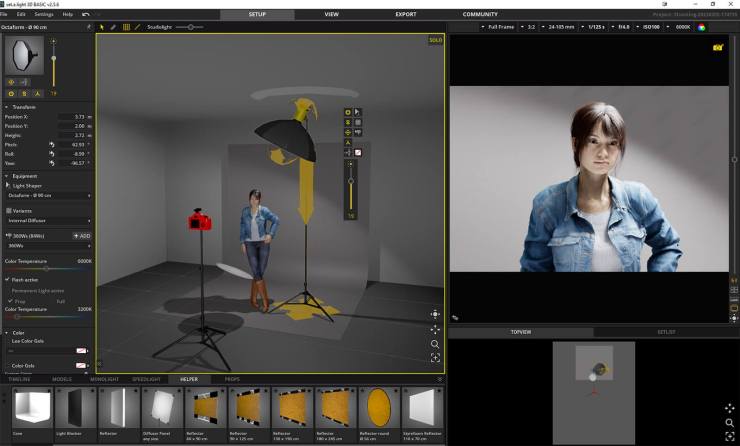
This lighting technique when used in portrait photography creates a soft and flattering light on the subject’s face. Here’s how to create Butterfly lighting:
- Set up your subject facing the camera and place the main light source directly above the camera and the subject.
- Ensure that the light source is high enough so that the light falls on the face at a downward angle.
- Position the light so that it illuminates the face evenly, with no significant shadows.
- Use a reflector or fill light to softly fill in any shadows under the chin or eyes, if necessary.
- Adjust the intensity and position of the lights as needed to achieve the desired effect.
It’s important to note that Butterfly lighting is commonly used to highlight the cheekbones and eyes. It creates a flattering and youthful appearance. However, it can also be adjusted to suit the subject and the mood desired.
Clamshell lighting
This style of lighting is similar to butterfly lighting. Clamshell lighting creates a soft flattering look while adding just a little shadow for interest.
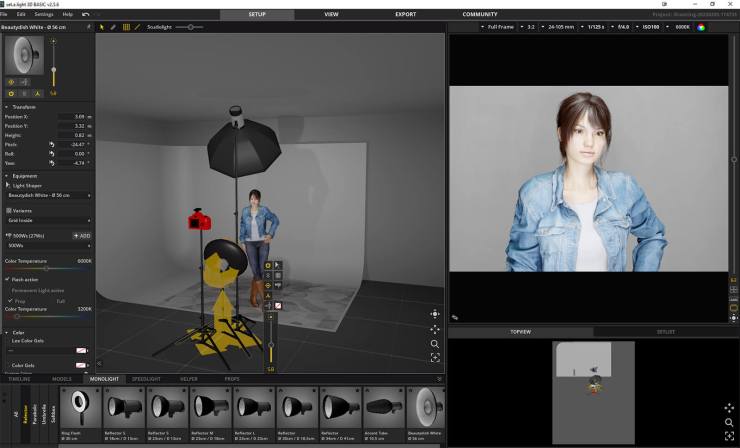
Here’s how to create Clamshell lighting:
- Set up your subject facing the camera. Then place the main light source directly above the camera and the subject.
- Ensure that the light source is high enough so that the light falls on the face at a downward angle.
- Position a reflector or secondary light source below the subject’s chin. Facing it slightly upward to fill in any shadows under the chin.
- Adjust the intensity and position of the lights as needed to achieve the desired effect.
Don’t forget that as with any of the lighting techniques, you can adjust Clamshell lighting to suit the subject and the mood desired. Increase or decrease the amount of the fill light to create the mood you’re after. Clamshell lighting provides a soft, flattering light on the face while still maintaining some shadows to add dimension.
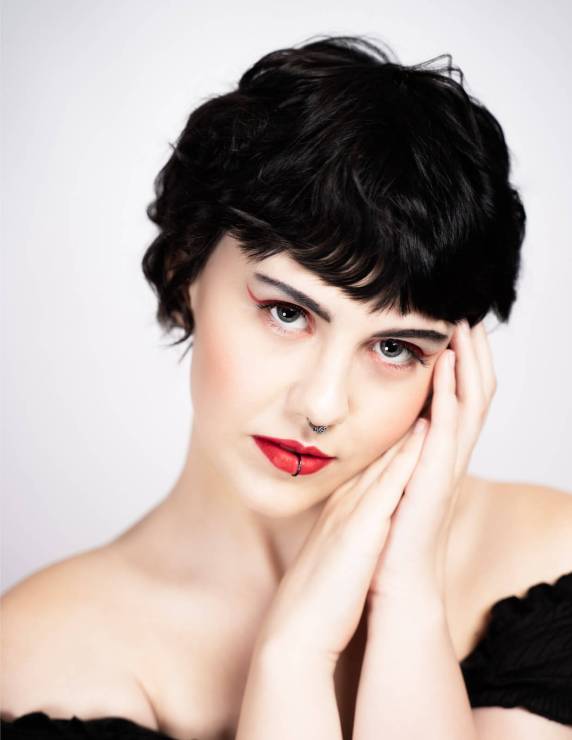
When it comes to lighting, work out what equipment is available, as well as the mood you are trying to create. More lights mean more setup. Try a combination of natural light, artificial light and reflectors. Or, experiment with different light sources. Try single-light or two-light setups. Practice really does make things easier when it comes to studio lighting.
Tell your story with the second annual Visual Storytelling Conference!
Experience four days of interactive, online training sessions featuring a range of educational content with experienced photographers and content creators. This free event kicks off with a series of technical boot camps to build essential skills, followed by live, online sessions on photography, video, business and social media. Join live from March 10-13, 2022!
