I just returned from my dream trip — driving and photographing Route 66 from Chicago to Santa Monica. The trip was not a photography trip, per se. I traveled with two non-photographers. Except for the Grand Canyon, we did not organize our day for sunrises and sunsets. We also did not plan ahead for photographic opportunities. Of course, I still took a ton of photographs. If you haven’t been following the saga of my Route 66 adventure, check out my first two articles. The first was on pre-trip planning and the second was about the trip itself.
Route 66 imagery
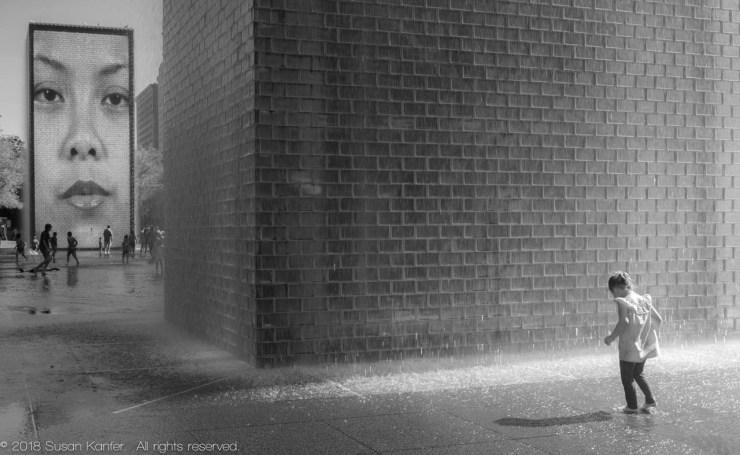
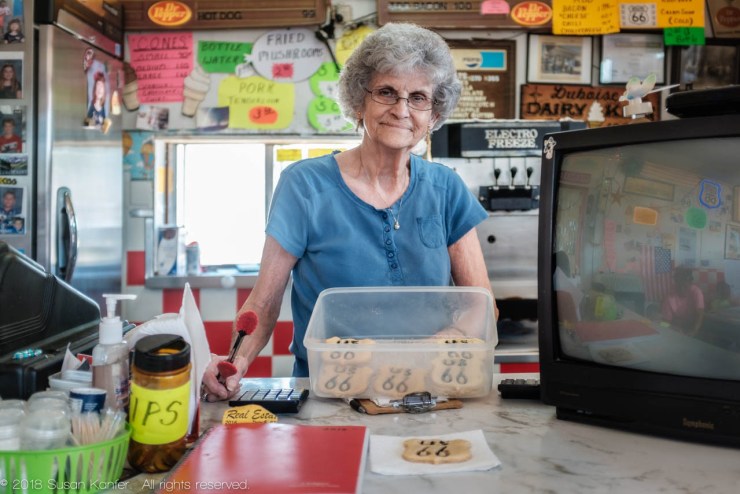
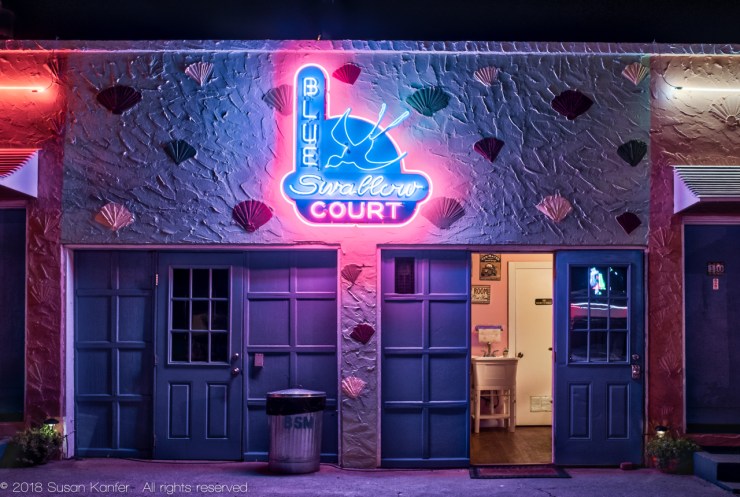
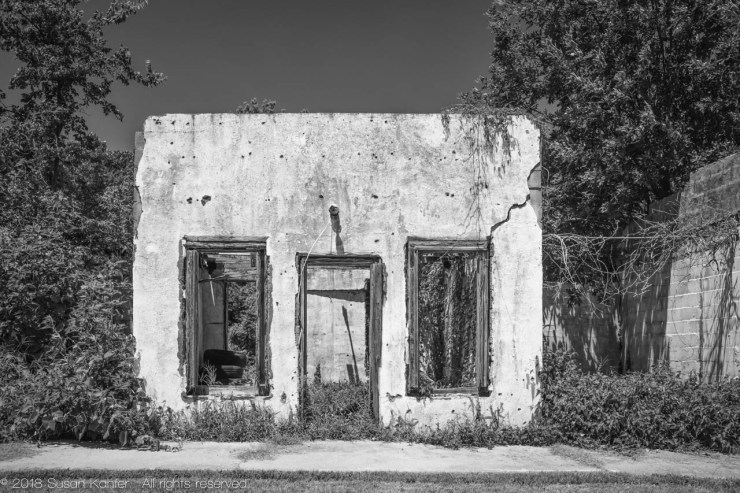
I photographed a variety of images throughout the trip: People, landscapes, nature, Americana, street, architecture, food, nighttime shots with lots of neon signs, HDR, and black and white JPEG. Route 66 has something for nearly every kind of photographer. The Route passes through or near diverse scenery, farmland, big cities, small towns, ghost towns, Native American lands, and national and local parks.
My equipment for photographing Route 66
My Fuji X100F camera and my iPhone were the only cameras I brought with me. Due to a shoulder injury, I was unable to carry a heavier camera with lenses. The X100F is a professional quality, compact camera with a fixed lens and a focal length equivalent to 35mm. I also packed two lightweight conversion lenses I could screw onto the fixed lens on the camera, making the camera lens the equivalent of a 28mm lens and a 50mm lens.
Other camera accessories included:
- Warming polarizer filter
- Graduated neutral density filter
- Travel tripod
- Remote shutter release
- Neutral density filter (to soften water, but I did not use it)
The camera performed amazingly well, and in fact, it will now become my main camera when I do not need a long or macro lens. I made high-quality images, having full control over my settings, sometimes in difficult light, indoors and out. It was never a burden to carry and was inconspicuous when I was photographing people. In other words, the Fuji X100F was the perfect travel camera for someone like me.
Aperture and shutter speed
While photographing along Route 66 I typically shot in manual mode, using the in-camera meter and histogram to help me decide upon the aperture and shutter settings. If I was worried about camera shake or was photographing a fast-moving subject, I set my shutter speed first. Otherwise, I set my aperture based upon the depth of field I preferred for my subject.
I also manually focused the camera. Since the Fuji camera has focus peaking, I am able to adjust the camera so that everything in focus appears red. By taking advantage of the focus peaking function I was generally able to determine the depth of field coverage for the aperture I was using.
When I was in a hurry I used the aperture or shutter priority settings on my camera. I adjusted the exposure compensation dial to change the initial setting after looking at the histogram.
If I photographed in the unchanging light that had strong contrast, which was usually the case, I set the exposure for the highlights so that I would not overexpose them.
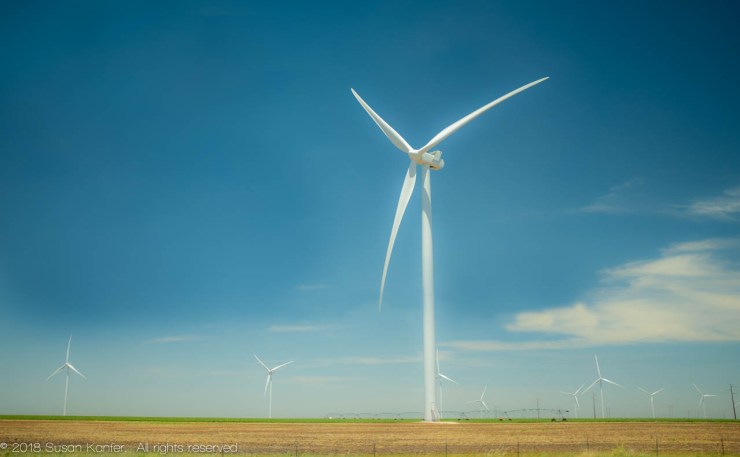
There were times when I photographed while sitting in a moving vehicle. With my shutter at 1/4000s, I focused on something in the distance. Even the moving windmills turned out OK.
ISO
My aperture and shutter speed settings for photographing Route 66 were, of course, dependent on my ISO. I preferred keeping my ISO between ISO 200 and ISO 400. If that was not possible due to the lack of light or quickly changing light, and if my camera was not on a tripod, I usually set the camera to Auto ISO. The default Auto ISO setting was typically ISO 200, with a range between ISO 200 and ISO 6400. The minimum shutter speed was 1/160s. When the light was extremely low, my maximum ISO was set to ISO 12800 and my minimum shutter speed was 1/125s.
I used Auto ISO in low light situations or when I was shooting from a moving vehicle. I did not use Auto ISO when I bracketed for HDR imagery.
Warming polarizer filter
I knew I would be using a polarizer filter quite a bit during the trip. I was traveling in the middle of the summer with colorful subjects in bright sunshine and unwanted glare and reflections. In addition, the southwest United States in summer has strong, billowy clouds stretching across the horizon. The problem with a polarizer filter is that you lose about two stops of light, which can be significant when you are hand-holding your camera.
At the last minute, I bit the bullet and bought a rather expensive Singh Ray warming circular polarizer filter ($210 for a 49mm filter). It was a trip of a lifetime and I decided it was worth buying the new filter. I was right.
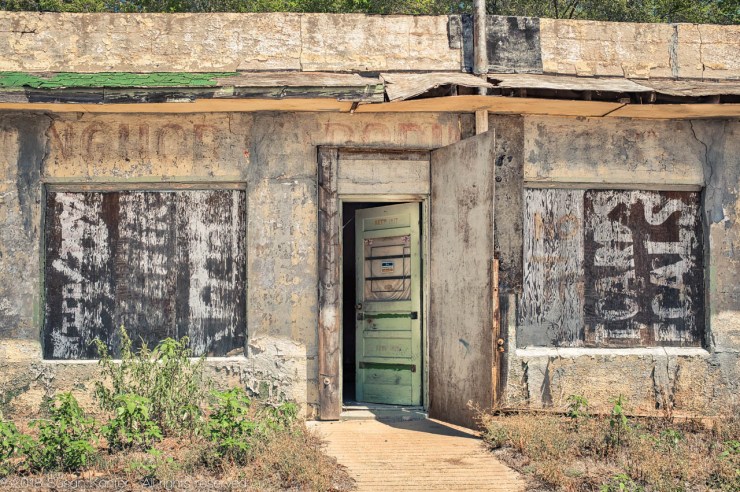
Unlike my previous polarizer filter, the Singh Ray filter subtly warms up the cooling effect of a polarizing filter. Advertised as providing a lighter, brighter design than other circular polarizer filters and .6 stops more brightness, the filter enables shorter shutter speeds or smaller apertures. I loved the final results using this filter and was exhilarated as I composed images in my electronic viewfinder, looking at the effects of the filter. (The beauty of an electronic viewfinder is that “what you see is what you get.”)
Graduated neutral density filter
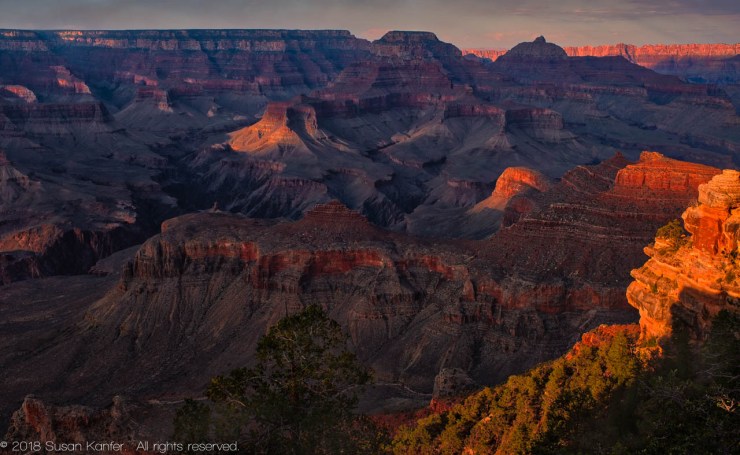
The other filter I used while photographing Route 66 was my graduated neutral-density filter, which I have owned for years. I use it for landscape photography when the sky is much brighter than the landscape beneath it. The filter is dark on top and clear on the bottom. I primarily use a Singh Ray Galen Rowell three-stop, soft-edge filter ($99 for an 84/120mm filter). The filter was perfect for sunrise and sunset photographs in the Grand Canyon as the darker part of the filter helped to keep the sky from being overexposed. At times I still had to bracket my images as the difference between the bright and dark areas of the image was more than 3 stops. I merged the bracketed images in Aurora HDR 2018.
iPhone
I get amazing photos with my iPhone X. I particularly like using it for panoramic images. When processing images using my phone, I use Snapseed. Sometimes I export iPhone images into Lightroom on my computer and process them as I would any other photograph.
Where ever your travels take you, Route 66 or otherwise, it isn’t necessary to burden yourself with lots of gear. One of my traveling companions on the Route 66 trip only took her iPhone. Her pictures were terrific. Like with any photo she paid attention to her composition and the use of light and then added her own creative touch.
Tell your story with the second annual Visual Storytelling Conference!
Experience four days of interactive, online training sessions featuring a range of educational content with experienced photographers and content creators. This free event kicks off with a series of technical boot camps to build essential skills, followed by live, online sessions on photography, video, business and social media. Join live from March 10-13, 2022!
