A winter backcountry adventure requires advance planning and preparation to remain safe and to ensure a pleasant and memorable experience.
During the winter months, I always keep certain items in the car just in case of an emergency. This includes:
- Two pairs of warm gloves
- A warm fleece hat
- Two blankets
- A spare coat (in addition to the one I am likely wearing)
- Half dozen disposable hand warmers
- Emergency first aid kit
- Headlamp
- Flashlight
- Food
- Water
Note that hand warmers are also helpful in keeping spare camera batteries warm. Before leaving for a winter photo adventure, I double-check this list. Many of these items will be used during the hike.
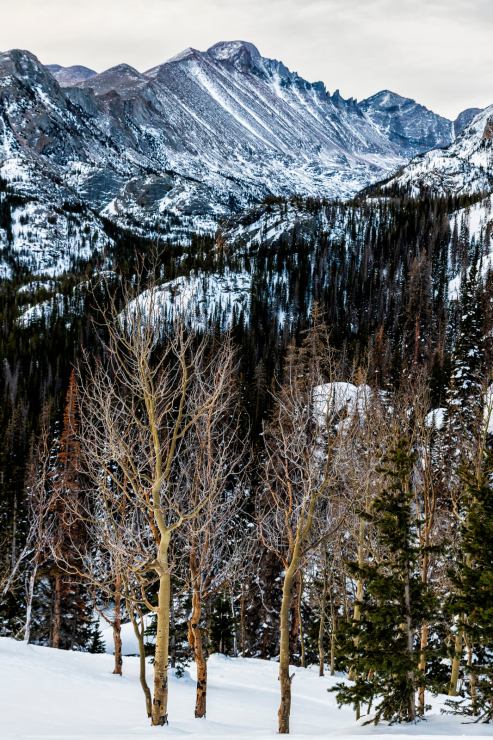
The amount of camera gear I take along largely depends upon how long and challenging the hike will be. For shorter backcountry winter hikes, I find that I can often get by with my mirrorless Nikon Z 7II camera and a couple of lenses ranging from 24-70mm and 70-200. If I know that the landscape will benefit from having a wide-angle lens, I’ll take along my Tamron 15-30mm f/2.8. If I think there might be good wildlife photo opportunities, I’ll take along my longer Tamron 150-600mm f/5-6.3 lens. Space and weight are always a consideration with these wide-angle and long zoom lenses.
Standard winter weather clothing consists of multiple fleece layers with wicking properties, a warm jacket with a hood, warm gloves, a warm fleece hat (possibly a balaclava for extreme winter conditions) and insulated boots. A good pair of microspikes that slip over hiking boots is a necessity and, depending upon snow conditions, a pair of snowshoes might be necessary. Those who venture into deep backcountry environments may also have to consider an avalanche beacon.
My January visit to Rocky Mountain National Park
The weather forecast for Estes Park, CO (just outside of Rocky Mountain National Park) showed a 7 a.m. temperature of 30° F, which is unusually warm for the second week of January. The forecast also did show wind of 18 mph, which is quite common for this area. I was happy to see that clouds were possible at sunrise and through the morning hours, which can be a good scenario for colorful and textured skies.
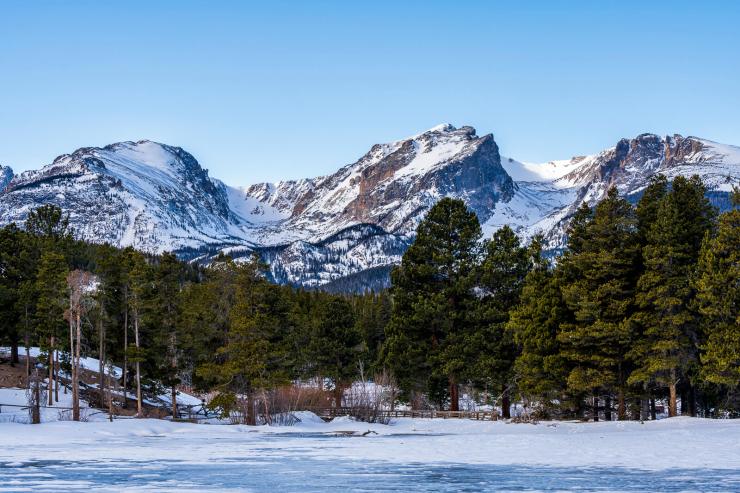
The entrance to Rocky Mountain National Park is approximately 1 hour, 45 minutes from my home in the South Denver Metro area. The Bear Lake parking lot I intended to begin my hike from is another 20-minute drive through the park and this can take a bit longer when the roads are icy, which I knew would be the case. With a sunrise time of 7:20 a.m., I wanted to be sure I could get to my intended destination of Dream Lake, approximately one mile from the parking lot with at least 15 minutes to find a composition and get situated.
I woke up to my 3:45 a.m. alarm and was out the door by 4:15 a.m., which would be plenty of time to arrive at Dream Lake a bit before sunrise. At an elevation of approximately 9,900 feet, hiking through the snow during winter months is a certainty and on this particular morning, I would be able to get by with my microspikes and leave the snowshoes in the car.
My experience in the backcountry
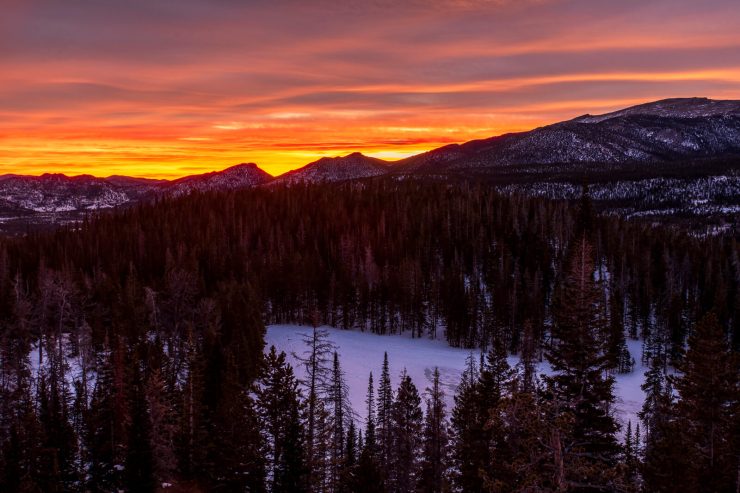
The initial part of my hike was in complete darkness and required the use of a headlamp, although soon the first bit of light was making its way across the eastern sky and provided enough illumination to walk without artificial light. Along the way, I made a few quick stops to capture the early pre-sunrise glow over the mountains to the south and east.
After these stops, I had to hustle to get to Dream Lake in time for the first light to hit the upper peaks to the west. Despite heavier unpacked snow in that upper region and wind gusts of about 40 mph, I made it just in time to get the camera on my tripod and begin capturing photos during the peak of the sunrise.
.mgl-tiles { display: none; } #mgl-gallery-634edd3cc3b53 { margin: -5px; width: calc(100% + 10px); } #mgl-gallery-634edd3cc3b53 .mgl-box { padding: 5px; } @media screen and (max-width: 768px) { #mgl-gallery-634edd3cc3b53 { margin: -5px; width: calc(100% + 10px); } #mgl-gallery-634edd3cc3b53 .mgl-box { padding: 5px; } } @media screen and (max-width: 460px) { #mgl-gallery-634edd3cc3b53 { margin: -5px; width: calc(100% + 10px); } #mgl-gallery-634edd3cc3b53 .mgl-box { padding: 5px; } }
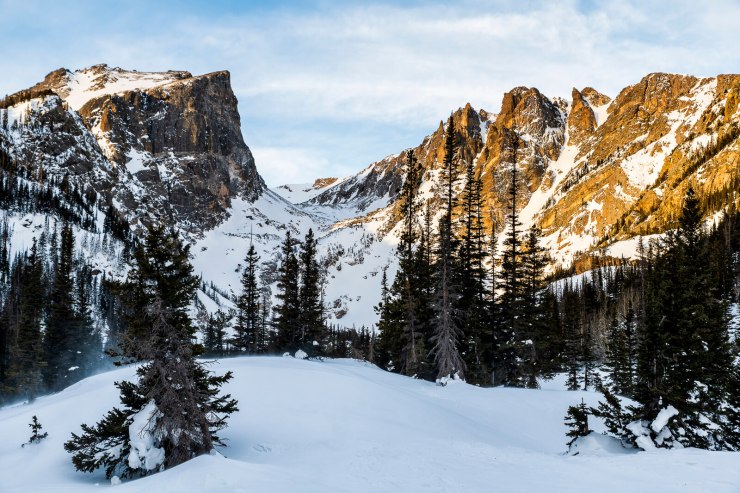
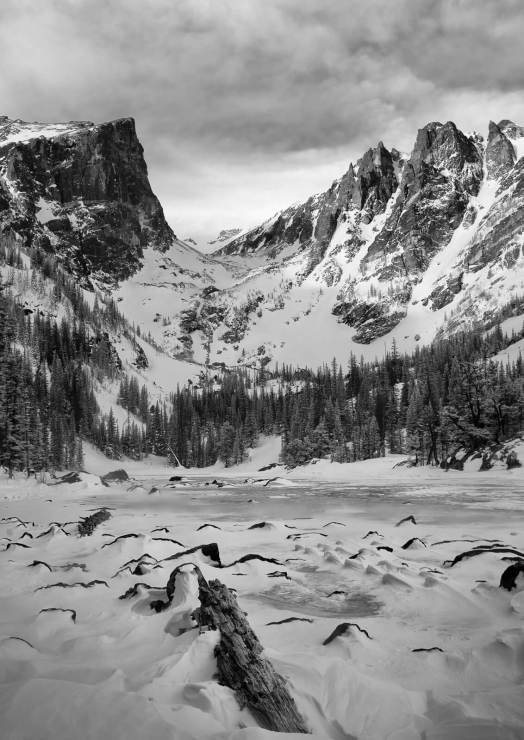
Switching between my standard mirrorless camera and an infrared converted mirrorless camera, I was satisfied with the images that were appearing at the back of my camera. After about 20 minutes of battling with the wind, I made the decision to start making my way back down the mountain. I knew that there would likely be some good photo opportunities on the way back down at Bear Lake and a couple of other locations I would drive by as I exited the park. Fortunately, a steady flow of clouds provided some great landscape scenes throughout the entire morning.
.mgl-tiles { display: none; } #mgl-gallery-634edd3cc453f { margin: -5px; width: calc(100% + 10px); } #mgl-gallery-634edd3cc453f .mgl-box { padding: 5px; } @media screen and (max-width: 768px) { #mgl-gallery-634edd3cc453f { margin: -5px; width: calc(100% + 10px); } #mgl-gallery-634edd3cc453f .mgl-box { padding: 5px; } } @media screen and (max-width: 460px) { #mgl-gallery-634edd3cc453f { margin: -5px; width: calc(100% + 10px); } #mgl-gallery-634edd3cc453f .mgl-box { padding: 5px; } }
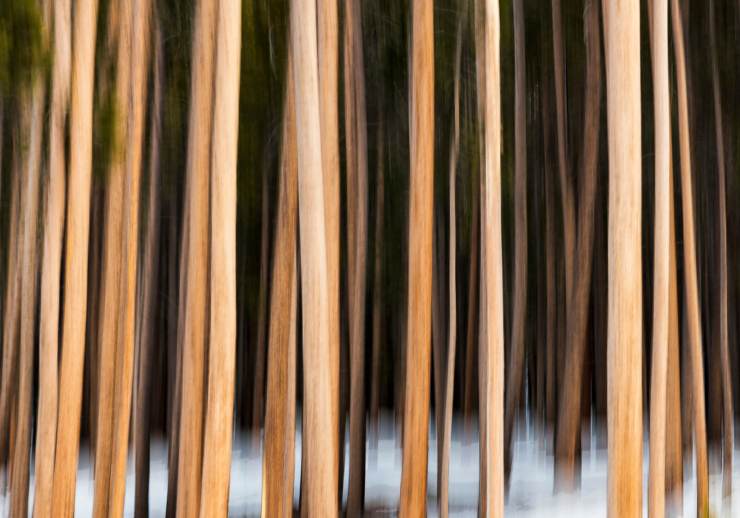
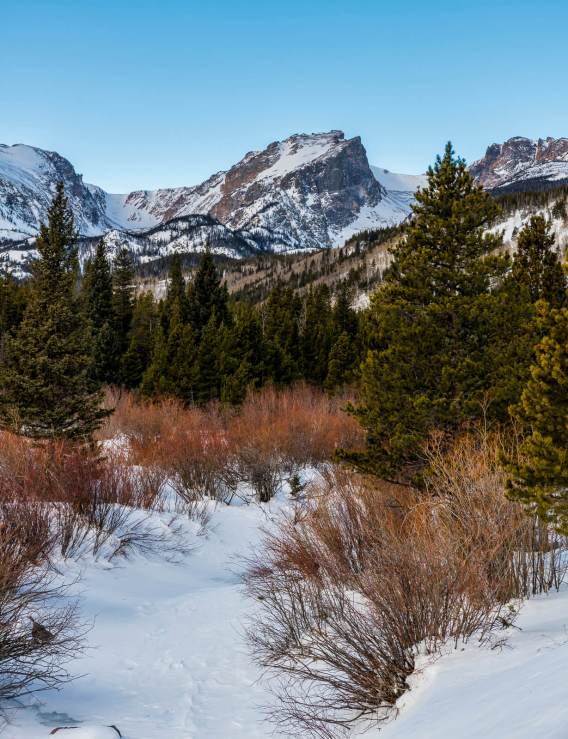

I am anxious to get out for another winter backcountry photo adventure soon.
Editor’s note: We welcome this article from Michael Ryno, a landscape, wildlife and nature photographer in Highlands Ranch, CO. Learn more and see his work at michaelrynophotography.com.
Tell your story with the second annual Visual Storytelling Conference!
Experience four days of interactive, online training sessions featuring a range of educational content with experienced photographers and content creators. This free event kicks off with a series of technical boot camps to build essential skills, followed by live, online sessions on photography, video, business and social media. Join live from March 10-13, 2022!
